Tips From Sticks-In-The-Mud Woodshop
by Jim Randolph
Long Beach, Mississippi
Welcome to a new feature in Wood News Online, "Tips From Sticks-In-The-Mud Woodshop". I am a hobbyist, not a professional, someone who loves woodworking, just like you do. I have found some better ways to accomplish tasks in the workshop and look forward to sharing those with you each month, as well as hearing your problem-solving ideas.
Tip #1
The words "sanding" and "ugh" just sort of go together. Few of us enjoy it, but, as woodworkers, it is a necessary part of a finished product if it is to be beautiful. Not only is it BOOOORRRRIIIIINNNNGGGG, it's messy, too.
For that reason, I like to sand outdoors whenever possible. The mess I make outside doesn't get all over my truck, my wife's car, my boat, or (worst of all), my wife's studio for ceramic art, which shares space in our garage.
|
|
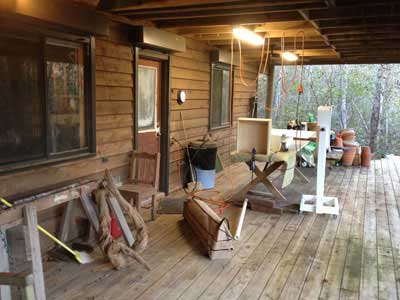
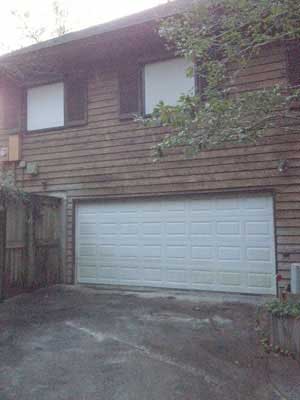
What makes this such a good spot to sand? The view for starters, surrounded by woods and overlooking the bayou. Two, I'm covered from light rains by a porch that extends to straight above the white fan. Three, sanding dust can go anywhere it wants to and can be blown away by the fan. Any dust that remains is removed by the leaf blower.
|
When the weather is good-to-medium-bad I have a spot on the deck just outside the garage where I can set up quickly and let the dust go anywhere it wants to.

|
|
Most sanding is done staring at the work, but when randomly orbiting a big panel, it's nice to look out at the view. This spot tolerates the "medium-bad" aspect of weather because it is partly covered by a solid deck above.
|
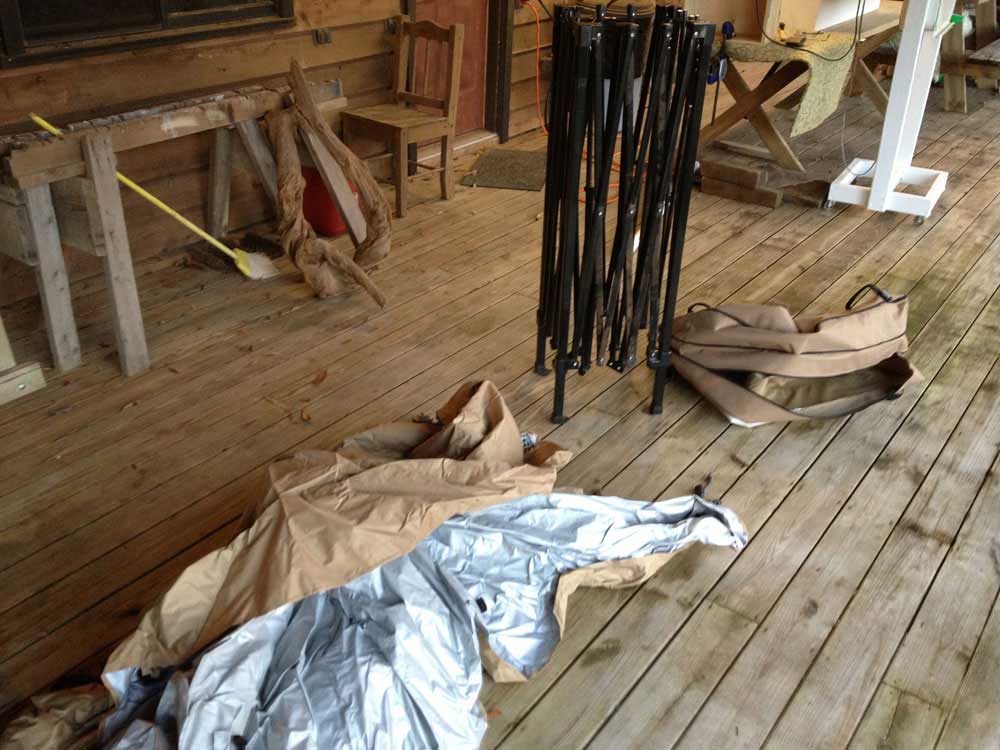
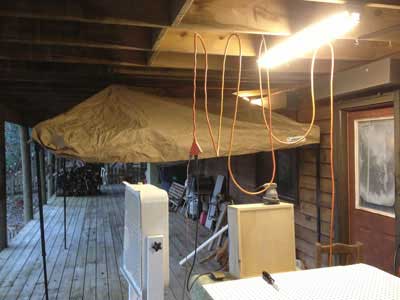
However, when the rain is really coming down and the wind wants to wet my favorite area, I still don't have to go inside. For about $100 I bought a canopy, a tent without sides. With a little advance preparation you can go from in-the-box to fully installed in 15 minutes, all by yourself. And, I can take it down and store it in less than 10 minutes.

|
|
Sometimes it's hard to believe all this fits into that little case.
|
I use mine in two different areas: on a wooden deck and on a concrete driveway.
|
|
The brand name is "First Up," and, indeed, it goes up in a hurry, no more than 15 minutes all by yourself
|
|
|
This location is handy, and the concrete substrate is nice and level, but takes a toll on the knees after a few hours.
|
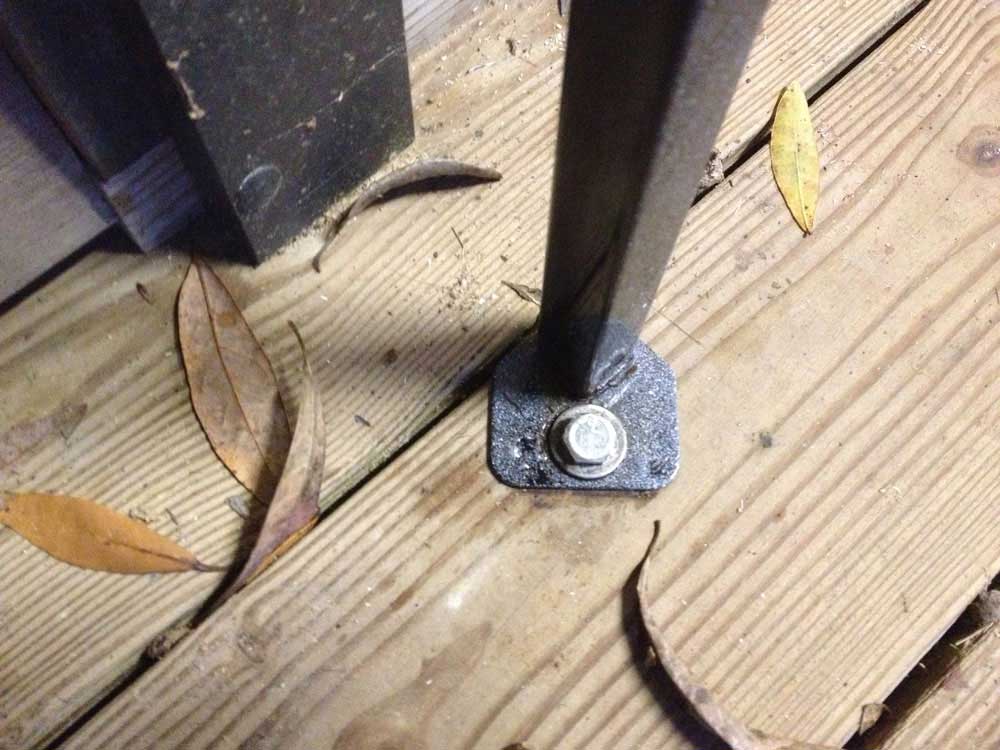
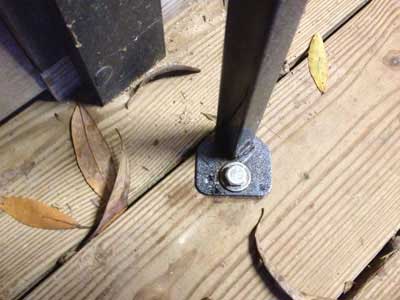
In both places I keep hold-downs pre-established, so I never have to search for fasteners.
|
I leave the lag screws in the wooden deck all the time. They mark the location and I
don't have to go hunting for screws. They are low-profile enough not to trip anyone.
|

|
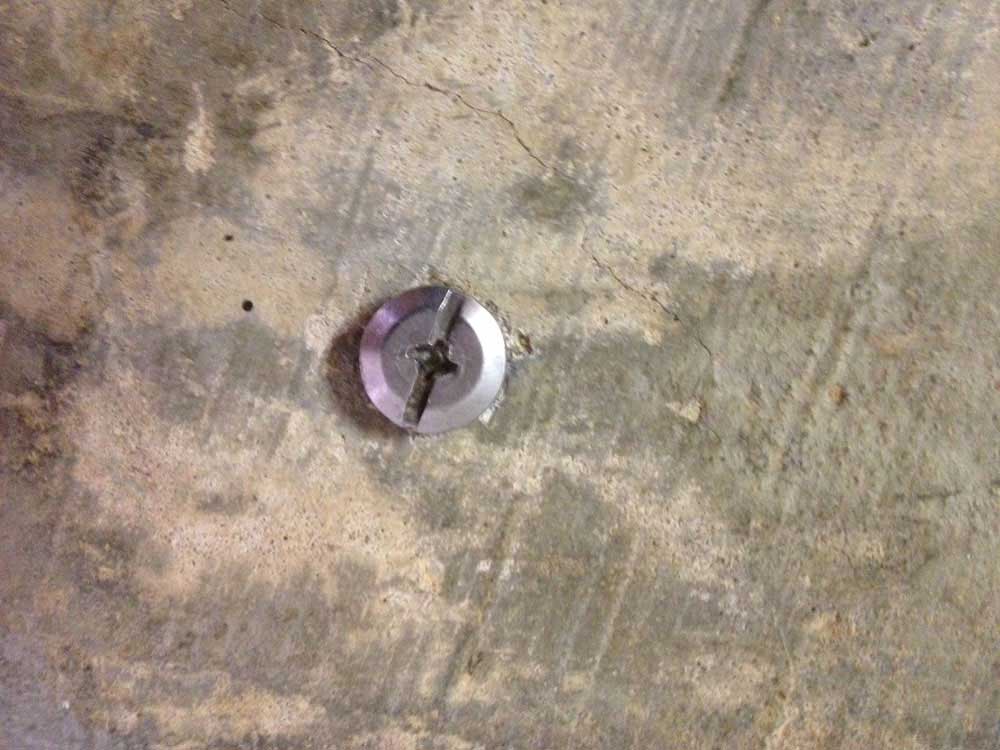
When driving on this concrete, these screws protect the threads and keep dirt out.
Their low profile prevents tire damage and presents no trip hazard.
|
A tip: Right out of the box your canopy will leak at the seams. You will need a "tent seam-sealer," available at any sporting goods store, to bolster those areas, after which you should be 100% leak free. Also, never store your canopy wet. This will cause it to grow mildew, which not only stinks, but can cause health problems.

|
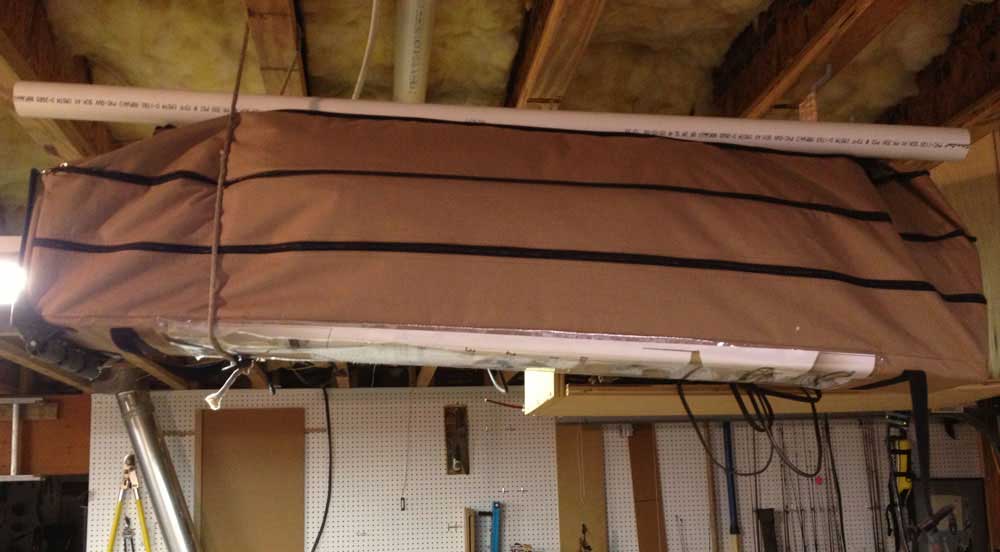
See? I told you it all fits! Hanging it from the garage ceiling keeps the tent out of my way.
The 2" PVC pipe makes raising the frame easy: just push up in the center and the frame extends itself.
|
Tip #2
No Southern-fried Southern boy wants to be called a Yankee, but we share the characteristics of shrewdness and thrift. Thus, each month we include a money-saving tip. It's OK if you call me "cheap."
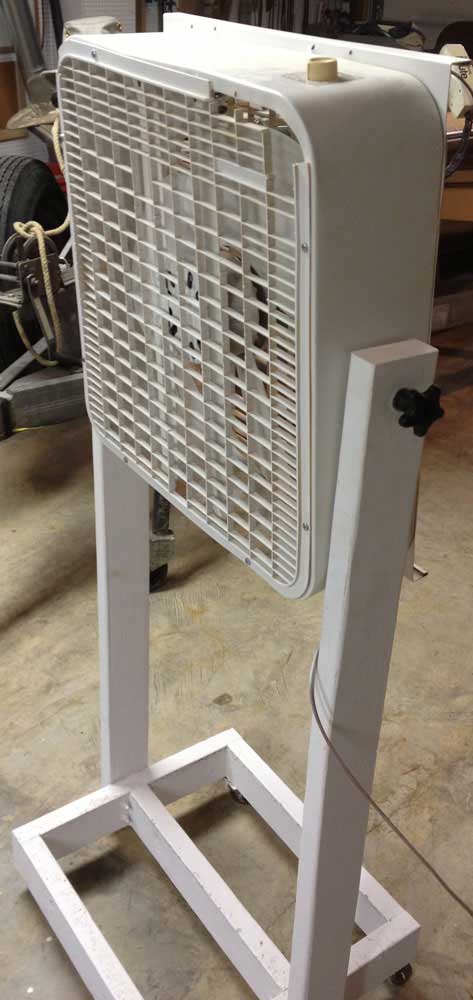
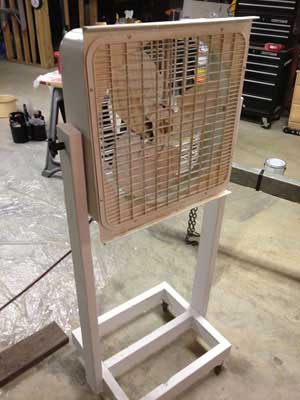
Even when I'm sanding outside, I don't want sanding dust collecting all over everything. So, I took a heavy-duty, three-speed, reversible box fan our neighbor put out for the trash man and installed it on a wheeled frame made from 2x4 scraps. Not only will it go anywhere in the shop to cool me off, but it works great outside as a dust remover, placed close to the project being sanded and directing the air and dust out into the woods and away from my work and me.

|
I have more invested in paint and time than in the fan, which I dug out of my neighbor's trash pile.
The 2x4s were all scraps and the wheels came from my wife's gigantic ceramic kiln. The wheels
were woefully too light-duty for the kiln, but perfect to support my little fan!
|
|
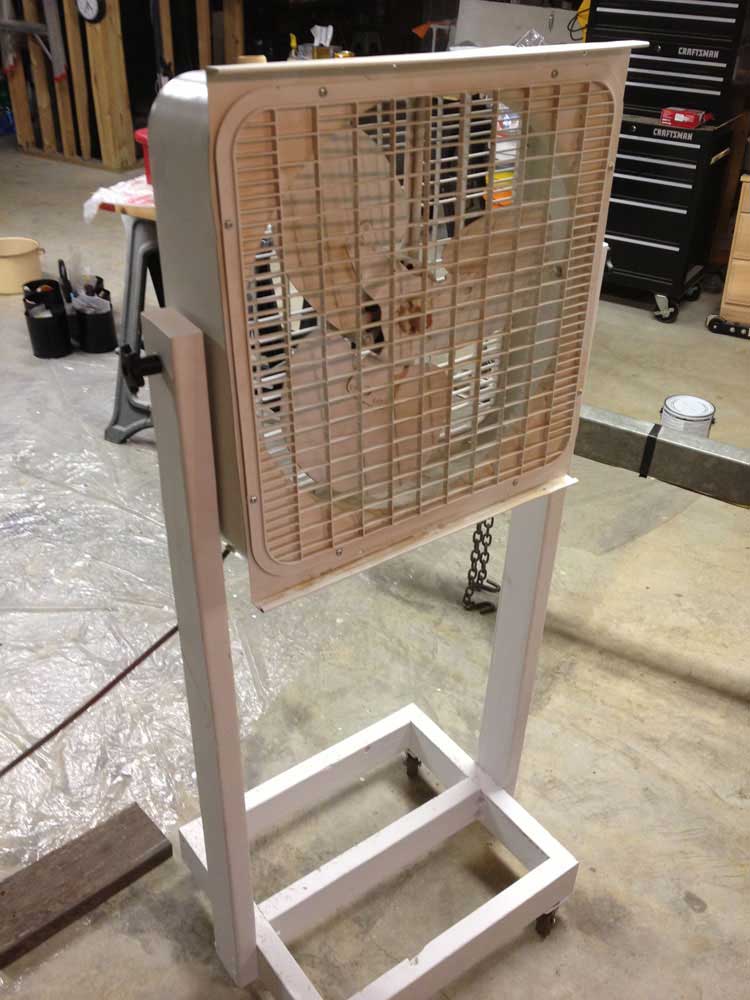
Another view of the repurposed fan. As you can see, some sanding dust
attaches itself to the parts, but that is easily removed with compressed air.
|
Jim Randolph is a veterinarian in Long Beach, Mississippi. His earlier careers as lawn mower, dairy farmer, automobile mechanic, microwave communications electronics instructor and journeyman carpenter all influence his approach to woodworking. His favorite projects are furniture built for his wife, Brenda, and for their children and grandchildren. His and Brenda’s home, nicknamed Sticks-In-The-Mud, is built on pilings (sticks) near the wetlands (mud) on a bayou off Jourdan River. His shop is in the lower level of their home. Questions and comments on woodworking may be sent to
DrRandolph@MyPetsDoctor.com
. Questions about pet care should be directed to his blog on pet care,
www.MyPetsDoctor.com
. We regret that, because of high volume, not all inquiries can be answered personally.
Return to
Wood News
front page