My Last Shop: Part 9 - Final Inspection!
by Michael Smith
Mountain Park, GA
Click on any picture to see a larger version.
Hello again, this is my ninth installment of my experience with building my last shop. To bring you up to speed I am a retired California high school woodshop teacher now living in Mountain Park, GA near my two grown children and their families. Not counting the woodshop where I taught, this will be my fourth and last (probably) shop.
At this point I have everything done as far as the inspectors are concerned. The building is ready to be prepared for shop work. I called for an inspection and Rick the Inspector came out. I have come to like Rick. If I ask, he will explain things that he is looking for, cut slack when he can, and tell me what he needs for his next inspection. I think he respects me too.
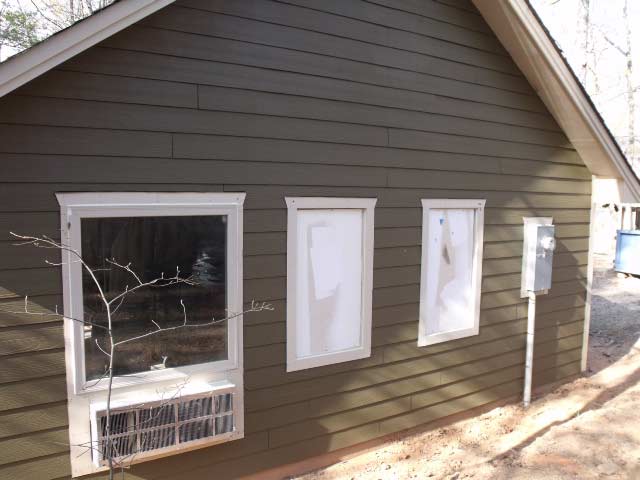
As he walks around the shop he checks for proper grounds at receptacles and that all receptacles are "tamper proof." He gives the breaker box one last look and says, "Everything looks good except…Your window next to the door is not tempered." I respond with, "It's more than 18 inches from the door and code calls for 12 inches, doesn't it?" Rick says, "You are talking about the 'old code', the new code is 24 inches." Arrrrgh! Why didn't someone say anything about this before now?" I assume this code exists so that it makes it more difficult for a robber to break the glass, reach in, and unlock the door. Or, could it be that tempered glass is safer for emergency people to break the glass and reach in? I don't know, what do you think? None-the-less, Inspector Rick says that he'll give me a pass since it's not a living space. Whew! That would have been a hard fix if I had to fix it.
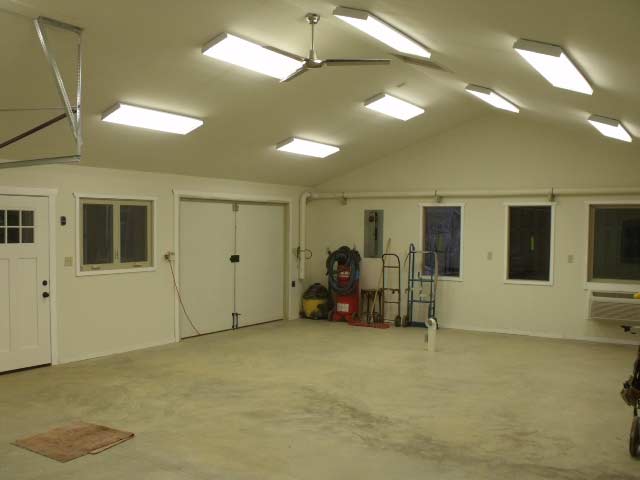
Now, let's start making this into a proper shop. The first thing is to install the AC/heat unit. This is one of those standard sized units like you find in a motel room. It runs on 220 Volts and I wanted one to take the edge off those really cold days or the really warm days. I found a used one on Craigslist for $300.00. If you shop for one be sure to get the sheetmetal sleeve that goes with it. Since they are a standard size (17 x 42), I had the wall framed from the get-go for it. I've since found that it works great for me. In about 30 minutes the shop is comfortable.

|
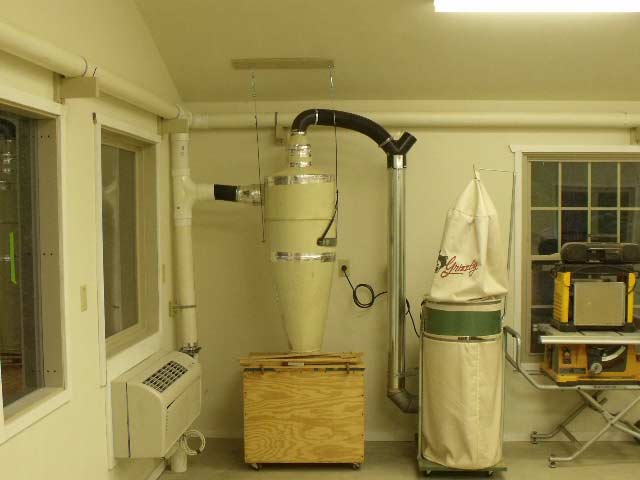
You may remember that I put a four inch PVC pipe in the concrete slab from the wall to the center of the first bay. This is for the sawdust removal at the table saw. I found a used 2 HP Grizzly dust collector with a homemade cyclone and set that up with 4 inch PVC piping around the shop. Sawdust collection and control is something that you need to do your own research on. There really is much to learn and depending on your own situation, you could put a lot of effort into this. Me? I've been breathing sawdust all my life and I'm thinking anything to minimize at this point will be for the better.
I chose PVC drain pipe for the ease to cut and fit. It comes in 10 foot lengths. 4 inch metal flue/duct is comparable in cost but it comes in 5 foot lengths and shorter. If I had chosen to use metal pipe I also could have gone up in size to a five inch diameter with negligible increase in cost. It's all a tossup to me but I can see light at the end of the tunnel and I want to get there. I hung the pipe near the ceiling and added wire inside to control static electricity. The wire is grounded in several places to the building ground.
I was not sure if I would need to take the pipe apart again, so instead of gluing the joints I drilled and screwed the joints. I haven't had to take it apart yet. Also, I left places in the piping where I might want to add suction for machines like the planer, jointer, bandsaw or whatever. Feel free to write and ask if you have more questions about how I did this phase.
Next, I had to decide how I was going to switch on the dust collector. As I saw it I had three choices. The easiest choice was to use the on/off switch at the collector. One person suggested that I add microswitches to the blastgates. The microswitches would be wired so that when I open the gate the collector would turn on. I thought this was a good idea but I would have to go to the blastgate to turn it on and then back again to turn it off.
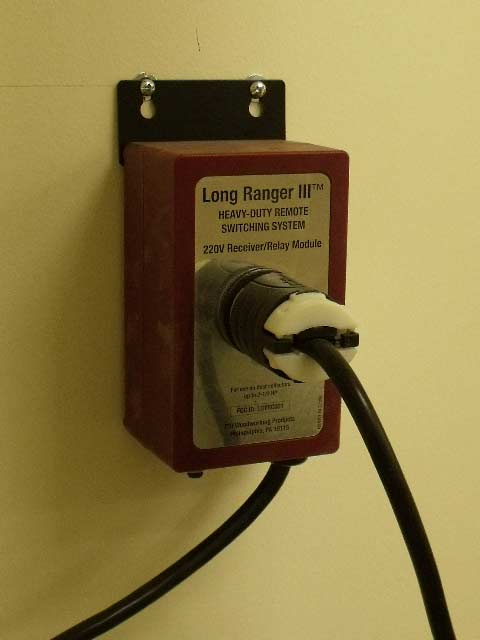
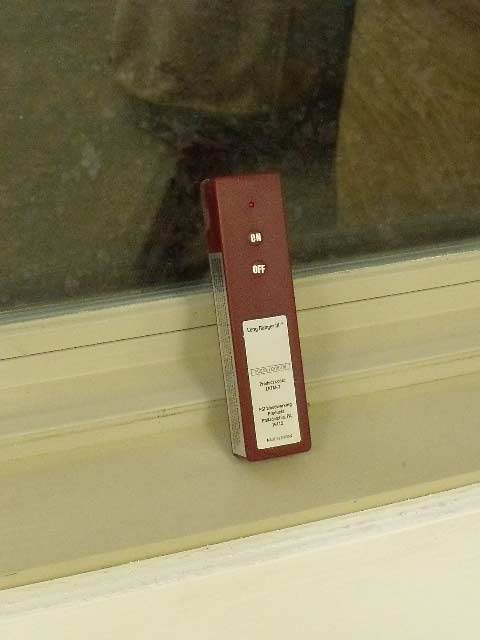
The third choice and the one I chose was the
Long Ranger III
from Highland Woodworking. There are several models of this device including a blast gate setup. It plugs into your electrical outlet in front of your machine and with a remote keypad you can turn it on or off. The keypad can clip on to your belt, apron, or fit in your shirt pocket. So far, in practice I leave it on the fence of my tablesaw.
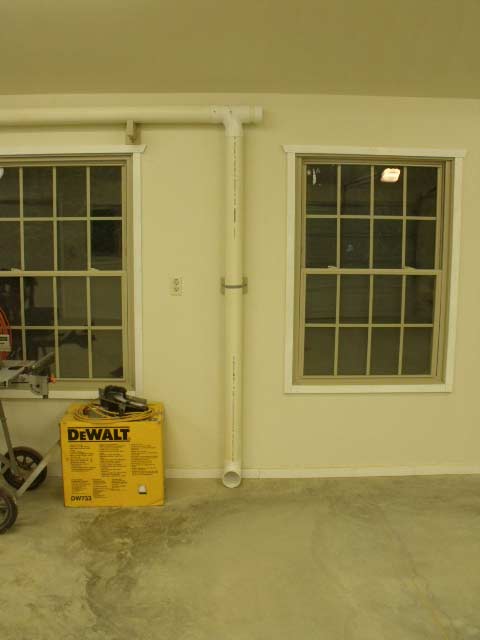
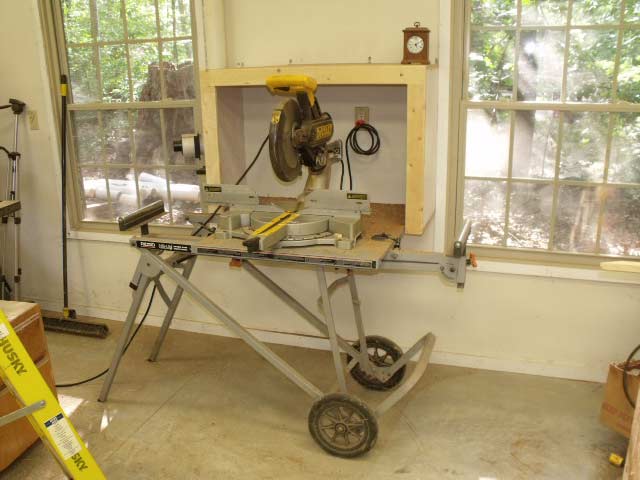
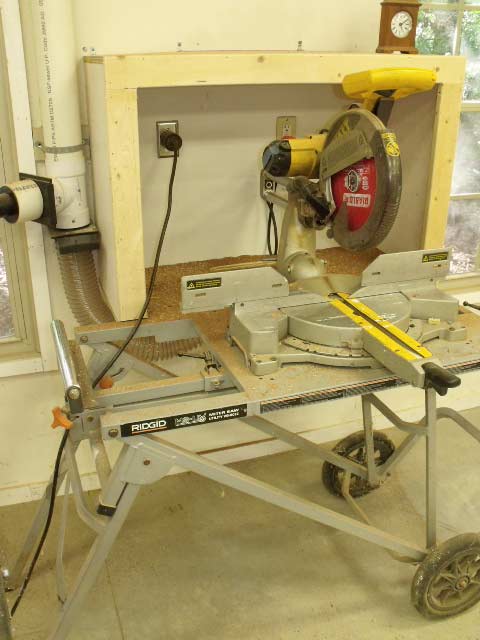
I have a DeWalt Sliding Compound Miter Saw that came with a little dust collector bag. I tried replacing the bag with a hose from my shop vac and I still got sawdust all around. So I made a box frame and attached it to the wall and connected a 4 inch flex pipe to it. It still makes a mess but not anywhere near what it used to do and I can still take the saw out of the shop if I have to work somewhere else.

|

|
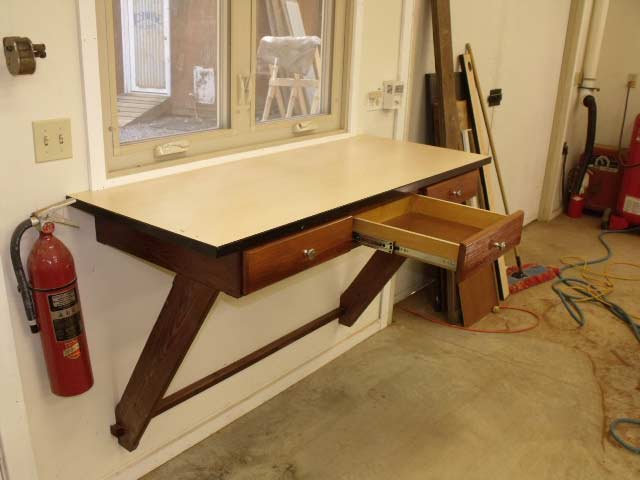
Finally, to draw this to a close, I needed to make an administrative area. A place where I could conduct some business, keep the shop radio, and store some things. So I made up this desk with some of the scrap materials that I had. It's all attached to the wall so I could sweep the floor underneath. Three full extension drawers and a solid desk top. You should also notice in the picture that I have installed a class A-B-C fire extinguisher beside the desk and next to the door. I also installed the old pencil sharpener that was in my classroom when I taught woodshop. I figured they had plenty more spare sharpeners in storage and I took it with me when I retired.
Michael can be reached by email at
woodsmith@sonic.net
.
Return to
Wood News
front page