Building a Thickness Sander and Re-Saw Jig
by Linda Master
Dexter City, OH
Click on any picture to see a larger version.
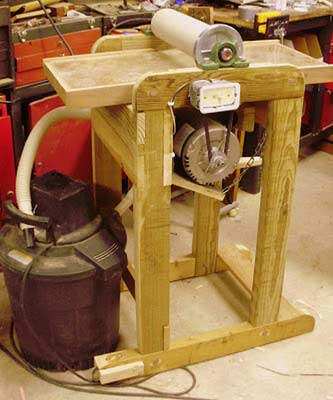
Thickness Sander
I am a miniature artist. It became painfully obvious that I was going to need a way to get really thin boards for my miniature accessories. My planer, even with the auxiliary table to raise the bed and do work, was not adequate. I knew I needed a thickness sander. I have been wanting to build one for about 25 years now, ever since I saw the plans in one of my woodworking books. The time was not right back then but it is now! I searched the internet for plans, copied a bunch, and settled on this one. The exploded view really intimidated me and the instructions were like reading Japanese at first. But I stuck with it and soon , everything made sense. Well...sorta....
I bought the motor and pillow block bearings, some hardware, the velcro roll, and sandpaper rolls. Everything else I had on hand. I studied the diagrams, making sure I was deciphering it all correctly before I dove in...head first.
|
|
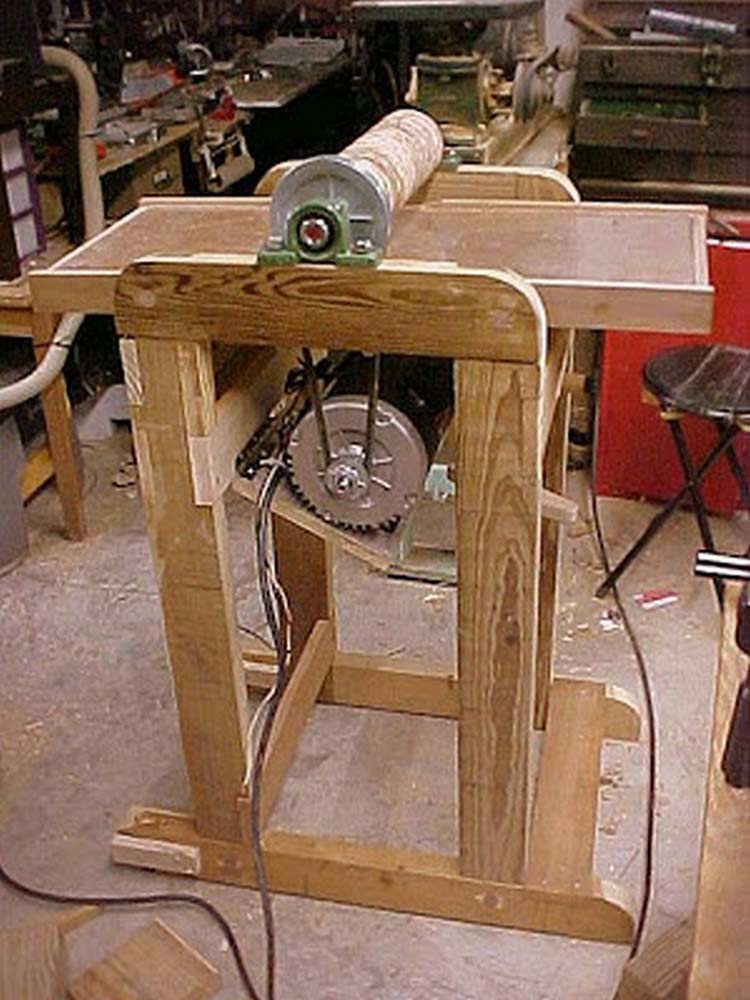
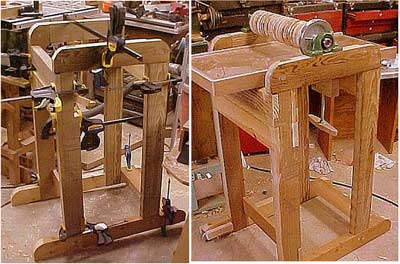
I constructed the frame according to the plans. I had to cut 18 plywood discs to make up the drum.
|

|
|
Then I had to wire the motor....I was so scared!
|
Was it going to work or explode??? I cut a cord off of a defunct power strip to use for the power cord. Why didn't I throw the power strip away when it died? Because junk is your friend! I always save everything and it always comes in handy! Anyhow, the wires in the motor come coded but they assume you know what the numbers mean and what goes where. Well, after several phone calls and some internet research I learned that black was hot, and turns out, the numbers are kinda standard! So I figured out how to wire it, BUT, not only did the switch on the motor not work, but I needed to mount the switch on the tool. A schematic that I found online provided the clue I was looking for. That's how I surmised that the code numbers were standard.
|
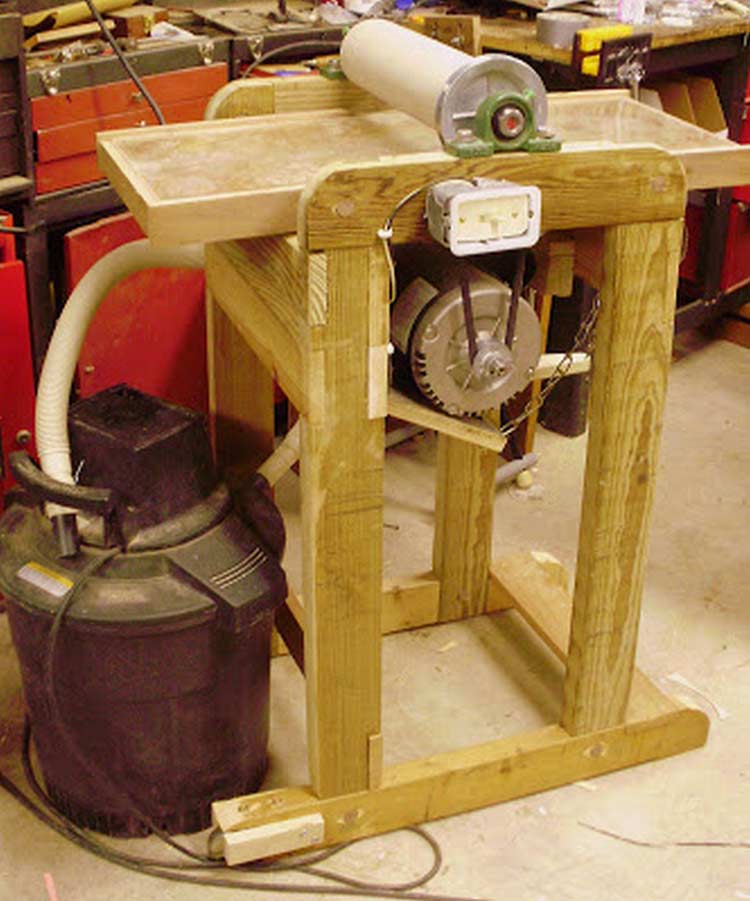
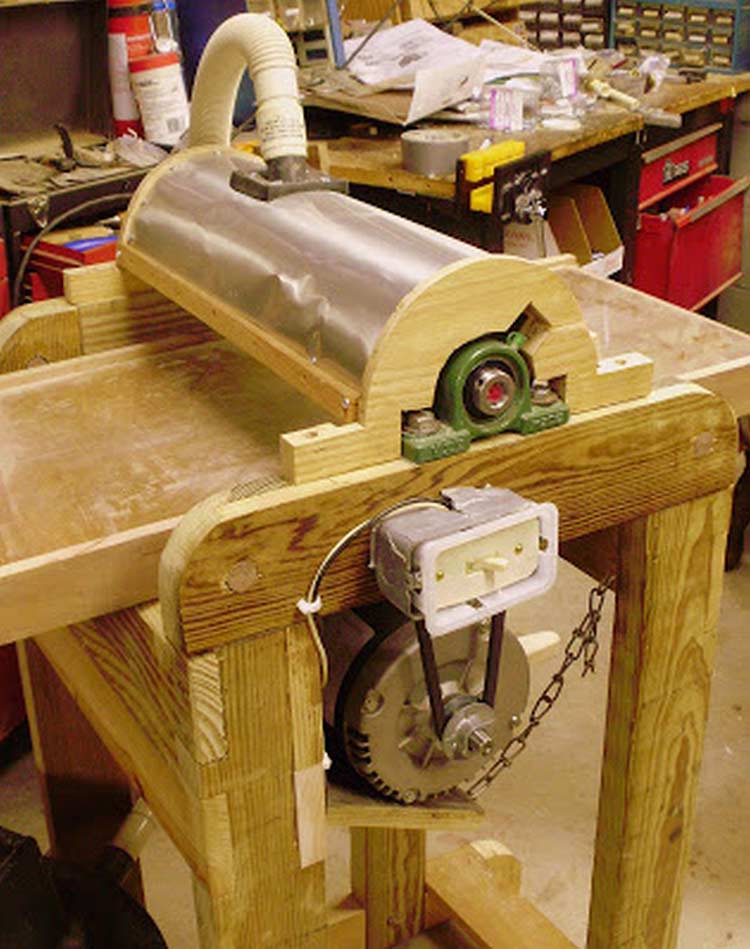
The switch seen above is just a lightswitch cut down to the size of the box, but I needed to recess it. I went back to the "box of cool junk" and I found the perfect thing! A container from a printer cartridge. The first time I flipped the switch I was literally shaking, success!
The last step was to true up the drum using the sander, pushing sandpaper through. Wrapping the drum in velcro was NOT fun! But once everything was finished I tried it out, and it was very exciting and worked great!
Re-Saw Jig
I saw a video on a small store bought log mill. I was intrigued because I had a very similar idea 20 years ago and built one for my table saw. This one is for the band saw. So I incorporated ideas from my old one and the commercial one to come up with my own little log mill for my band saw.

|
|
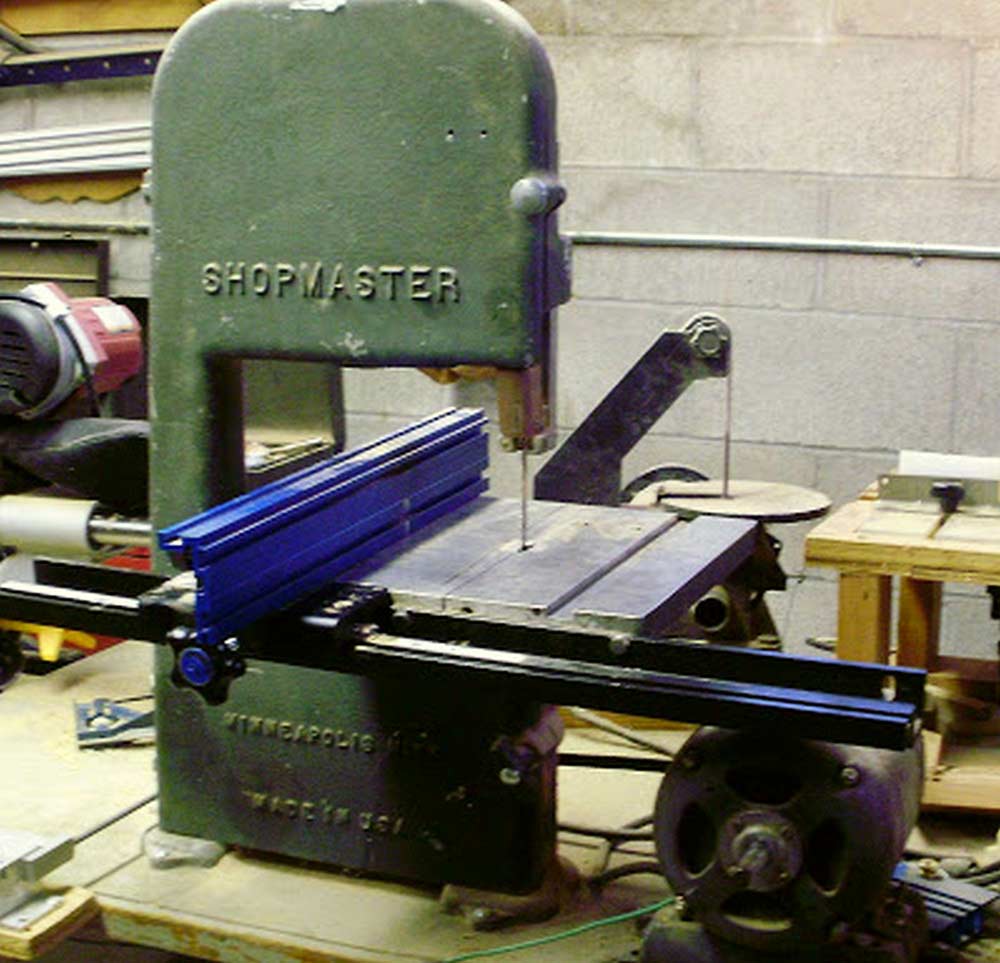
It's kinda funny because here I've got a $100.00+, beautiful Kreg re-saw fence mounted on an old 1940's band saw that was found at a flea market for dirt cheap. And yes I had to rig it up to fit.
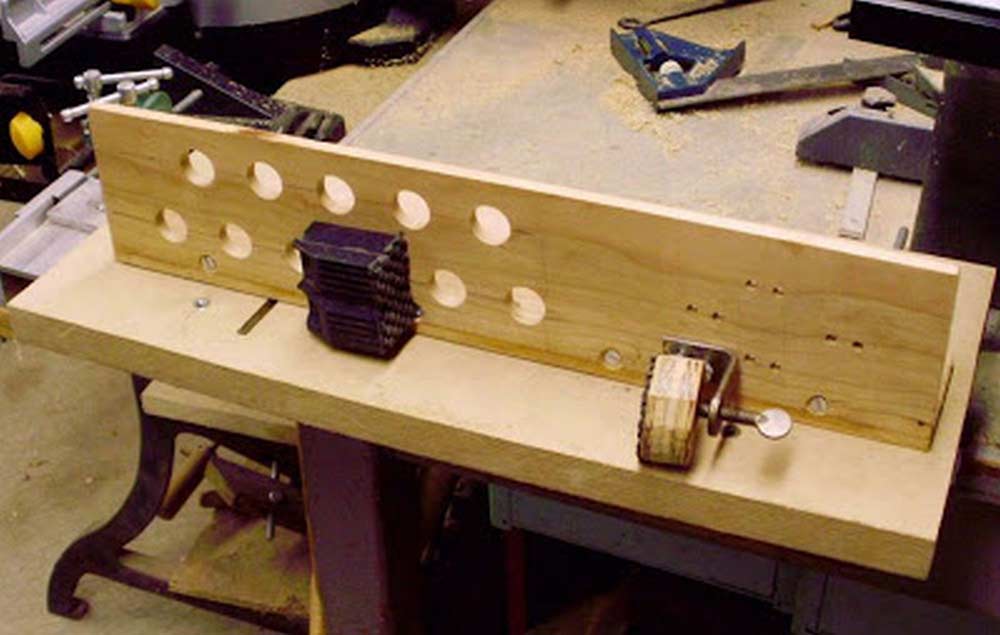
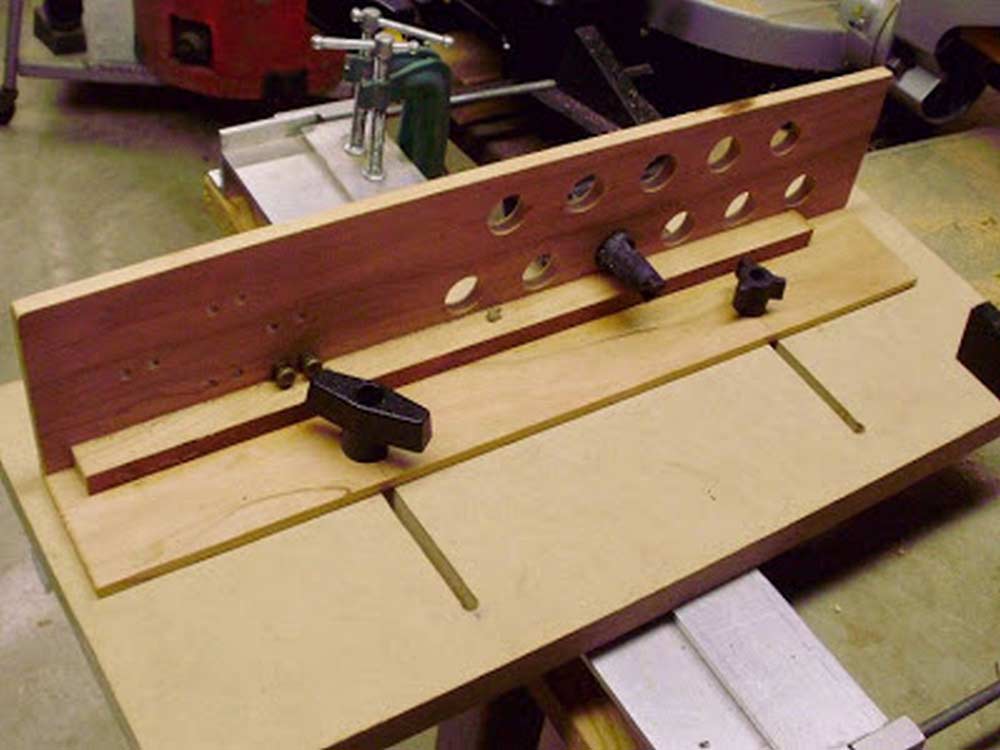
|
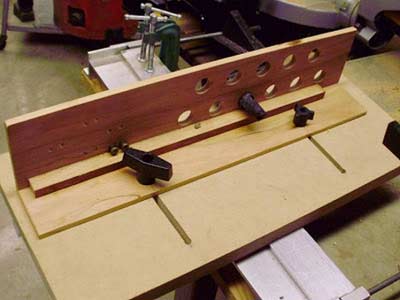
Above is the front of the jig. I "borrowed" a plastic bench dog from a cheap little work table, the kind that opens up and closes flat, to use for the back clamp. I drilled a series of holes to accept the clamp and I added some of that non-slip stuff to it's face. For the locking clamp, I found the perfect thing in the "box of cool junk". As I've said before, junk is your friend! I had to cut off one side and make the plywood clamping surface, again with that non-slip stuff. I drilled two holes in it for the knobs and another series of holes in the fence.
|
|
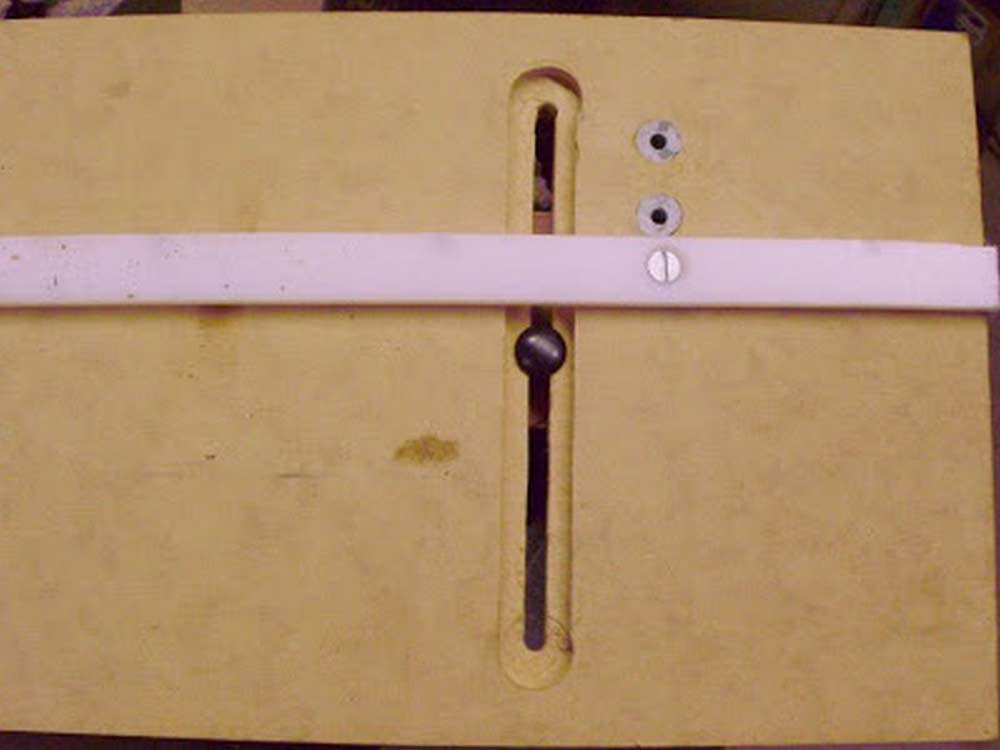
This is the back of the jig. I made two slots in the platform for the fence to ride in.
|
|
|
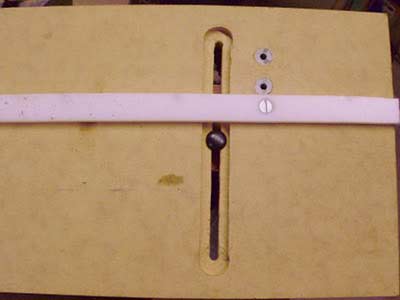
This is the bottom, showing the miter bar. I put tiny screws in the side of the bar to micro-adjust it to the miter slot so there would be no side-to-side play. I didn't have any T bolts so I had to use carriage bolts in the fence slots.
|

|
|
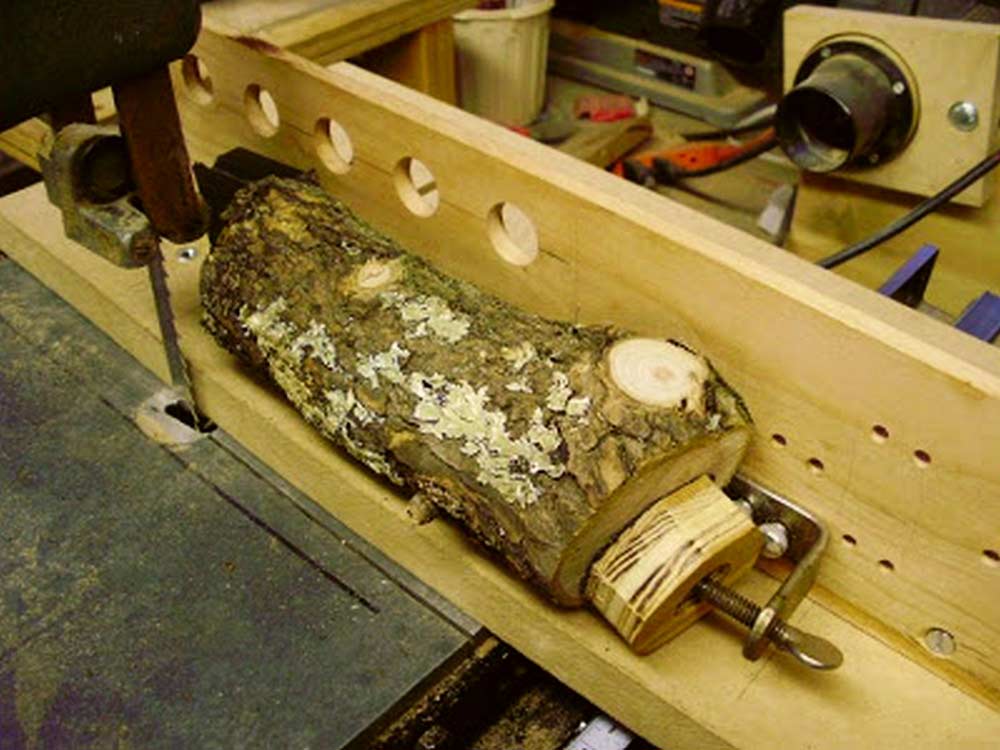
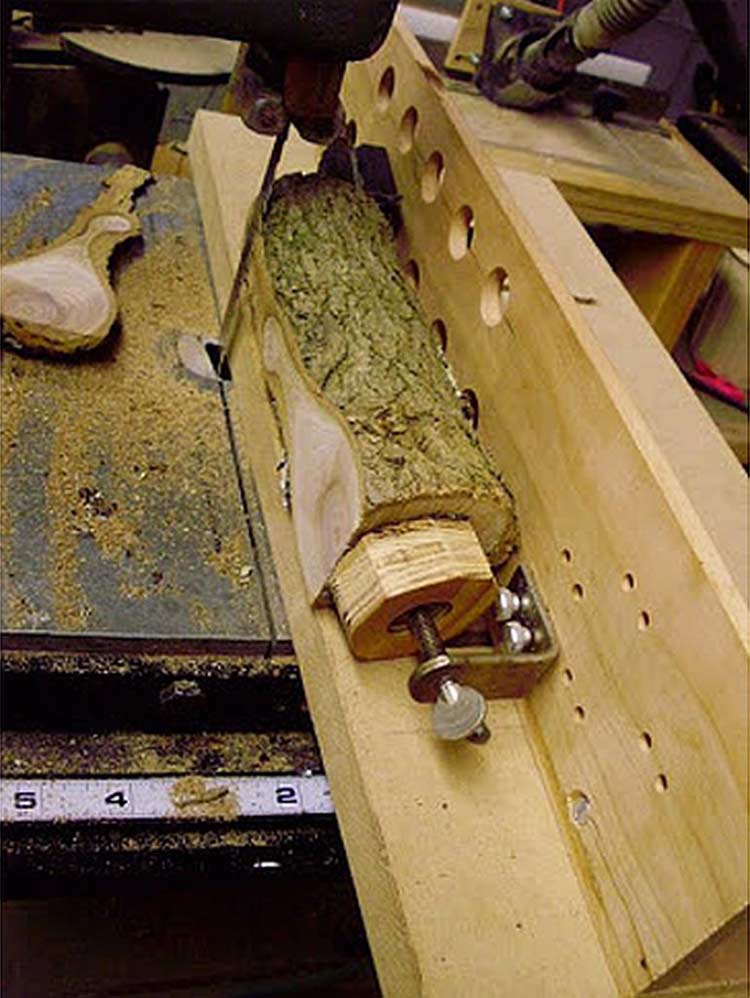
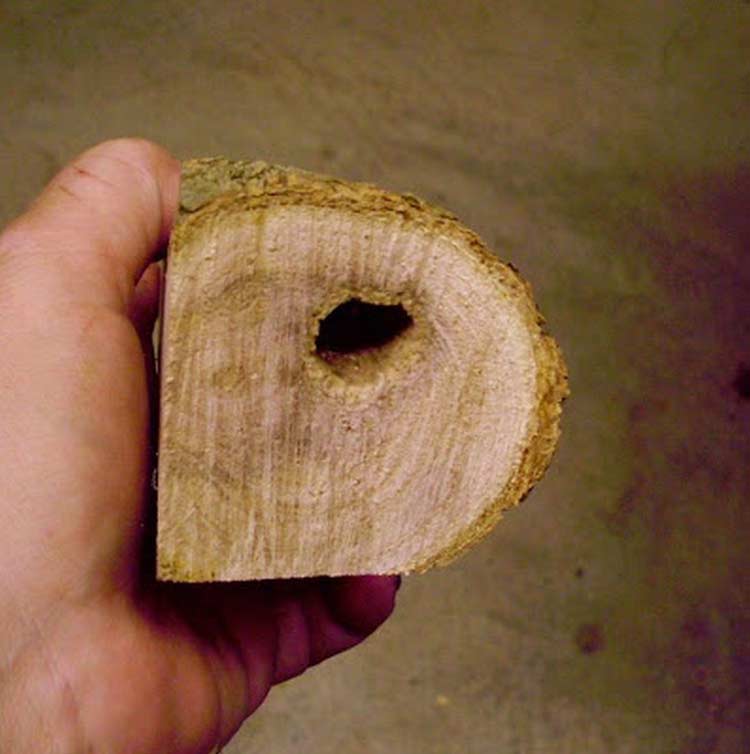
Here it is mounted in the miter slot of my saw, ready to go. Last year I cut some little sassafras trees from around my electric pole. No it's not like Green Acres, I don't have to climb the pole to answer the phone :) A whole bunch of these trees have encircled the pole. It's pretty in the fall. I took a little log, cut in half, and decided to use it to try out the new log mill.
|
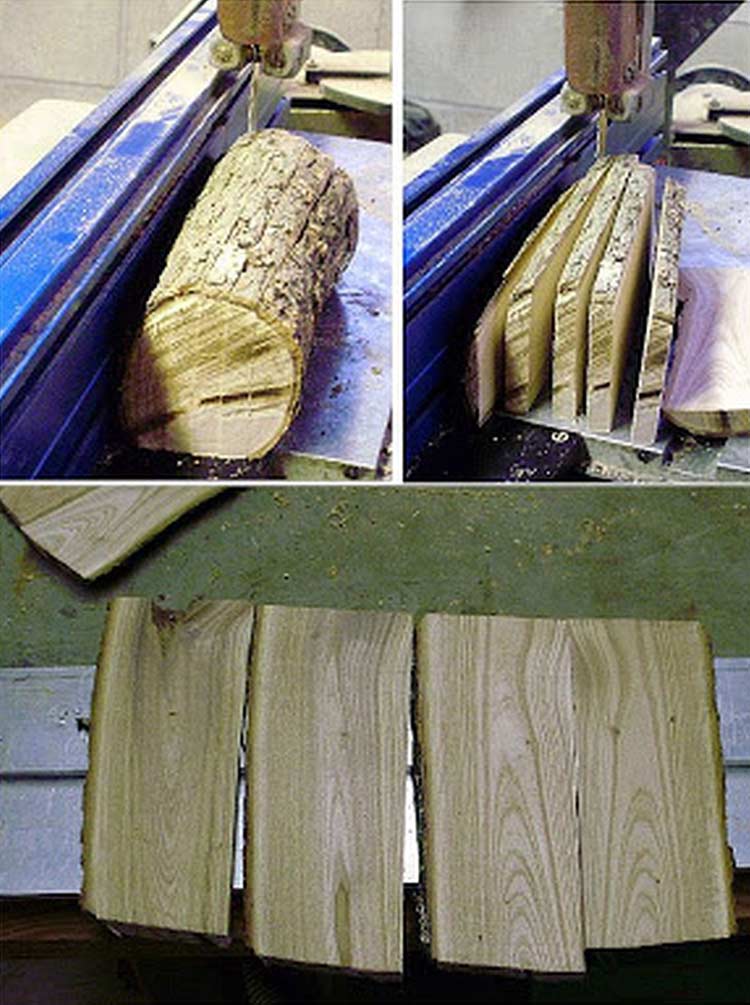
After I got the 2 sides squared on the little log, I adjusted the fence to about a quarter of an inch and ran the little log through.
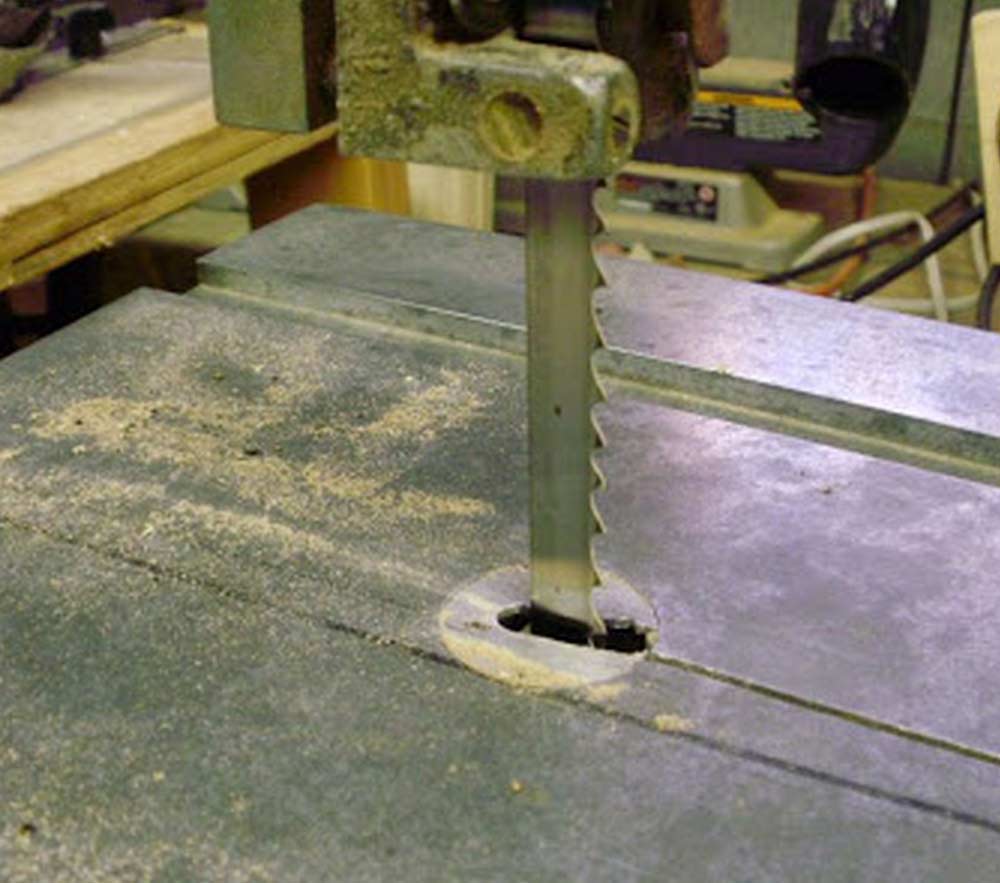
I got a really nice re-saw blade from Highland Woodworking (one of my favorite woodworking supply companies) called
"The Wood Slicer"
They custom made it for my odd sized beautiful old band saw.
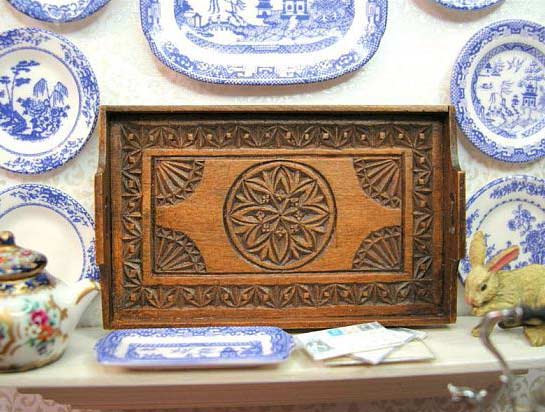
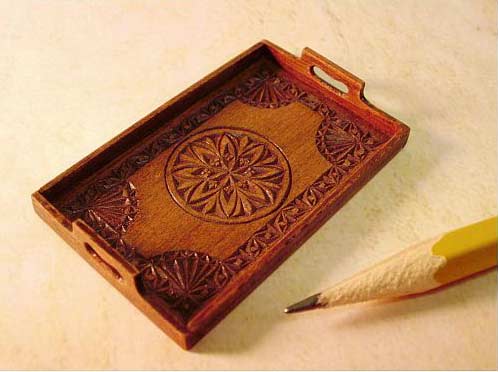
Below are some pictures showing the miniatures I make and why these home made tools are so necessary to me. These items are 1:12 scale dollhouse miniatures. The first 2 pictures are of a miniature, chip-carved, hand-made antique tray made from Pear. This is a piece made from wood thicknessed with my homemade sander:
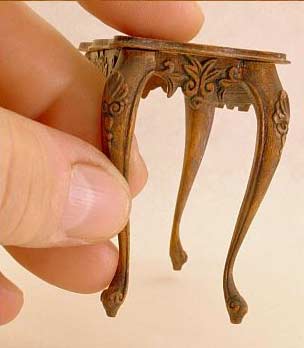
The next two pictures below are of a hand-carved, French-style table.
You can email Linda at
miraclechicken@msn.com
. You can also visit her website at
http://www.miraclechickenminiatures.com
Return to
Wood News
front page