Tips From Sticks-In-The-Mud Woodshop
by Jim Randolph
Long Beach, Mississippi
Click on any picture to see a larger version.
Welcome to "Tips From Sticks-In-The-Mud Woodshop." I am a hobbyist, not a professional, someone who loves woodworking, just like you do. I have found some better ways to accomplish tasks in the workshop and look forward to sharing those with you each month, as well as hearing your problem-solving ideas.
Tip #1
Compressed air is great for quickly blowing sanding dust from your projects, but it has one potential drawback: moisture. If you are going to use compressed air for this, be sure to drain the water from the bottom of your tank frequently. In fact, every compressor causes condensation of water from the air it compresses, which can lead to rust and explosive tank failure.
|
|
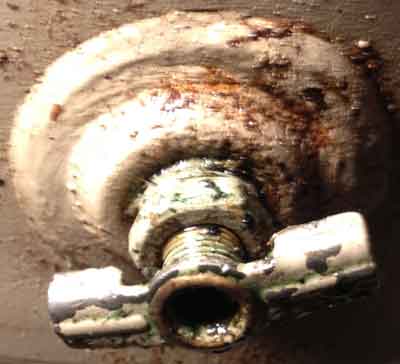
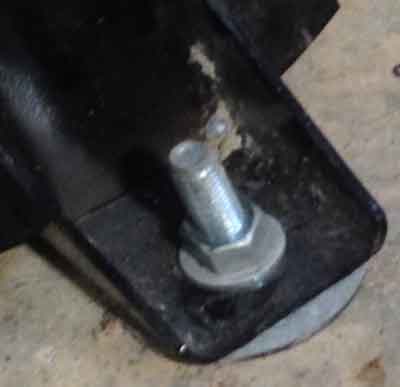
This little valve is fine for a pancake compressor or portable
unit, but the same valve on a stationary tank
is simply inaccessible.
|
Every tank has a drain valve at the bottom, but it's frequently difficult to access, nearly impossible to turn (assuming you can remember which way is open), and blows a rusty, oily residue on your shop floor. Any preventive maintenance job you can make easier is a job you will perform more often. Installing a simple quarter-turn ball valve is the first step. This is a job for a licensed plumber. Yes, you will have to pay him, but the long and safe life of your air tank will make his paycheck more than worthwhile. Still, you must plan ahead. Decide in advance where you want the piping to go and where the outlet should terminate. Where do you want the valve? Close to the tank or close to the wall? Because there usually isn't much space under the tank, you may need to disconnect the electrical and air lines and lay the tank on a blanket on its side. You may have to have a licensed electrician join the party. With a tall, top-heavy unit such as the one pictured, your plumber won't be able to handle the physical aspect alone; ask in advance whether he will let you help or if he should plan to bring his helper along.
Another plan-ahead tip: use calipers or a small compass to measure the distance between the bottom of the tank and the floor. Sure, you could lay a straight-edge across the legs and determine that measurement after the tank is lying down, but it won't take into account the amount of compression of the vibration-isolating pads. Give that information to your plumber when you make your appointment so that he can bring along the right fittings.
|
|
You will have a hard time accurately estimating the
allowable space for your connections unless you measure
before you unbolt your tank. I had so little space on this unit
I had to go to the hardware store three times before I found
3/8"x "close" brass nipples short enough for my plumber to use.
|
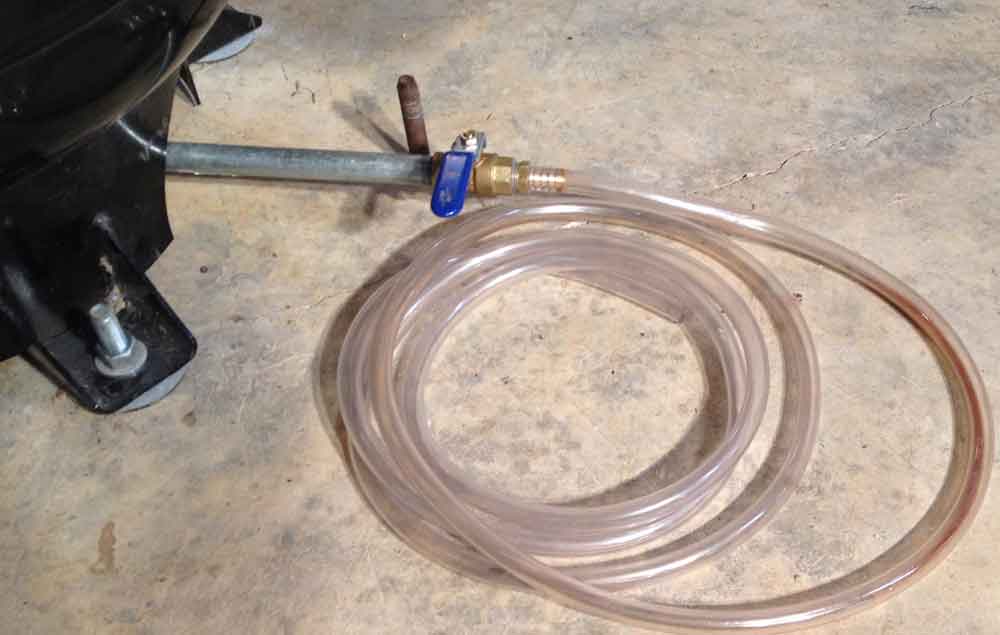
If your collection of connectors is too tall, you won't be able to stand the tank upright again. To minimize leakage, your plumber will use plenty of pipe dope and get his connections really tight. I believe the best-case scenario is piping through a wall to the outside. I didn't have that option because the wall adjacent to my compressor is below grade. A hose works fine, but it does add an extra step. I have to route the tubing out to the driveway, secure it so it won't flop around like the proverbial headless chicken, then go back indoors to open the valve.

|
|
Originally, I envisioned the piping running behind the tanks
along the wall, but there just wasn't room to work back there.
This setup works well because it's not a battle to reach the
valves. If we are to be diligent with maintenance tasks,
we must make those tasks relatively easy.
|
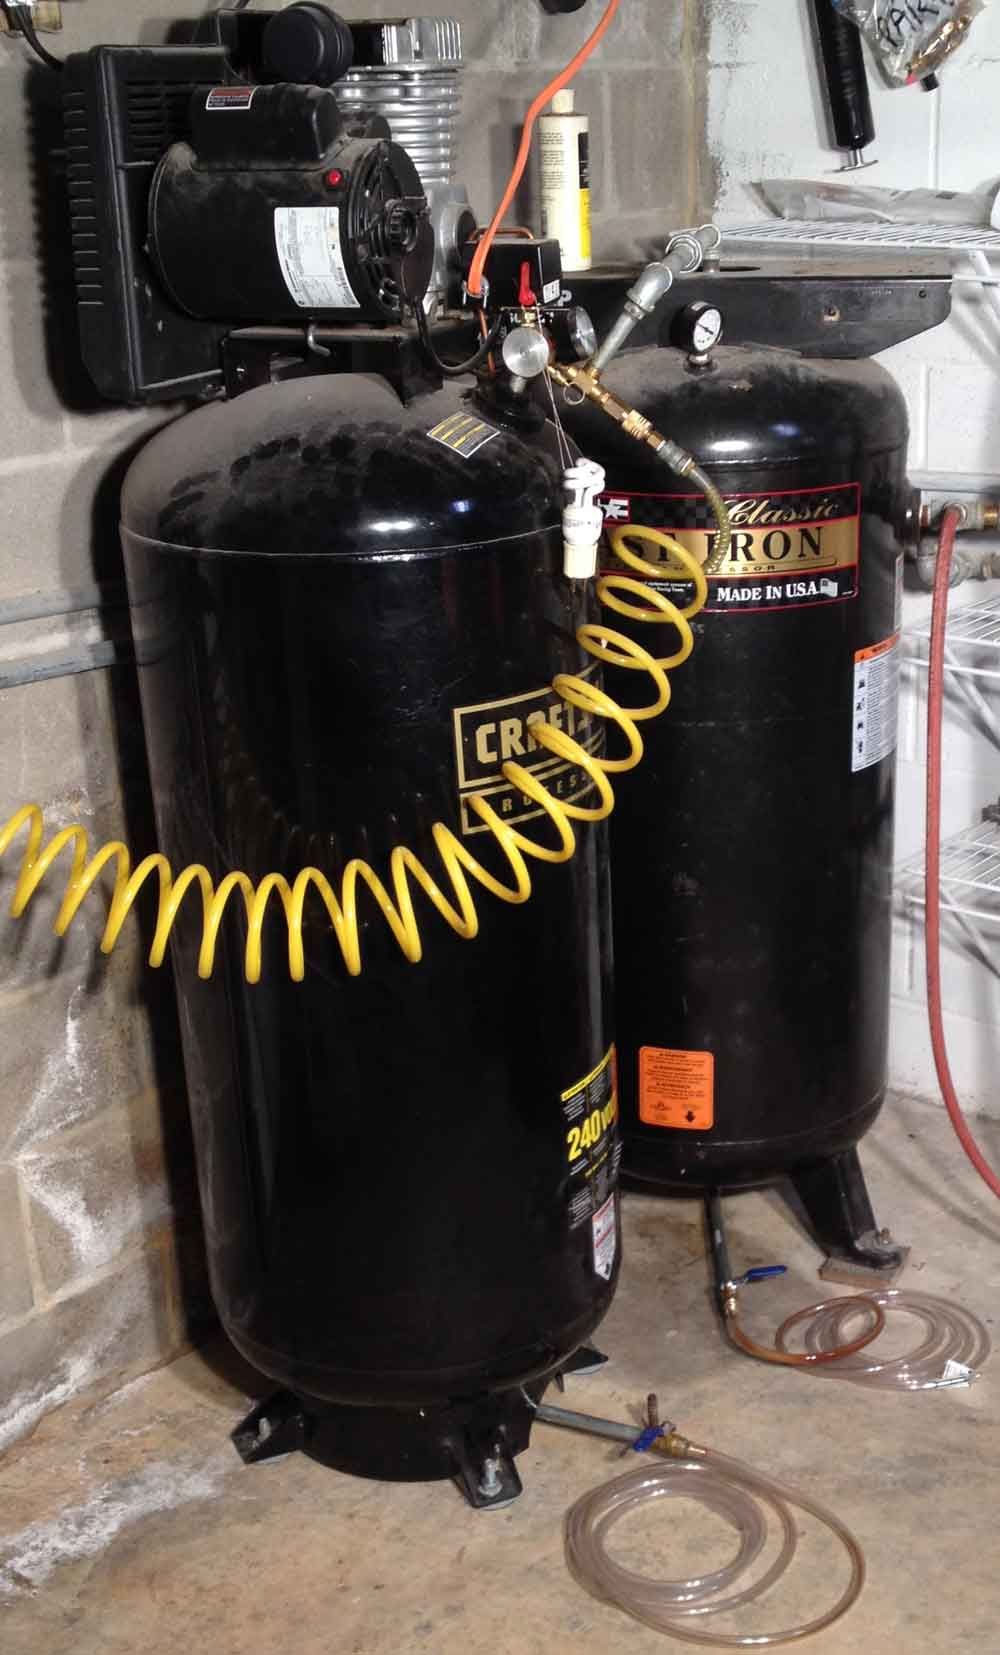
An inline drier helps to get that water content even lower, and it prevents water from ruining your air-driven pneumatic tools. Dry air is most important when spray painting.

|
|
After
Hurricane Katrina
flooded the lower level of our home
and nearly every tool was ruined, I was still able to reuse my
old air tank, even though the compressor was damaged.
Doing so doubles my air capacity.)
|
Tip #2
No Southern-fried Southern boy wants to be called a Yankee, but we share the characteristics of shrewdness and thrift. Thus, each month we include a money-saving tip. It's OK if you call me "cheap."
Everyone who is patient, raise your hand.
|
|
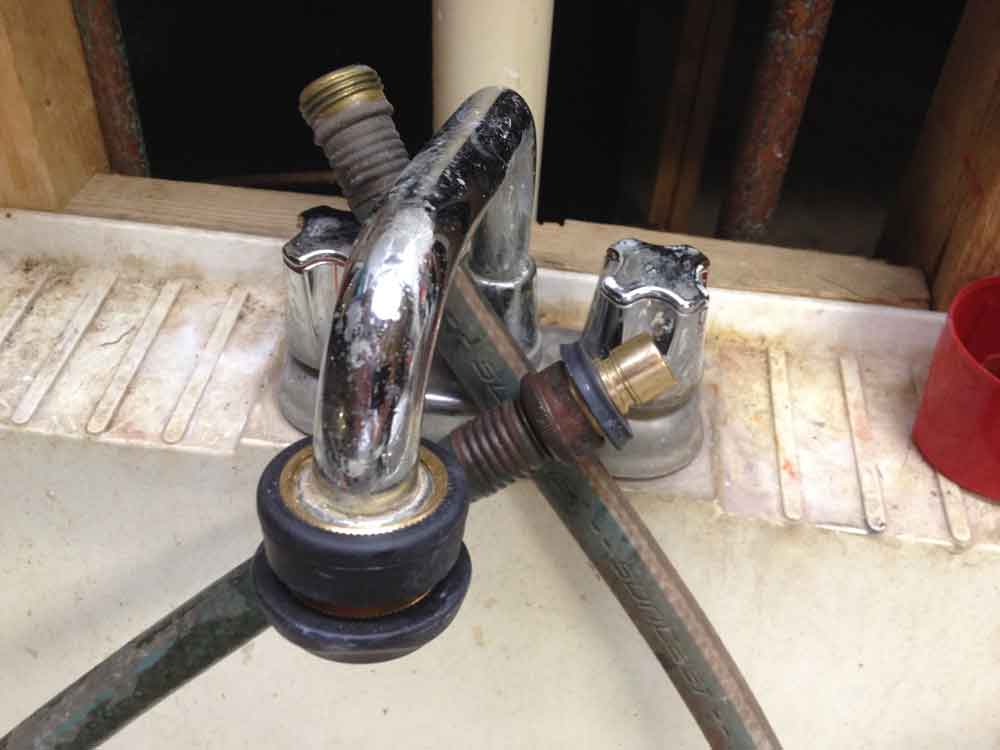
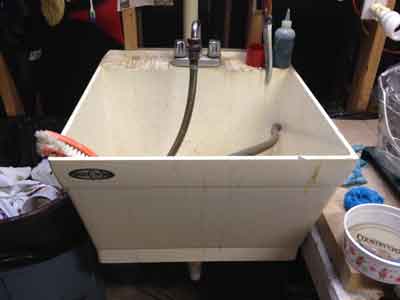
Marc Spagnuolo, The Wood Whisperer, says that his fourth
shop is the first to have running water. He considers
it a luxury to be able to wash his hands without having
to trek all the way to his house. An inexpensive laundry
sink can be a workhorse in your shop. Be sure
the faucet you install will accommodate a hose.
|
That's what I thought. Nobody! Me, neither! So, anywhere I can save a minute and a bit of frustration, I am going to take advantage of it. I first used a garden hose quick-disconnect for my boat. The hose I use for the motor flush usually has a 6-pattern nozzle attached. The fitting in the boat's engine will accept a standard male hose end, but if you attach the hose directly, you first have to twist it counterclockwise, then screw it into the engine fitting.
|
|
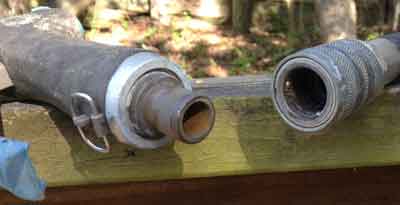
No need to ruin your good garden hose to flush your boat's
motor. You can have a good, brass set of quick-disconnects
for under $5.00. Don't waste your money on the
plastic version; that would be false economy.
|
It just made sense, then, to keep a male quick-disconnect in the boat to allow rapid disconnection of the hose's nozzle and fast attachment to the motor for flushing.
|
|
Fishing is fun. Woodworking is fun. Flushing your boat’s
motor, not so much. A quick-disconnect on the nozzle
and one for the boat makes a fast transfer for the hose.
|
One day I was washing a paint brush in this laundry sink and needed a hose to spray the brush to best remove remaining soap. Tiring of screwing the hose onto the faucet, then unscrewing it again when I needed the spout, a light bulb came on in my brain! I marched out, borrowed the quick-disconnect and installed it on this hose.

|
|
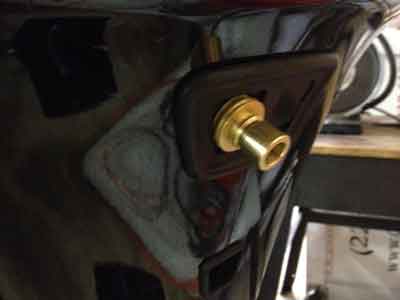
Your "sink hose" can be almost anything. I used an old washing
machine hose by cutting off one of the female ends. You can
also purchase a short hose like this one. For some reason,
these short hoses come only in "heavy duty," which is good!)
|
Now, I can use the hose one moment and the spout seconds later with almost no wasted time. And, yes, I did write myself a note to buy another set of quick-disconnects to replace the one I borrowed. (Of course, if it wasn't written down, it wouldn't have happened.)
Jim Randolph is a veterinarian in Long Beach, Mississippi. His earlier careers as lawn mower, dairy farmer, automobile mechanic, microwave communications electronics instructor and journeyman carpenter all influence his approach to woodworking. His favorite projects are furniture built for his wife, Brenda, and for their children and grandchildren. His and Brenda's home, nicknamed Sticks-In-The-Mud, is built on pilings (sticks) near the wetlands (mud) on a bayou off Jourdan River. His shop is in the lower level of their home. Questions and comments on woodworking may be sent to
DrRandolph@MyPetsDoctor.com
. Questions about pet care should be directed to his blog on pet care,
www.MyPetsDoctor.com
. We regret that, because of high volume, not all inquiries can be answered personally.
Return to
Wood News
front page