The Great Sawbo - Part 2
by Scott Stahl
Click on any picture to see a larger version.
CLICK HERE
to read Part 1 of
The Great Sawbo
article.
In the preceding installment, we milled the stock, prepared the mortises, and glued both halves of the top. Now it is on to the fitting of the signature Roubo bench joint and the final gluing of the bench top.
All of the parts were moved into the inside shop after the power tool mangling. All of my machines are in the garage, dubbed the "outside shop". I have a bench in the basement with my hand tools, christened the "inside shop". I often drag stuff from the basement to the garage and back. Someday I will correct this, but at least I get the benefit of stair exercise. The differences in the two shops contributed greatly to the task list being explained. Feel free to change any step to suit your shop geography.
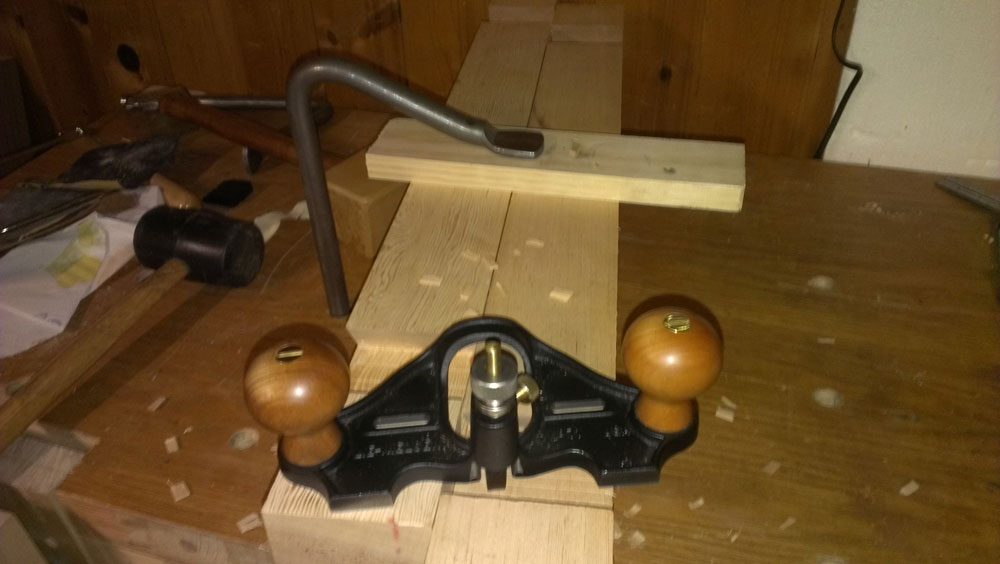
The first step on the work bench is to clean up the angled mortises. I used a router plane. The flat in the center made by the dado blade gives the router plane a dead easy registration surface. My Lie-Nielsen Large Router Plane reached the edges of the mortise with ease; only a little cleanup was done with a chisel. Here is a photo of the router plane and some of the waste chips:
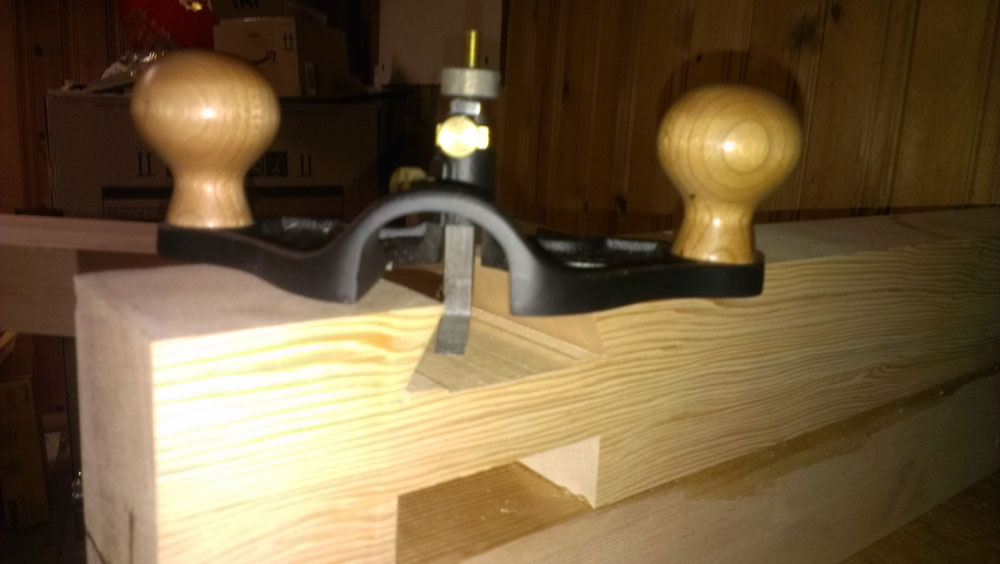
A photo registering the depth to complete waste removal:
Next, I removed the rest of the waste in the leg notches. I made a bunch of saw cuts to the layout line and then used a chisel to knock out wood chips. The base of the joint was leveled with a sharp chisel and
Iwasaki File
.
Any final cleanup of the mortises should be double checked and refined. Next, I traced the mortise outlines onto the end of each leg. I put one glued up half on the bench, bottom side up, with the mortise hanging over the edge in free space. A
holdfast
kept it secure while fitting the leg over the mortise opening. I made sure to position the leg so that the mortise area was completely covered and the outside faces were completely flush; gravity holds it in place. Next, I carefully traced the mortise outlines on the end grain from below. A mechanical pencil with fine lead is great for this. Remember to match the correct leg to the correct mortise. I flipped the leg and identified the waste. I marked and then worked each leg; it is completely OK to mark them all at one time for later processing (fifth leg is free, just pay separate processing and handling).
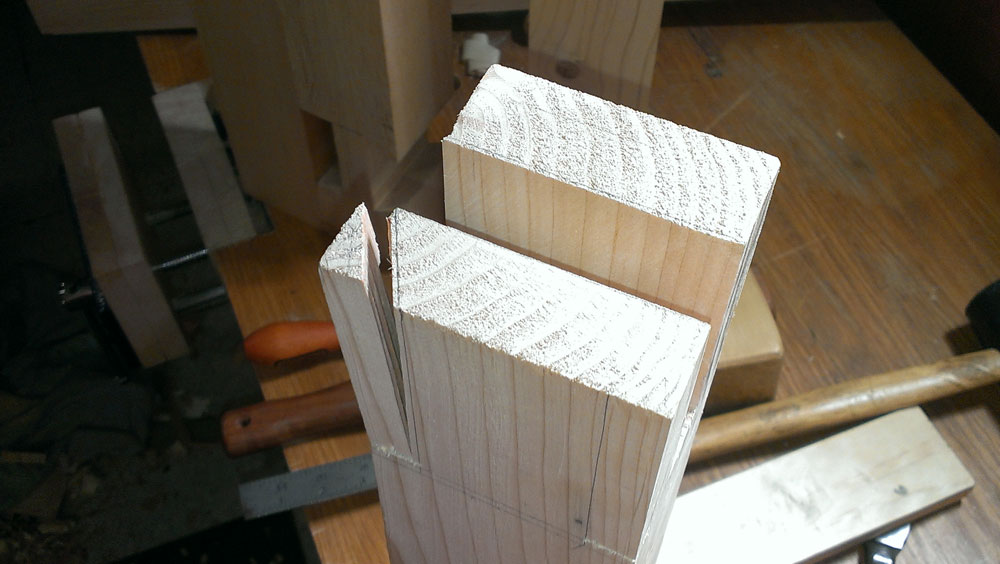
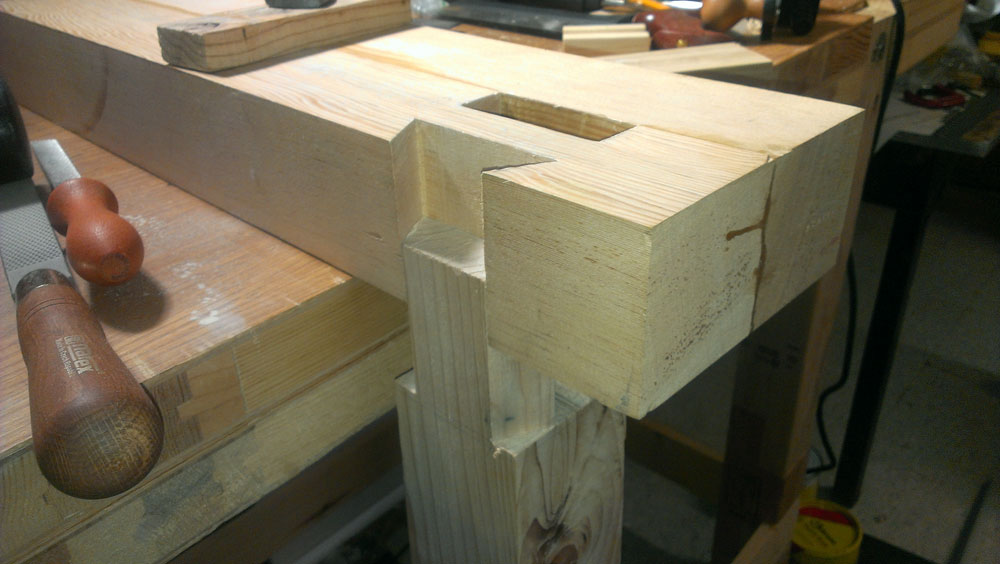
The legs in my bench are pine. I chose to split off the angled portion of the waste and then used a rasp and file to true it up:
Notice the layout lines in the photo. These lines gave me a target for refining each face. I'm thankful it occurred to me to put them on before splitting, or sawing the wood. I sawed the shoulder of each angled tenon before splitting in order to guide the splitting process. Having the layout lines in place made sawing very straight forward (read: easy enough for me to do it!).
Since the legs are 3-1/8" square there should be a small shoulder to cut on the inside (rectangular) tenon. I attempted one by hand but since it is so narrow, I ended up going back to the outside shop for a careful pass on the table saw blade. Even then I went just shy of the line for fear of taking too much; I should have been more daring to save hand labor at the bench.
Shaping the first tenon to fit the mortise was a very long process. Part of the problem is me because I have never done this joint before. I was very tentative in the shaping process. The successive joints were done more aggressively.
The sight of the two pieces not fitting together at all is rather intimidating. Remember that the flush front face is the goal. The front is the starting point for everything else. Crafting the joint mortise first is like doing a Rubik's Cube. All 8 faces of the tenon have to be evaluated by eye to see where material needs to be removed. Nearly four hours of shop time were spent getting the first joint snug. Shape, test, shape, test, shape, test... I used a
file
, a
rasp
, and occasionally a
float
to shape the tenons and mortise where need be. All of the tools are available from Highland Woodworking.
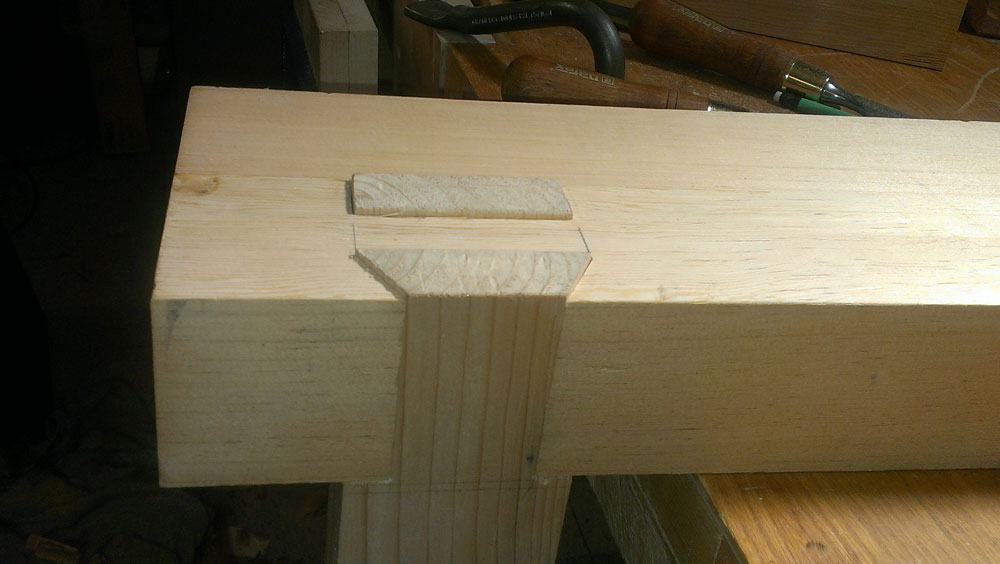
One thing I learned by doing this joint, that was not found in any of the print or online sources I researched, was to undercut the tenon toward the 'base'. During repeated test fittings it occurred to me that undercutting by a few thousandths of an inch would not hurt the structure at all and would actually help me seat the joint. Once this epiphany set in, the testing and fitting went much faster. The first joint took four hours, but the last joint only required about 20 minutes to shape.
Once all four leg joints are set it is time to move on to gluing the entire top. Now remove the legs; please don't curse.
I had a 1" thick piece of hickory that came off of a pallet of all things! I recommend using a spacer for the split at least an inch thick so you have room to work in the void between the halves. The hickory spacer was cut into two 6" pieces, one for each end of the bench. The glue up of the top was a two step process for me.
I picked one half of the top at random and spread glue on the spacer and mating bench surface. One bar clamp fixed the two pieces together tightly while I pre-drilled holes and countersinks for two 2" #10 wood screws. I sank the screws making sure the head was sunk completely into the wood. I treated the second spacer the same way.
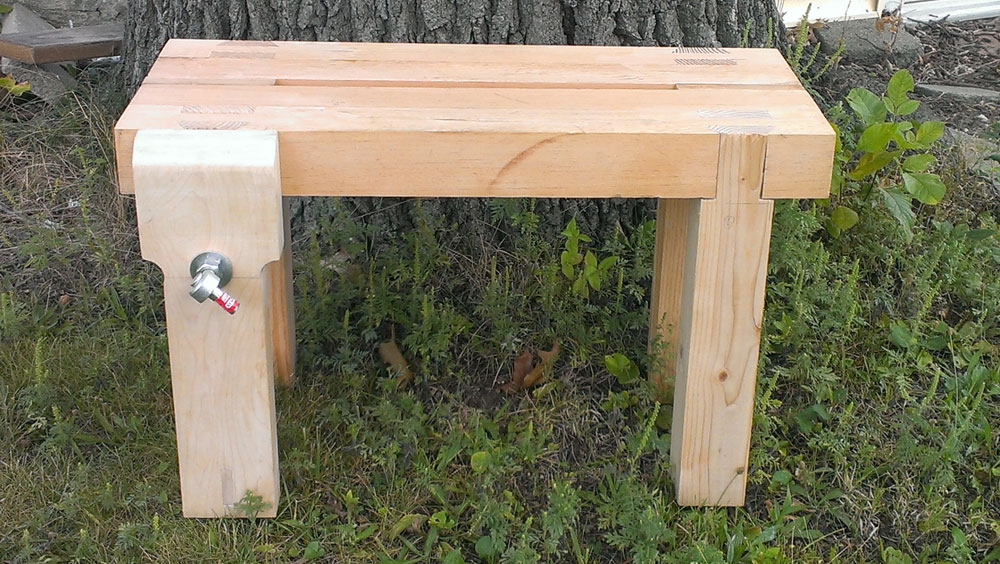
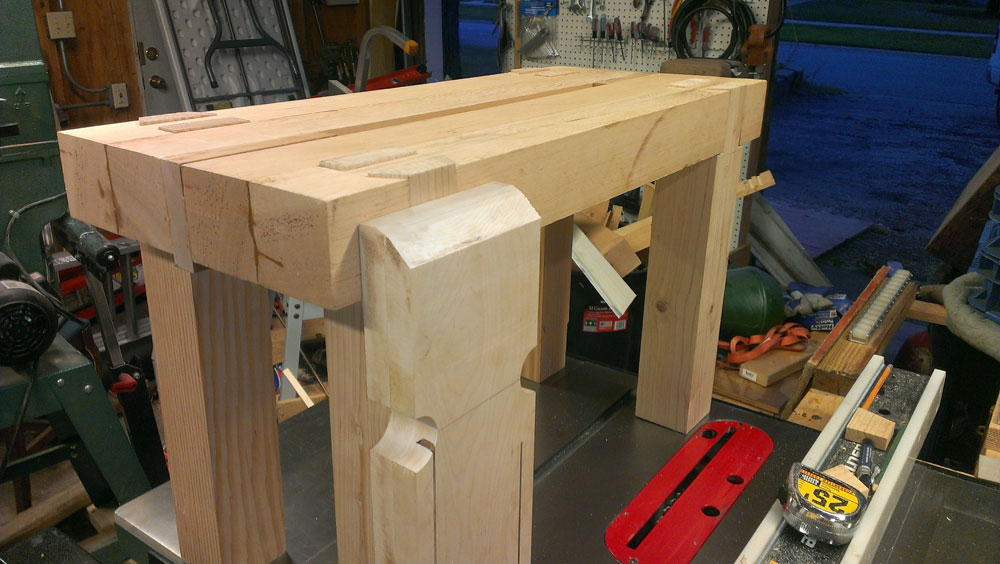
The final phase was to glue the remaining mating surfaces together and put the whole top in clamps, while taking great care to get the spacer at least level with the top. The glued top and affixed legs looked something like this:
We now have a completed Sawbo sawbench ready for hard use, but we can do more to extend the utility of this appliance further. Obvious in the photo above is a partially completed chop for a Roubo leg vise, the construction of which is detailed in the final installment, which you can read in next month's Wood News Online.
Check out my BLOG, if you would like to read more about what I've been up to,
CLICK HERE
If you have any questions or comments, feel free to email me at
tsstahl@gmail.com
Return to
Wood News
front page