Constructing a Quilt Storage Rack
by Forrest Bonner
Huntington Beach, CA
Click on any picture to see a larger version.
A quilting friend asked if I would build a quilt rack for her. How could I say no, especially when my list of projects was getting pretty short? We both looked on the web at several different styles of quilt rack and she settled on a Sara-style rack.
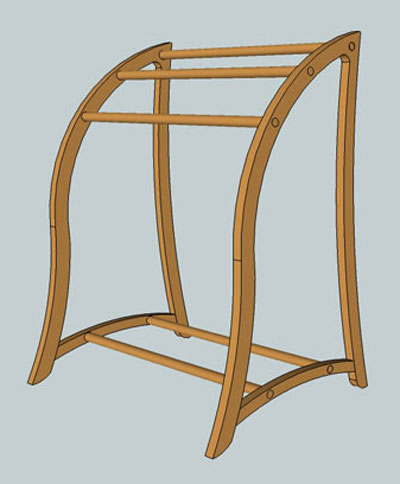
From the picture and dimensions she found, I was able to approximate the curved legs in SketchUp:
|
|
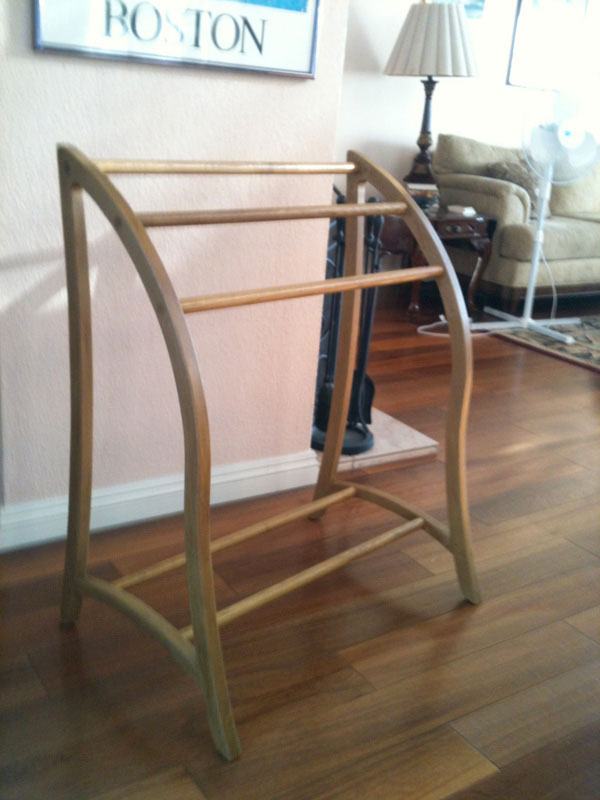
Sara-Style Quilt Rack, 30Wx20Dx36H
|
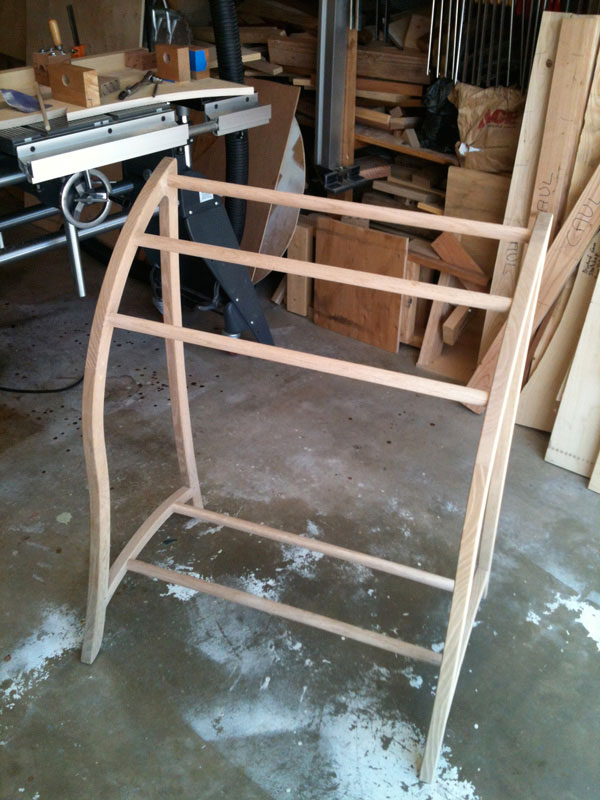
The final result was fairly consistent to the design:
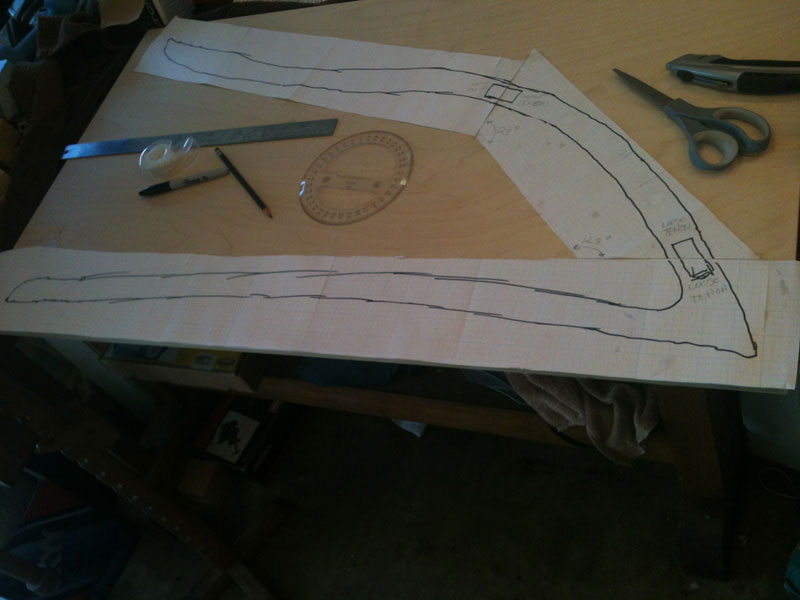
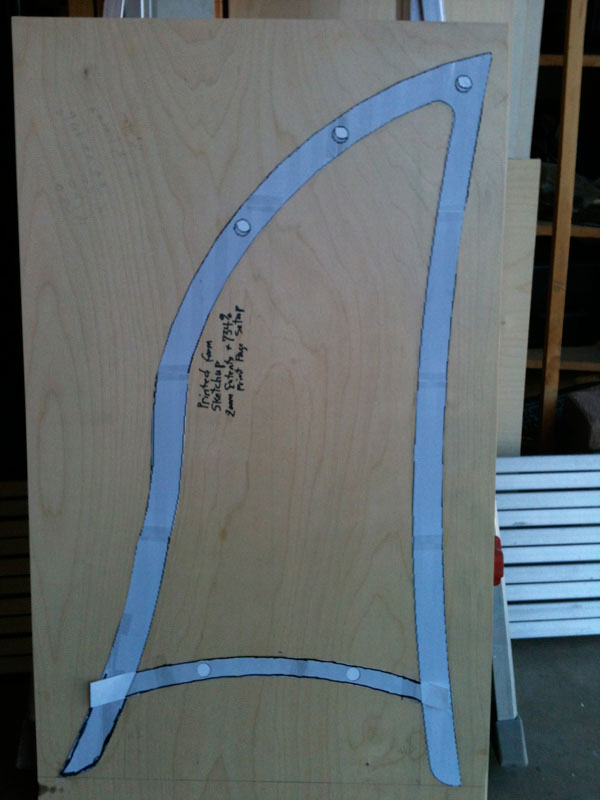
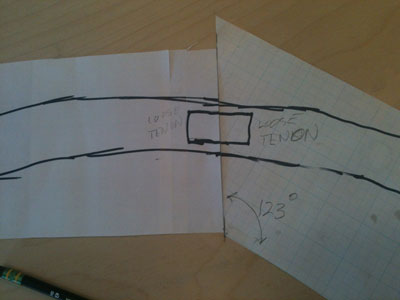
Since I was using the free version, SketchUp Make, I had to manipulate the Document Setup to get a life size printout. By careful selection of only pages with something on them I managed to minimize the number of letter-sized printouts. When the several pieces were rough-cut, they assembled into a full-size diagram with the print lines highlighted:
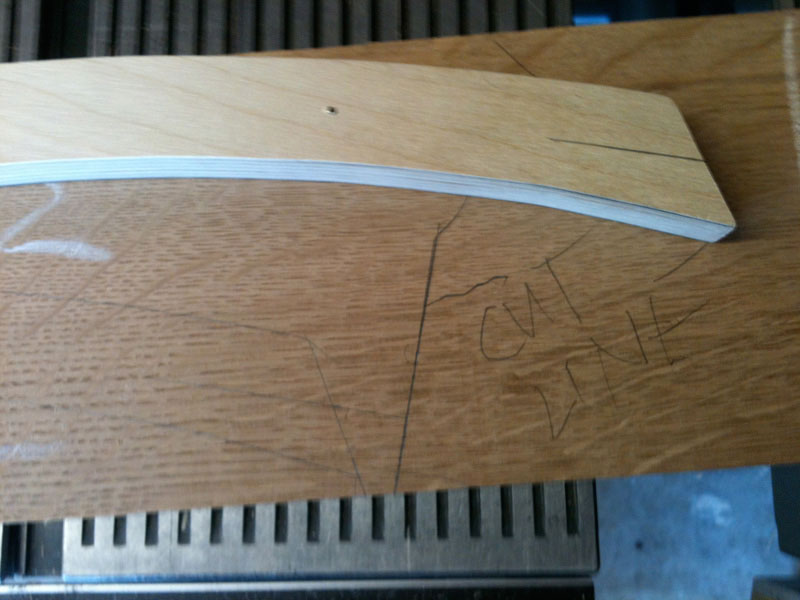
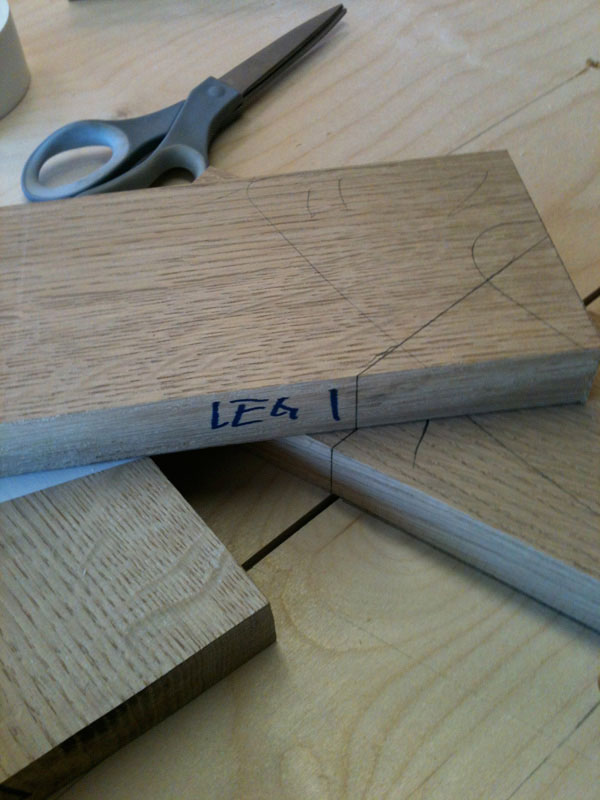
Since my jointer was only capable of pieces 4 inches or less, the unfortunate truth hit me. I had to make 2 joints on the curved legs one of which is shown hand-drawn on the full size drawing.
Author's note- I now have learned how to flatten boards on my 4 inch jointer even though they are wider
:

|
|
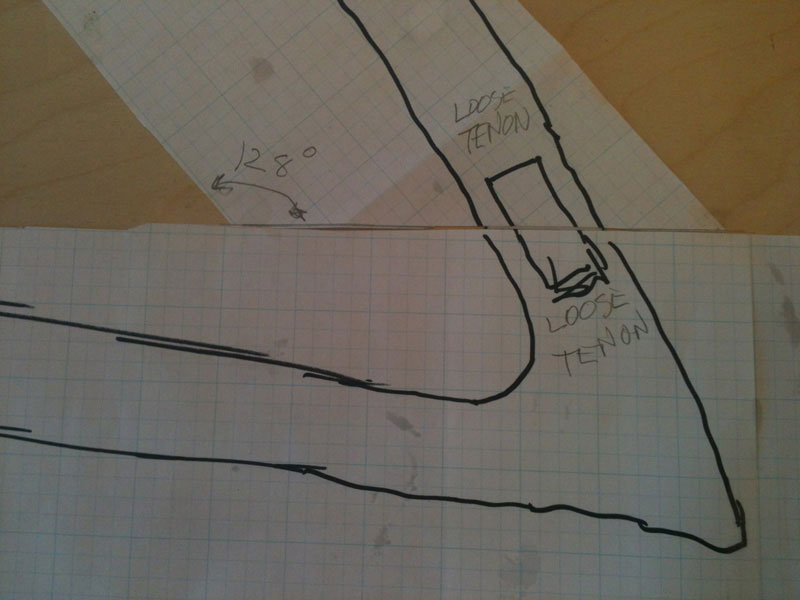
One joint at the neck
|
|
|
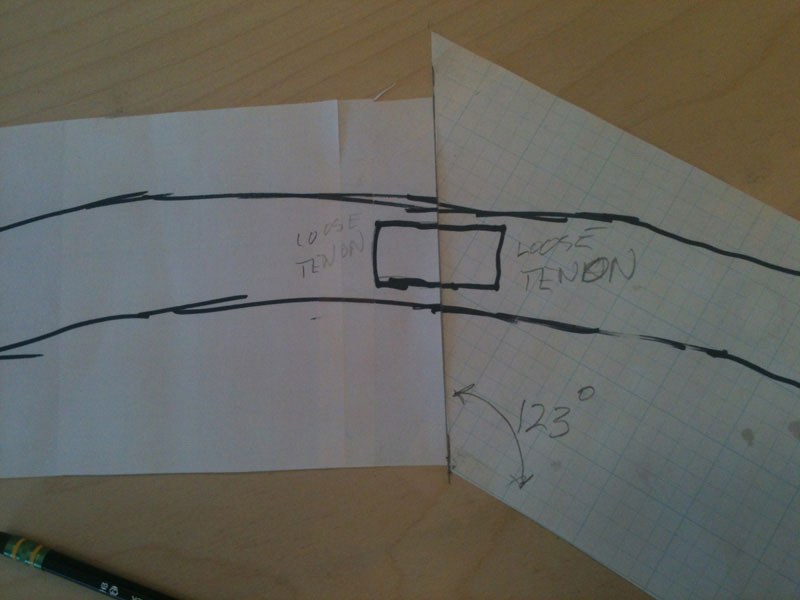
And one on the front leg
|
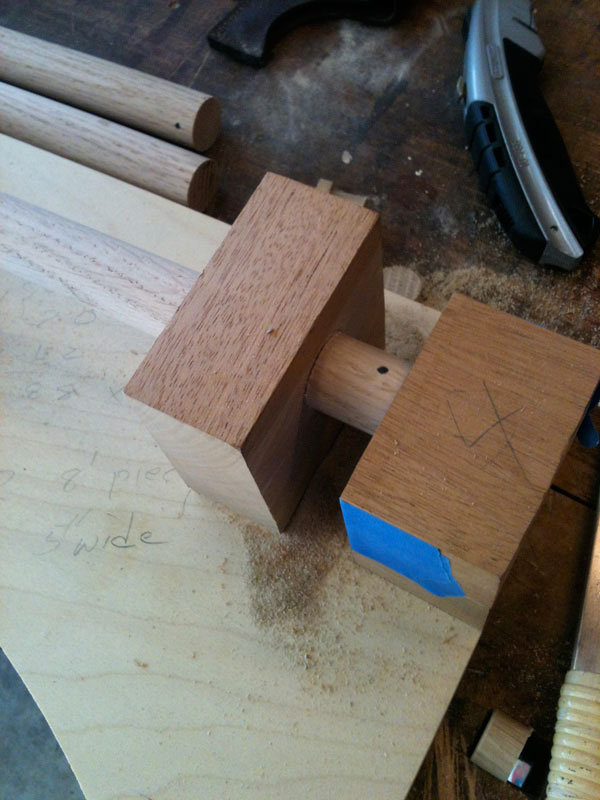
Without any sophisticated equipment to deal with angled joints, I decided that the easiest solution would be for me to use 3/4 inch dowels that were glued and anchored with smaller through dowels to secure them against rotation in the future. The cross-dowels were all installed from the lower surface of the legs and did not penetrate through to the visible upper surface.
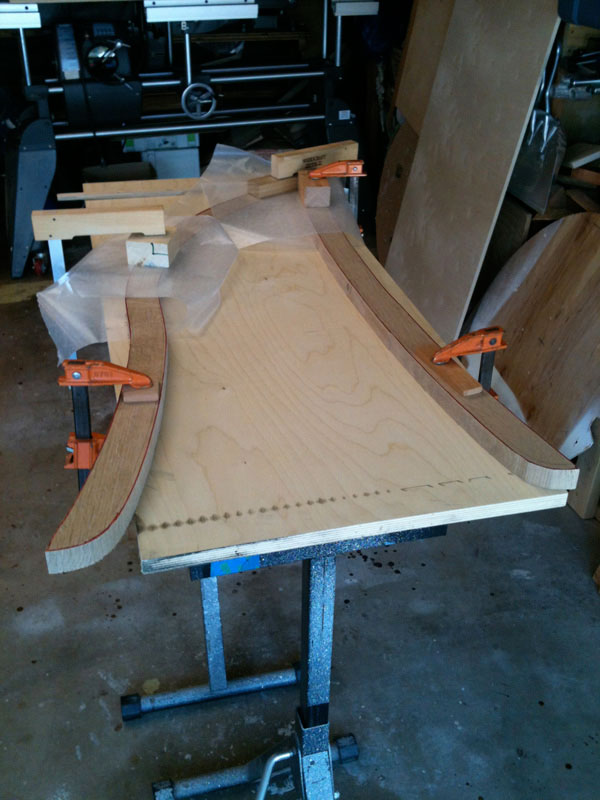
Having that decided, a full-sized paper template was used to rough cut and smooth a plywood template for final routing of the real white oak legs and stretchers:
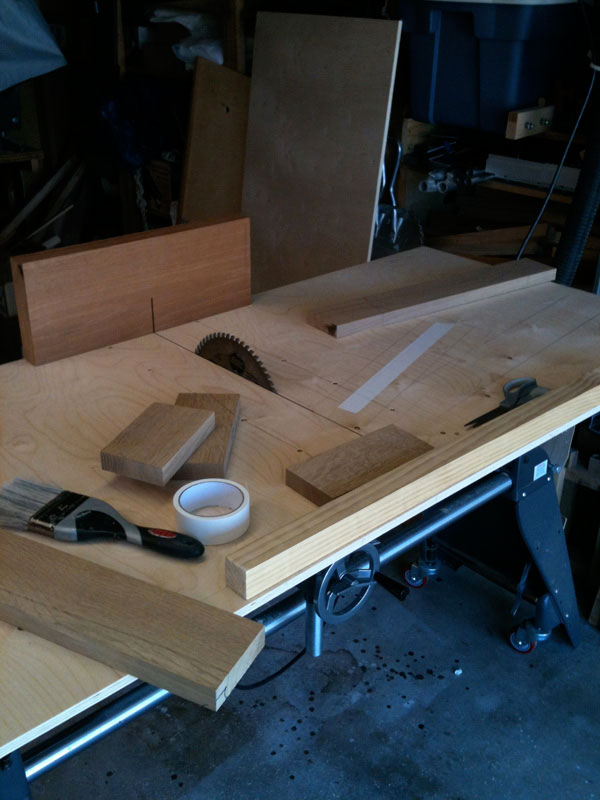
Those templates for the legs and stretchers were then used to lay out the shape on white oak that had been planed to final thickness:
Each of the two stretchers (above) were fashioned on one board each with no joint required. The front and the rear legs did require joints, so before they were bandsawn to rough size for routing, the joint dowel holes were drilled. That gave me more surface to square to the boring bit. If both holes on the mating pieces were perpendicular to the mating surface then I felt confident that I would have minimal gaps at the glue-up phase.
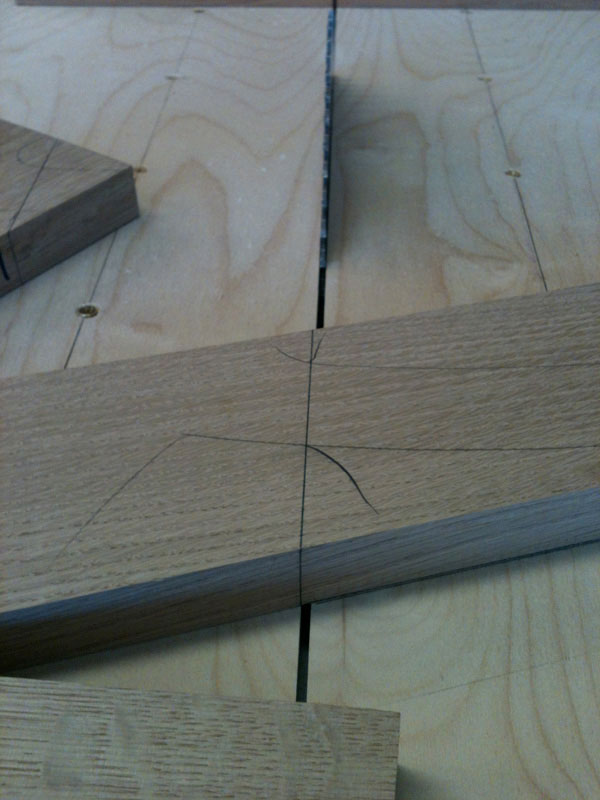
To assure that the joints on a curve would line up in final size, each joint was fashioned by cutting both pieces at the same time. I felt that gave me the greatest chance to have invisible joint lines.
The leg segments were double-backed taped to an over-sized sled on my ShopSmith:
With the bottom board joint cut lined up to the blade, the mating leg segment was then laid on top with its cut line lined up with the bottom segment cut line. Double-backed tape secured each so that there would be no movement during the cut.
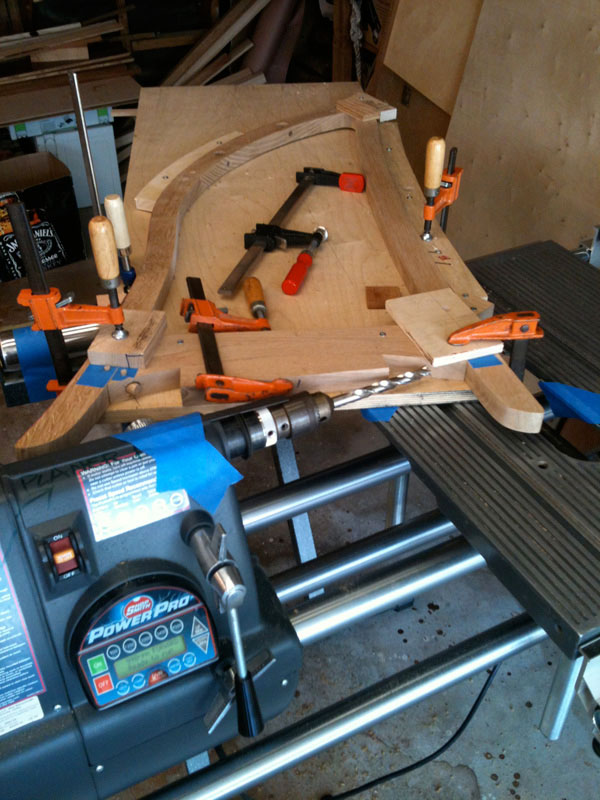
Once all the joints were cut, the individual pieces were rough cut on the bandsaw and glued:
Before routing to the pattern, I taped both legs together with the template. A small pilot hole was drilled at the long dowel locations to allow me to drill the final holes as precisely as possible. After separating the taped assembly, I drilled the final holes for the long dowels from the leg outer sides to assure that any tearout at bit exit would be underneath the shoulder of the dowel. Holes were also drilled in the template.
These holes allowed me to re-assemble the template and legs fairly precisely and to put in short dowels as handholds during routing to better control the leg and to keep my hands away from the bit.
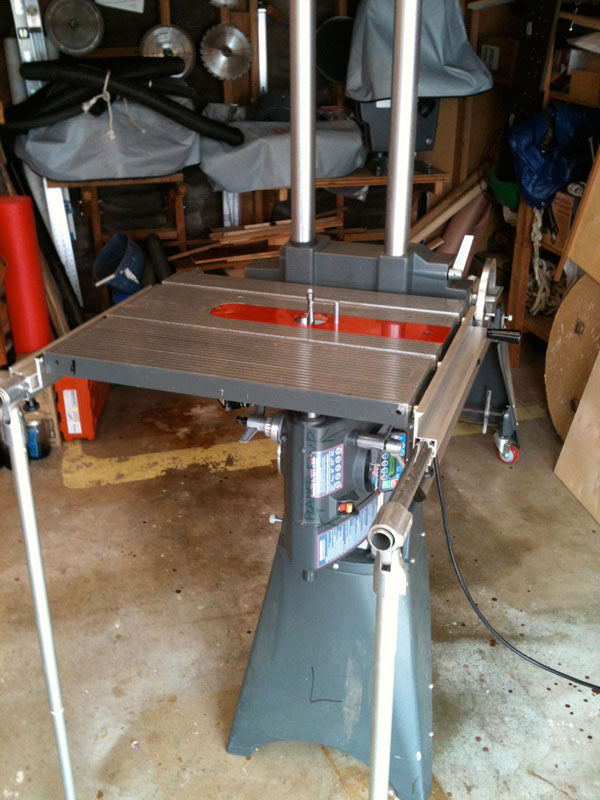
With all of the pieces lined up, glued and holes drilled successfully, I set up my ShopSmith in the under-the-table routing mode with a starting pin and
Whiteside Pattern Bit
installed:
I learned quickly that I needed to refine my bandsawing technique to get closer to the line. This might have been true for the white oak and maybe not so close with a soft wood like pine or fir. This was my first pattern routing project so I have much more to learn about that.
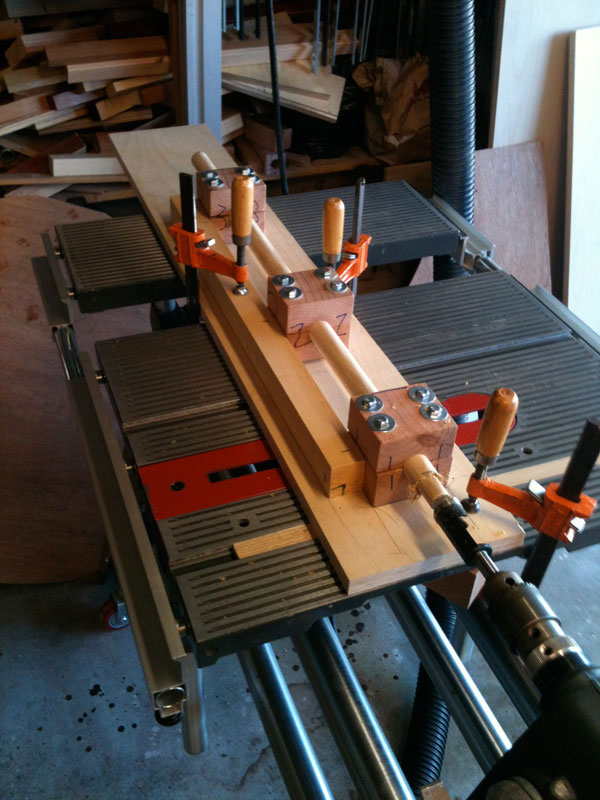
The dowels for the stretcher installations were installed from the bottom of the stretcher and part way into the leg. The horizontal boring mode of my ShopSmith made that operation easy. The off-cut from bandsawing the stretcher was used to support and hold the stretcher in place:
Time now to get the long dowels made. I purchased ready-made white oak dowels and was fortunate to be able to find sufficient dowels that were, in fact, straight instead of bowed. In retrospect, I should have turned them in stages from the same boards I used for the legs and stretchers to get better quality and straighter grain.
The tenons on each end were cut with a plug cutter that sized the tenon to the exact diameter needed for the holes in the legs and stretchers. A jig held them in place to get all finished tenons coaxial with the body of the dowel:
Another jig of the exact same thickness as the legs (planed at the same time) was used to cut the tenon length to the exact thickness of the legs. The dowels were going to be dyed and finished before installation and I did not want to have to do any leveling after installation:
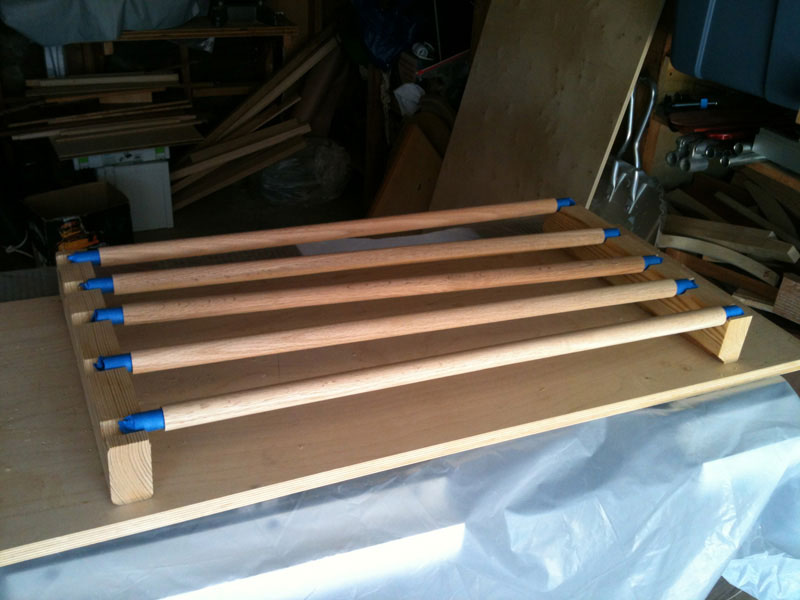
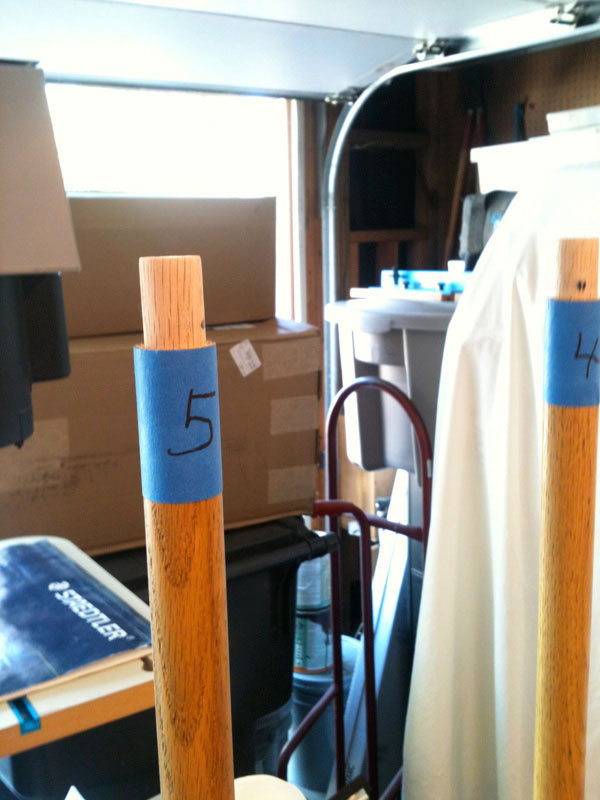
The dowels were dry fit and rotated for the best surface visible and for the rack to be level on the floor. Each dowel was then identified by location and rotational orientation. I hoped this would assure that the final glued installation could assume a proper, level fit that looked its best.
Each dowel was dyed to the agreed color and sprayed with four coats of polyurethane. The tenons were taped to preserve the glue surface:
Once dry, the shoulder areas of the dowels were taped to prevent any glue build-up on the finished surfaces:
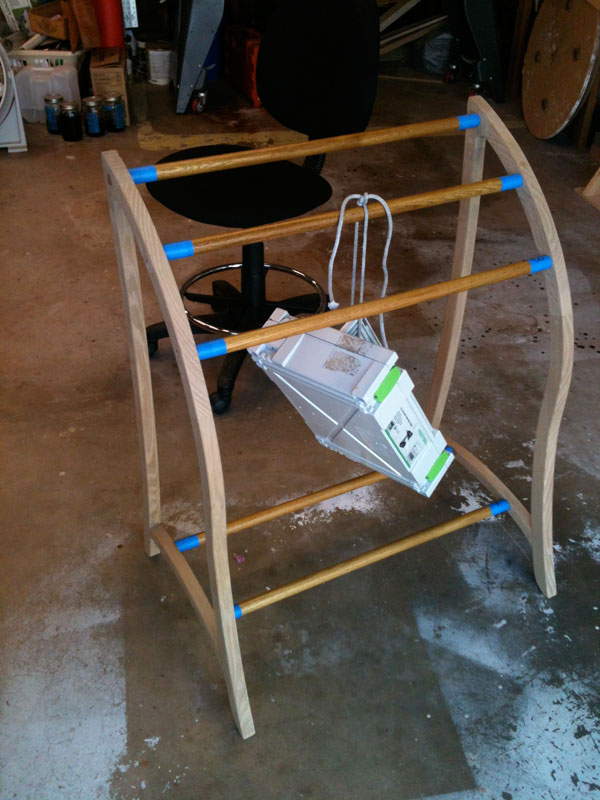
The leg and stretcher mortises and the tenons were glued up and each dowel then tapped into its respective location, maintaining orientation.
The other leg and stretcher were installed and a weight hung to assure that the final location/orientation of the parts sat level on the floor:
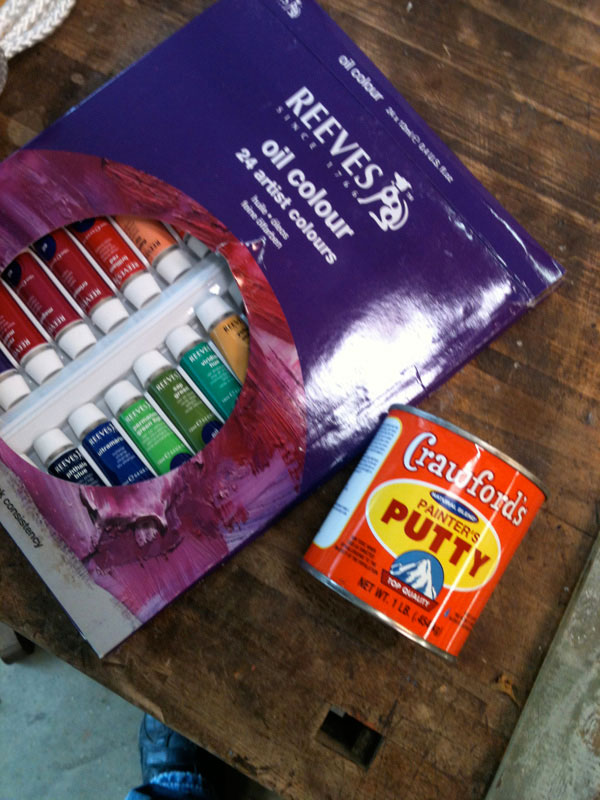
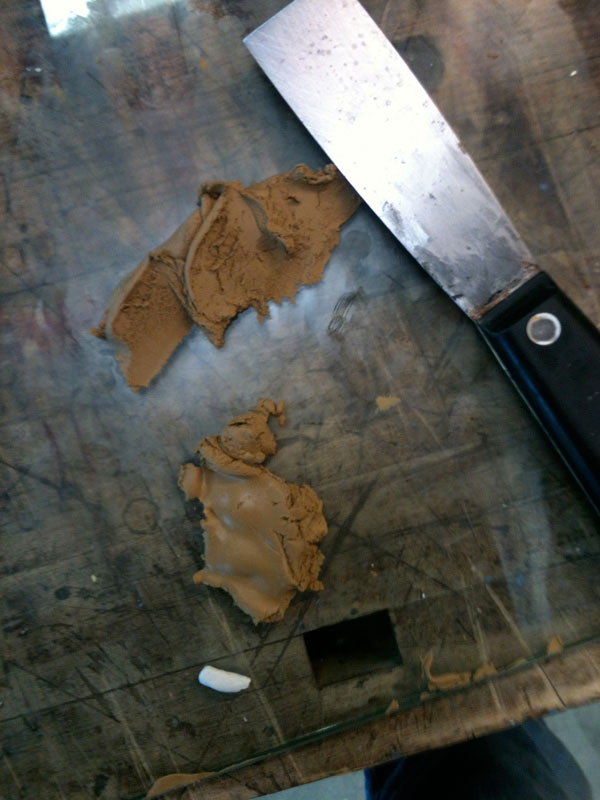
The legs were dyed with the same batch of Lockwood water-based solution as the long dowels and finished with four coats of spray polyurethane. Since there were some minor 'imperfections' in the Rack that needed to be filled, I used a tip from Brian Miller on using painter's putty and dyes to match the finish:
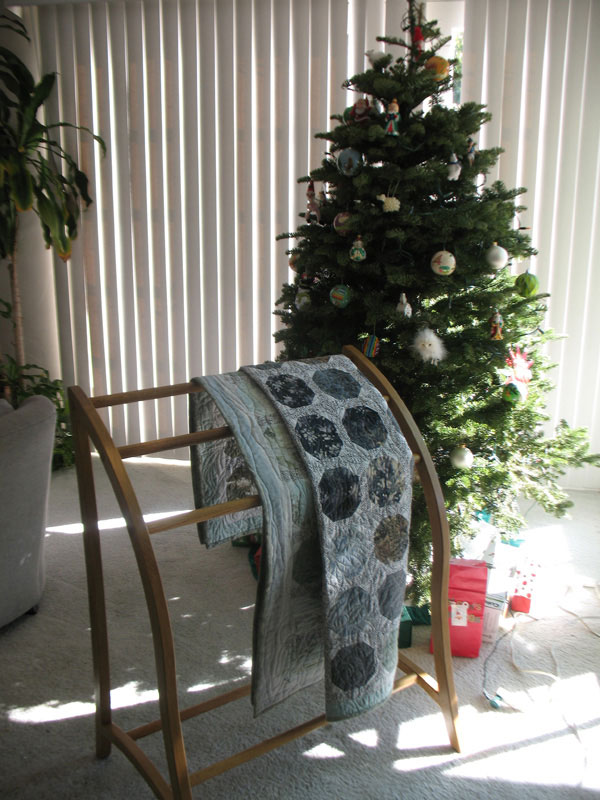
And delivered the completed project to my friend for her use:
If you have any questions or comments, feel free to email Forrest at
forrest.bonner@verizon.net
.
Return to
Wood News
front page