by Steven D. Johnson
Racine, Wisconsin
This month:
•
Demo Days – A Woodworker's Remodeling Project, Part 2
•
A Challenging Fit – A Remodeler's Woodworking Project, Part 2
•
The Millennial Generation – What Does It Mean For Woodworking?
•
Can't/Don't, Never Have, No Talent Wood Carving!
Demolition Days
Click on any picture to see a larger version.
Demolition makes great television. It is one component of a tried and true formula for successful home improvement and remodeling shows. All of these shows follow roughly the same general plot outline:
-
S
et-up
-
T
ension
-
A
ction
-
R
esolution
-
R
eveal
I call it the "STARR" formula, and you can easily slot every show of the genre into this basic formula. There are dozens of variations but the formula stays essentially the same.
|
|
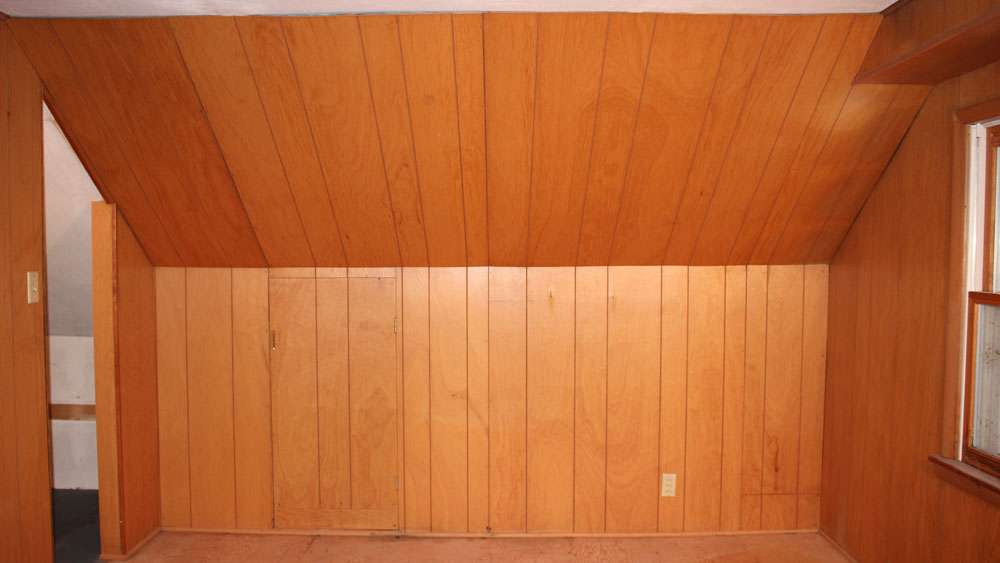
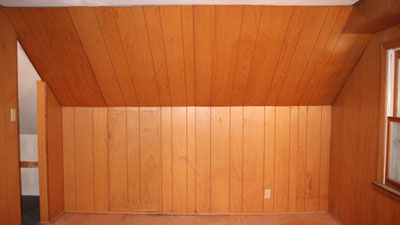
Figure 1 - Almost ready to start the demolition
|
Let's explore this for a minute. First, the "Set-up." This could be a couple looking for a house, homeowners choosing between remodeling and selling, a couple choosing from three remodeling plans, a husband and wife buying their first house… it doesn't matter… first step: set-up the situation. The establishment of the situation is usually crafted to create some "tension."
The tension might be between the homeowners and the real estate agent, between two competing real estate agents, the husband and wife homeowners themselves (she wants a Tudor look, he wants a retro loft/train station look), or any of a hundred other scenarios. Build the "tension" to a crescendo and go to commercial break. After the break an action is taken, a resolution is then achieved. The homeowners choose one of three houses, one of three remodeling plans, one of the two real estate agents, etc., etc. This "tension, action, resolution" can be done multiple times during the same show.
|
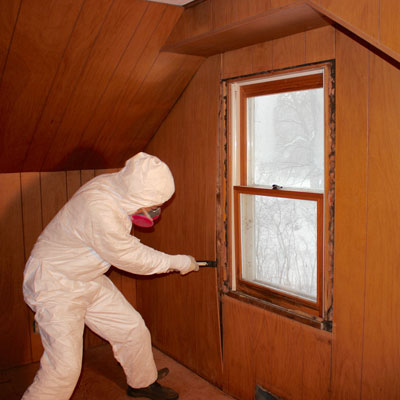
Figure 2 - No make-up, no sledgehammer... "real"
demolition is more deliberate and careful than TV makes
it out to be and the outfits are less fashionable!
|
The actual remodeling, rehabbing, or reconstruction work is a staple for "action" sequences. The show's host or sometimes the homeowner gets makeup, lighting, and sound staging, and then gets to swing a sledgehammer at something. Cool.
A savvy director/producer will almost always build up to a "major tension" point. Major tension is usually in the form of some previously unforeseen problem discovered during the demolition. Broken water pipes, bad electrical systems, rotted boards, faulty HVAC, hoards of locusts, or any of a zillion other potential problems that threaten to blow the original remodeling budget. Additional minor tension points can also be created as a result of the major tension point, i.e. "Who has to call the homeowner with the bad news?" Or with a subcontractor, "What do you mean it's going to cost X?" Or even with a building inspector, "I can't sign off on this until you fix it."
Then comes the "resolution." A fix for the "major tension" is determined. All is now well. Finally there is a big "reveal" when the homeowners are shown the newly remodeled home superimposed over pictures of the "before" state. So there you have it… the STARR formula. In roughly 26 minutes, a
situation
was presented,
tension
points were established,
action
occurred, problems were
resolved
, and the beautifully rehabilitated space/property is
revealed
and there is a deliriously happy ending to the story.

|
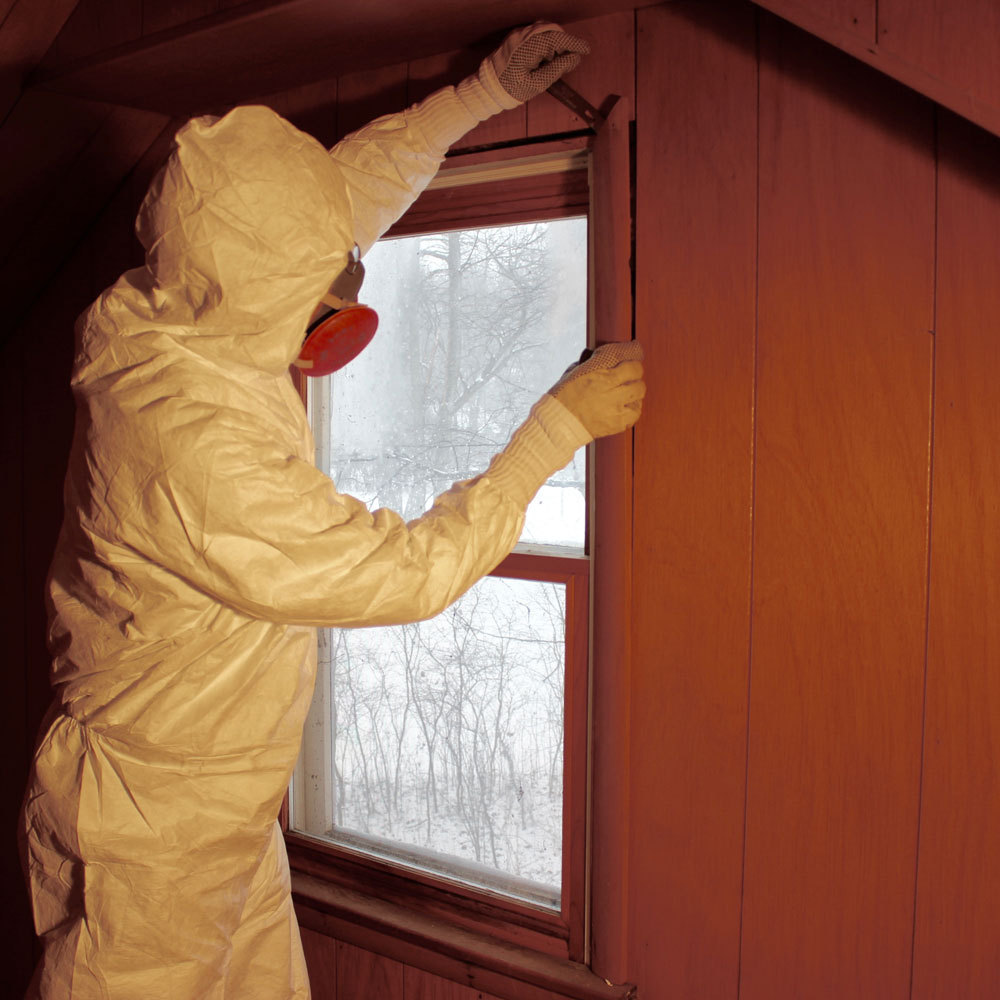
Figure 3 - Details, details... remove switch and
outlet plates before knocking down walls
|
Watch a few of these shows and you will see that the STARR formula is not only standard, but is ubiquitous. As sure as length X width = area, this is the tried and true formula for home improvement reality shows.
Of course like any reality show, there is very little reality. But most people wouldn't watch a really real reality show because it would be pretty boring. Demolition is a perfect example of how television "augments" reality to make it more interesting. It might be fun (and good television) to swing a sledgehammer and break something, but doing that is actually pretty stupid. Unless you built the original wall, counter top, cabinet, or whatever you are about to destroy, you have no idea what is behind that first swing of the sledgehammer. Only a fool would go in swinging wildly and risk hitting a wire, pipe, duct, or other hidden obstacle. Demolition "reality" is actually more of a methodical, almost surgical, operation.
In
last month's article
we covered the "three C's" of preparation for any demolition:
C
lear out the work space,
C
ordon off the work area,
C
ut the power. After this important preparatory work the real (and somewhat boring) demolition can begin.
Reverse The Construction Order
Good (real) demolition essentially reverses the order of construction. The last thing added in new construction will likely be the first thing removed… carpet, trim, switch plates, etc. This is also a good time to consider whether some materials can be (or are worth being) re-used. Sometimes trim can be refinished and re-installed and may make sense, particularly if it is older, better made, or period work that matches the overall house style.

|
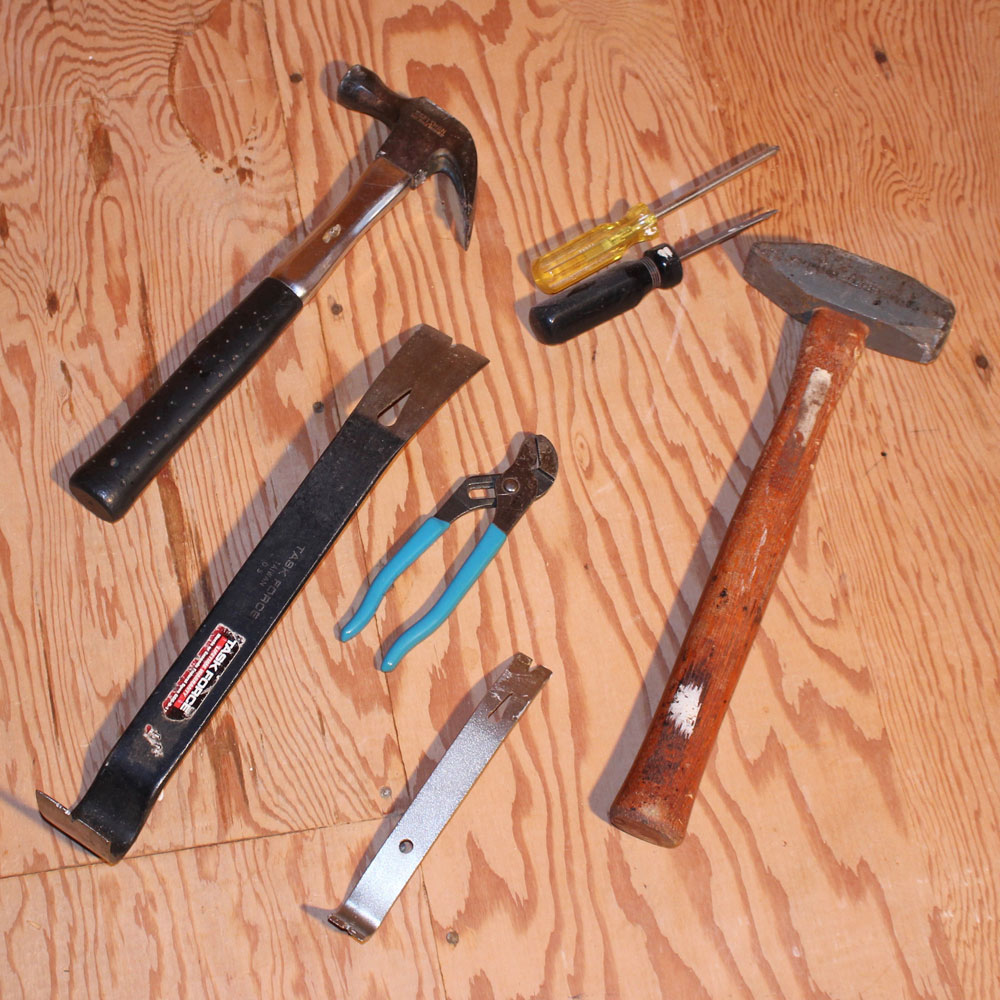
Figure 4 - A big hammer, yes... but no sledge. These are
the only tools necessary for most interior remodeling jobs
|
Small pry bars and nail pullers are essential tools for the "surgical" removal of things that will be saved. If trim and the adjacent walls were painted, it is a good idea to first run a knife along the joint and cut through the paint. If the trim will be re-installed in much the same order, use a marking pen and label the back side of each piece so re-construction is not a jig saw puzzle mystery.

|
Figure 5 - Removing trim first makes it easier to strip the
walls. In some instances the trim can be saved and reused
|
The big, giant, messy, and sort of fun part is next, and that is removing the wall covering. It could be plaster, sheet rock, or (in my case) paneling. No matter how well you plan, plot, and think through a project, this is when you find out exactly how much work is going to be involved, whether there are unseen problems, and whether or not your design ideas will actually work. Inside every wall is a probable surprise.
|
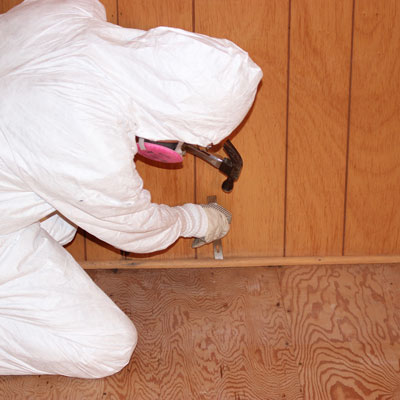
Figure 6 - This 1/2" quarter-round trim was nailed to the
floor instead of the wall. Expect to find surprises when
remodeling
|
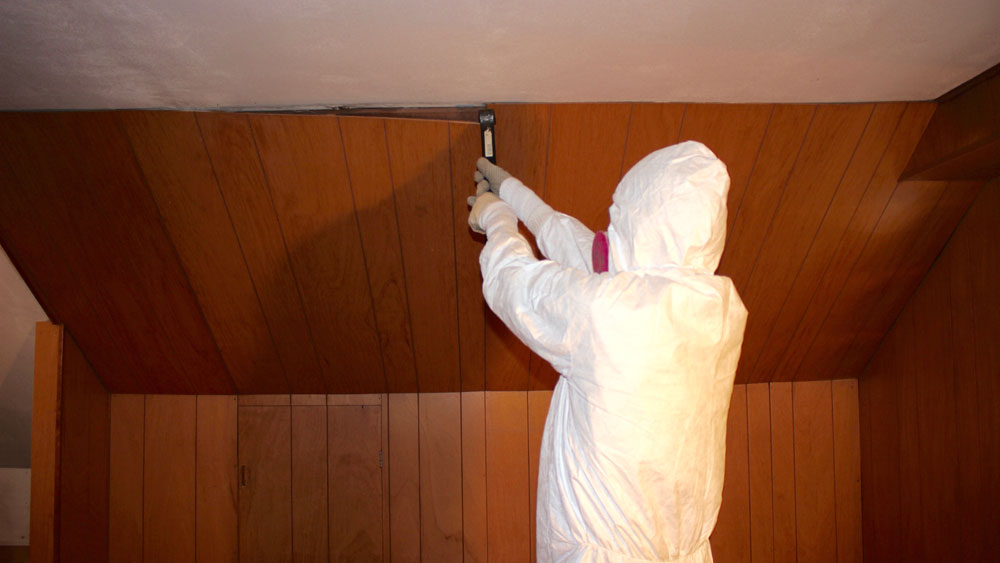
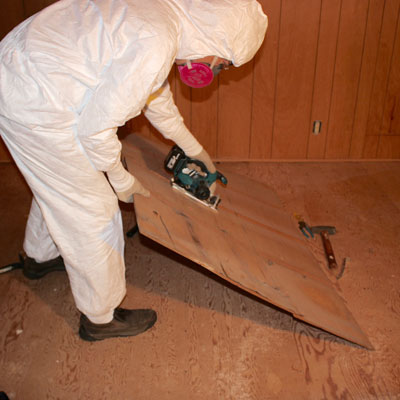
Before starting though, make sure to don all the proper safety equipment. Gloves, dust mask, and eye protection are the absolute minimum any de-construction will require. In my case, having already remodeled most of the rest of the house, I expected nasty noxious stuff, so I took extra precautions. Disposable Tyvek coveralls keep itchy and dangerous stuff off your skin and a high quality respirator beats a dust mask every single day. It may look ridiculous, but I would rather be safe than sorry. I use the ankle section of worn-out athletic socks to cover the space where gloves stop and sleeves start, forming a very effective seal. I do the same at the legs… no mouse is running up my pants leg, at least without a struggle.
Not to get overly "personal" here, but before suiting up with all this protective gear, it's a good idea to make sure a reasonable amount of time has elapsed after those four cups of coffee and that, uhh, any "personal" business is out of the way. It is also a good idea to make sure you have all the necessary tools on hand.
Clean As You Go
|
Figure 7 - Cut debris into manageable size pieces
and keep the work area clear of trip hazards
|
Of course there are a few more steps to demolition, but now is a good time to talk about another key aspect of safety, and that is to keep debris cleared and out of the way as you work. All that material you are so feverishly removing will become a trip hazard, nails and other fasteners are sharp and dangerous, and working in a cluttered space is distracting and we all know distraction leads to inattentiveness which leads to accidents.
In an ideal scenario there would be a dumpster just outside a conveniently situated window, and everything can be dumped quickly and easily. There are, in reality, very few ideal situations. In my case I had to take everything out through the front door of the house, so big heavy-duty construction grade trash bags were the only real answer.
|
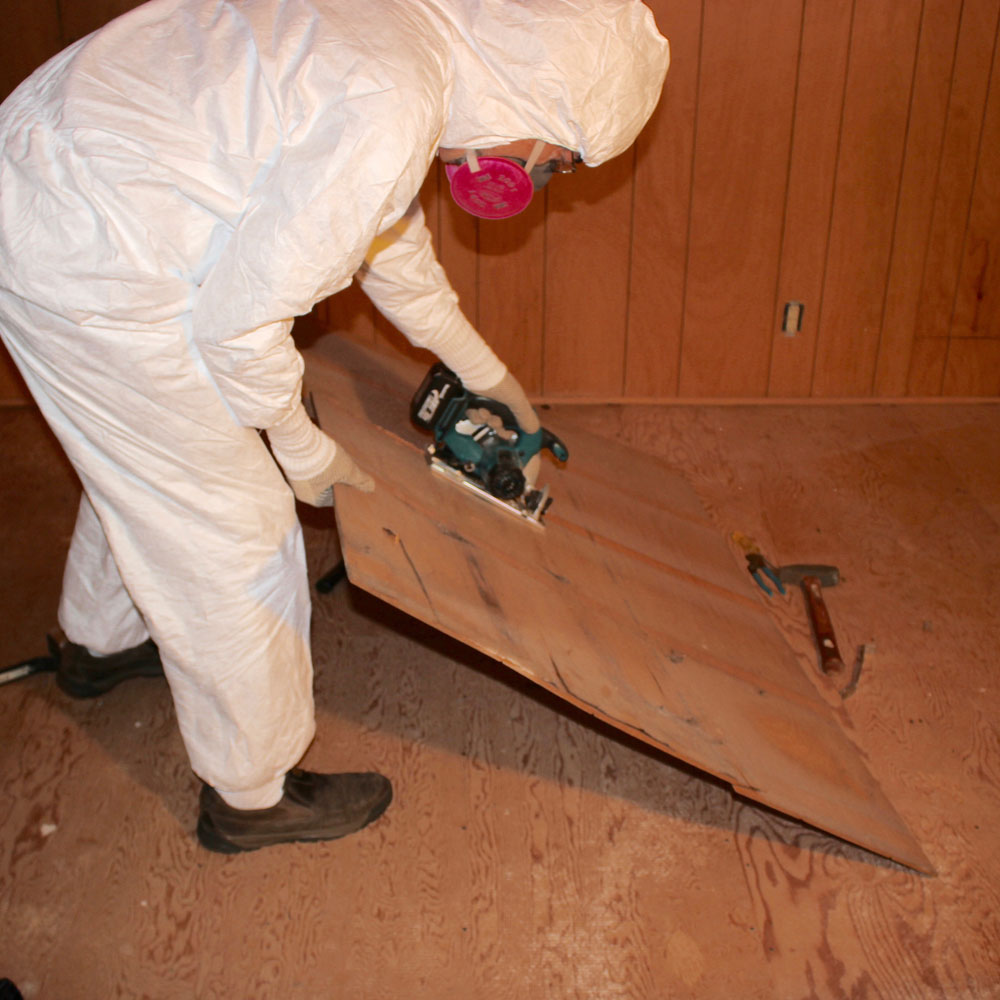
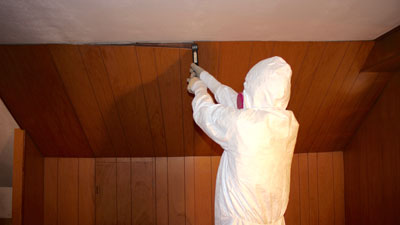
Figure 8 - Use extra caution when working overhead...
stay out of the way of potential falling debris
|
As each sheet of paneling came down, I broke it or cut it (with a small battery-operated circular saw) into pieces that would fit a trash bag. The bags rarely got volumetrically full with this material, but they did get heavy. Once a bag reached the limit of weight I felt like carrying, I sealed it and carried it out. The sealed bags helped to keep the pathway from the remodeling area to the outside reasonably clean… In fact, there was very little cleanup outside the work area at the end of the day.
Detailed Dismantling
When the insides of walls are finally exposed and the demolition debris is cleared, it is pretty easy to determine the next steps. Some folks hate installing insulation and leave what is there in place. For me, that is false economy. Technology, as it were, improves constantly. Insulation installed just a few years before can be improved with newer products on the market. Additionally, every insect or critter that ever ventured into your house probably traveled through the existing insulation, leaving who-knows-what behind as he made his way through.
In my case, the insulation was likely made of really bad stuff, illegal to use now and perhaps even when the house was built. There was no question, ever, that the old insulation was getting pulled out. Tighten up the straps on the respirator and start pulling and bagging. At this stage, regardless the fact that the outside temperature was sub-freezing, I opened the window, propped up a cheap box fan pointing out, and turned it on high. This created a constant airflow through the room and a slight negative pressure that helped to assure floating dust did not migrate towards the rest of the house, but instead headed outside.
Once all the insulation was removed, I used a shop vacuum with an internal bag filter rated for sheet rock dust to clean up everything. I vacuumed every stud, every cavity, and the floor. Twice.
Unless you are on some kind of strict time schedule, this is a great time to call it a day. You can close off the room, let any remaining floating dust settle overnight, and first thing the next morning vacuum again.
With the room really clean, any additional deconstruction can be done. I removed all the electrical… wires, boxes, even the staples that had been used to attach the wire to studs.
By now the room looked much as it probably did during the original construction, when just the framing was done. I could see everything the original carpenter did, right and wrong. And I could also see bearing points, load transfer points, and roof construction. I was able to confirm that my initial plans for knocking out and moving a wall would indeed work, as well as my plans for building a closet. That was, of course, a relief, but it also meant that I had more demolition to do.
Removing a wall is when the "heavy artillery" of remodeling comes out. A reciprocating saw is the "big gun" in that arsenal. I like to use a lithium ion battery powered reciprocating saw. It is more maneuverable and there are no extension cords on the floor to trip me up.
Since I would be loading the old 2 X 4 studs into trash bags, each one had to be cut to less than four feet in length. I quickly figured out that cutting through the studs at a comfortable chest-height meant I had to cut the studs into four pieces to get them to fit into the bags. So even though it was a little less comfortable, it saved time to cut through all the wall studs at about 30-inches off the floor, rip out the top and bottom pieces, then I only had to make one cut to get the longer top piece down to a size that fit in the bag.
Next month this article will show you the demolition in the bathroom. The vanity, toilet, and a tiled shower stall were removed, and there were some crazy surprises.
(Page 1 of 4)
1
2
3
4
Next Page
Return to
Wood News
front page