|
CLICK HERE
to read Part 1 of the Hall Table Project featured in our May 2016 issue of Wood News Online.
These were to be the first drawers I have made and since I did not have any
'spare' wood left from the original slab that was big enough for drawer fronts, I
decided to go with overlay drawer fronts instead of inset drawer fronts. That
turned out to be a fortunate decision!
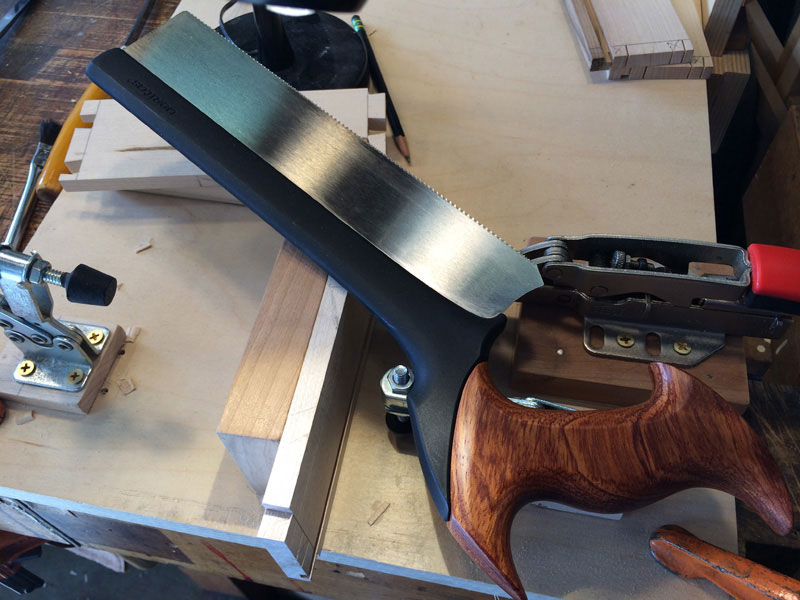
It also was time, the first time, to learn how to hand-cut accurate dovetails since I
don't own a router jig for them. I made six drawers using same-dimension, same-species wood before I felt comfortable enough to tackle the real drawers. The
only tool that I purchased extra for this was a 20 tpi saw. I tried and tried with my
existing 15 tpi saw but just could not get it right.
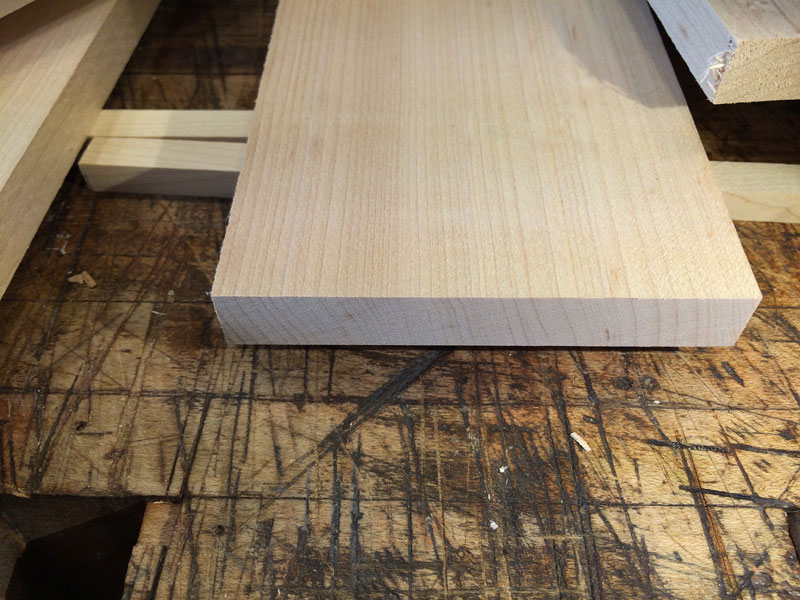
Because I have seen quarter-sawn wood recommended for drawer sides to
minimize movement due to moisture changes, I purchased quarter-sawn hard
maple for the drawer parts. That required a long freeway trip to Valencia Lumber
in Van Nuys. Their exotic wood selection is certainly more than I have found in
Orange County. After leaving there I sent a text to my wife: “Can we move to
Van Nuys?”
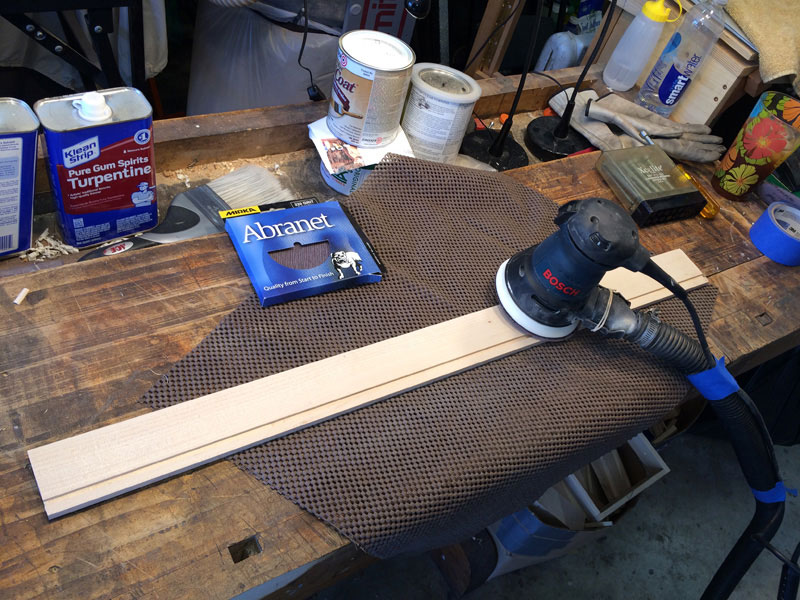
All of the milled maple was finish sanded before any sizing.
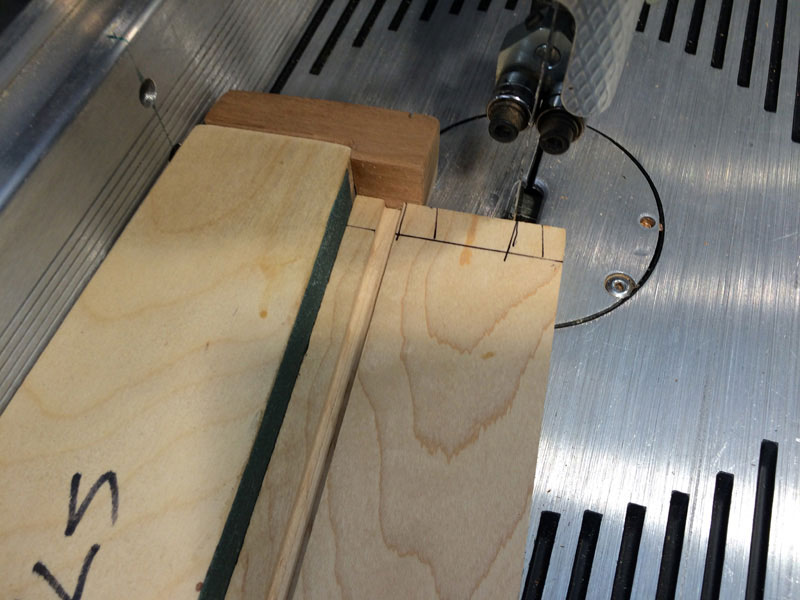
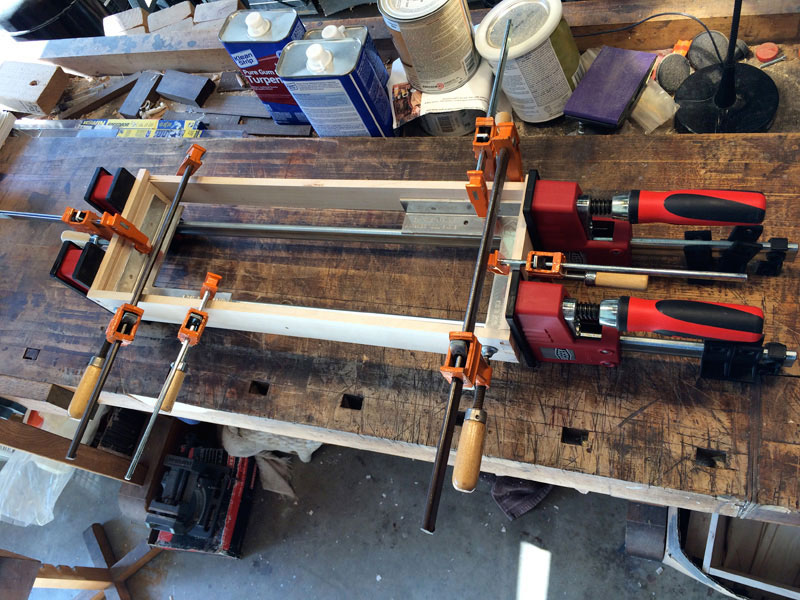
After cutting the pieces to length it was time for dovetailing. The tails were cut using a 1-to-8 fixture riding on the fence of my bandsaw.
I built a one-time fixture to hold the sides for chopping out the tails and for sawing
and chopping out the pins.
Drawer glue-up went well since my dovetails were (mostly) spot-on.
Once dry, I used the technique that I watched Tim Rousseau use to fit the
drawers to the openings.
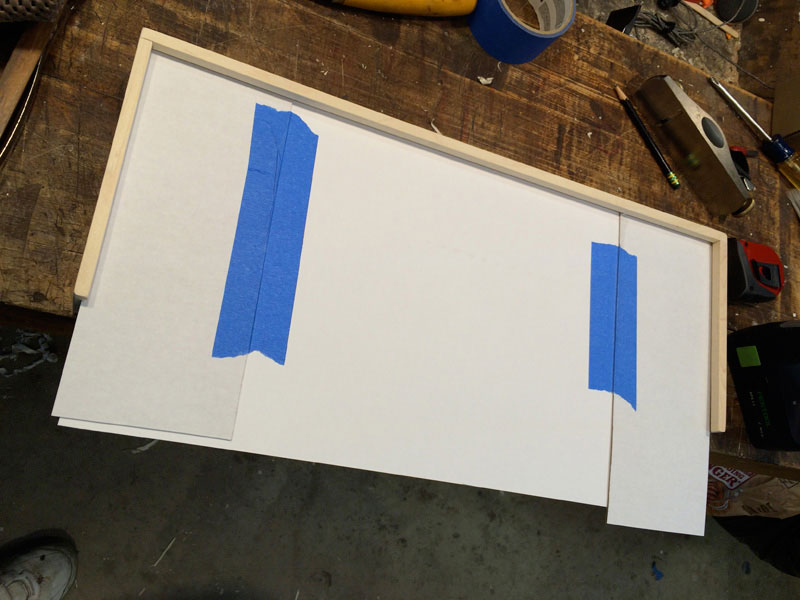
Once fit, I made a poster-board template to use for making a snug fitting hard
maple bottom.
And then milled the solid hard maple drawer bottom for that snug fit.
Since I did not have sufficient cherry from the original board to make the drawer
fronts, I suggested to my friend that we use zebrawood. She concurred since the
house that she now was going to buy had 'mostly plain white' in the area where
she wanted to put the table, and thought that a bit of 'pop' would be a nice touch.
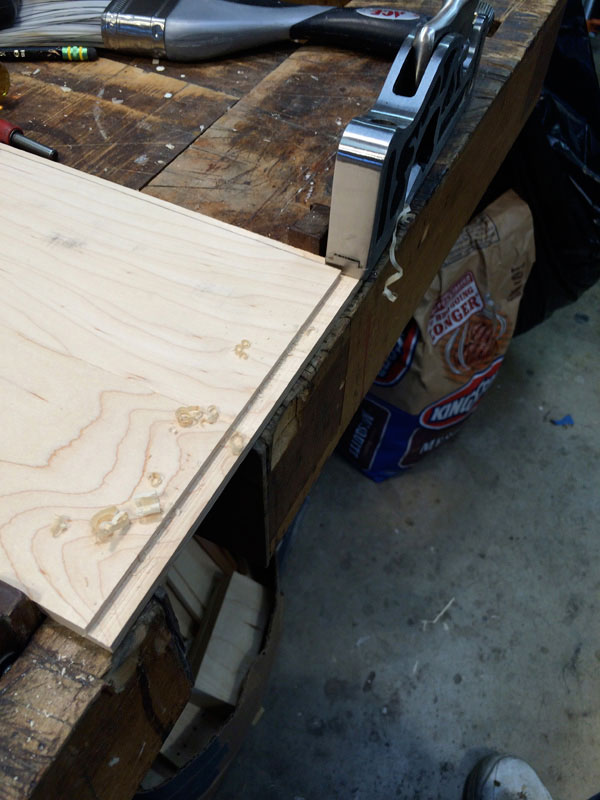
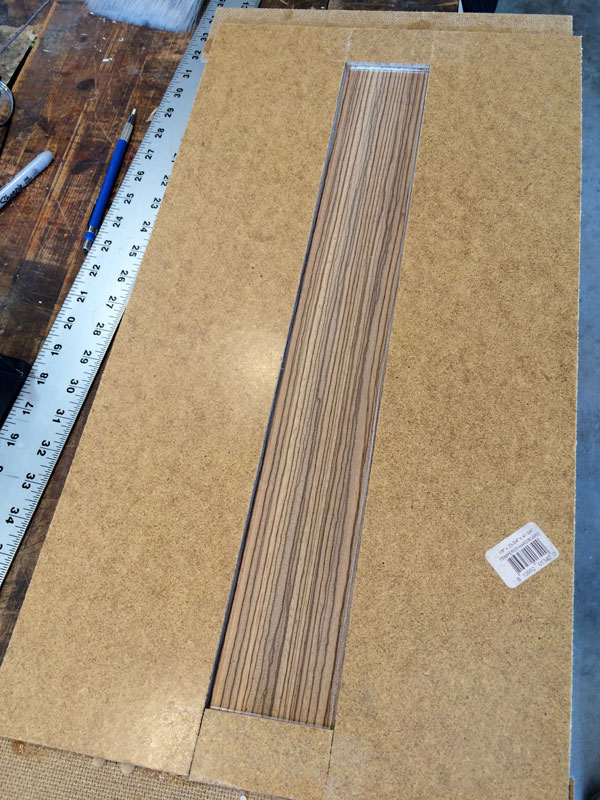
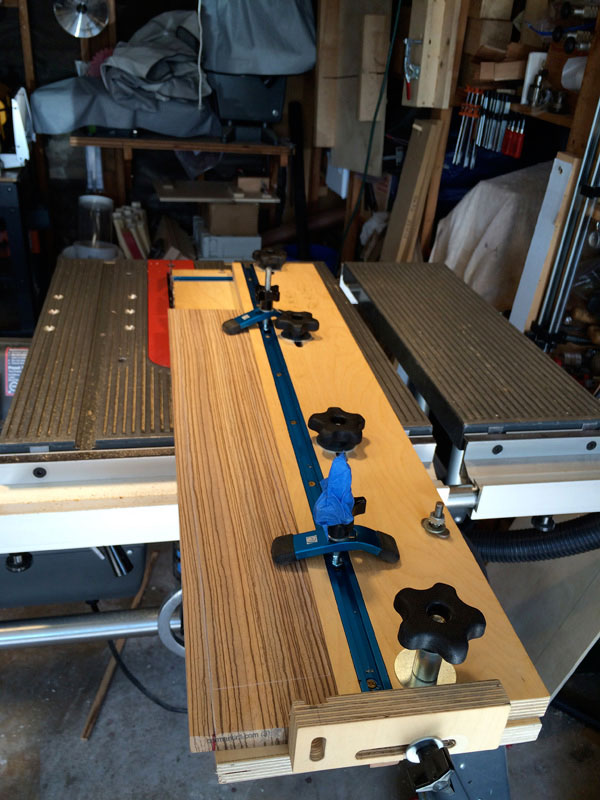
I bought some nice zebrawood and used a template to allow me to mark for the
straightest possible lines. My local woodworking store was a good place to buy it since
they stock short pieces rather than 6, 8, or 10-foot lengths.
And then I used my tapering fixture to properly cut to the lines.
With the drawer carcasses made and the drawer fronts available it was time to
turn to the drawer pulls.
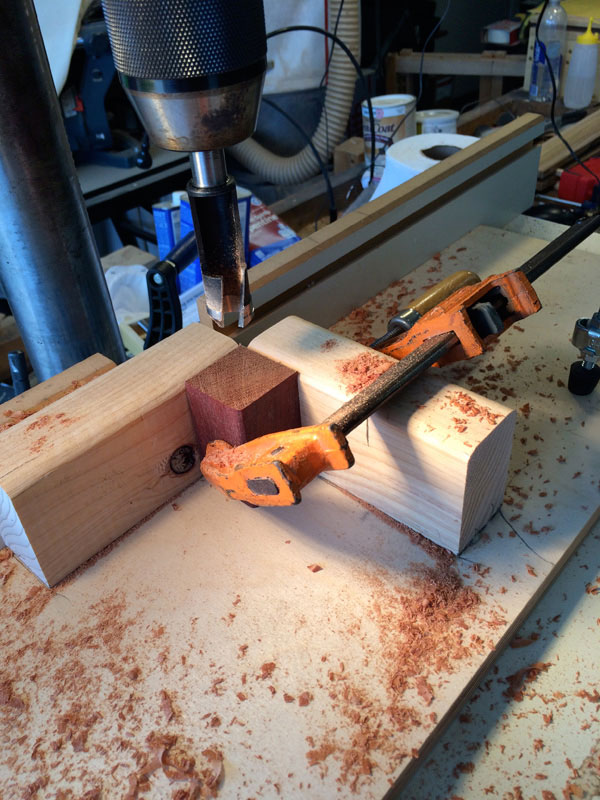
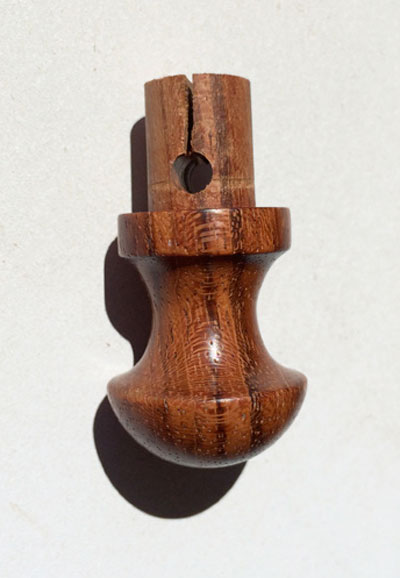
I had four pieces of so-called Brazilian cherry that were cut-offs from a table that
was 'too high' some years ago. Though not the same species, it seemed right to
use a dark 'cherry' for the pulls.
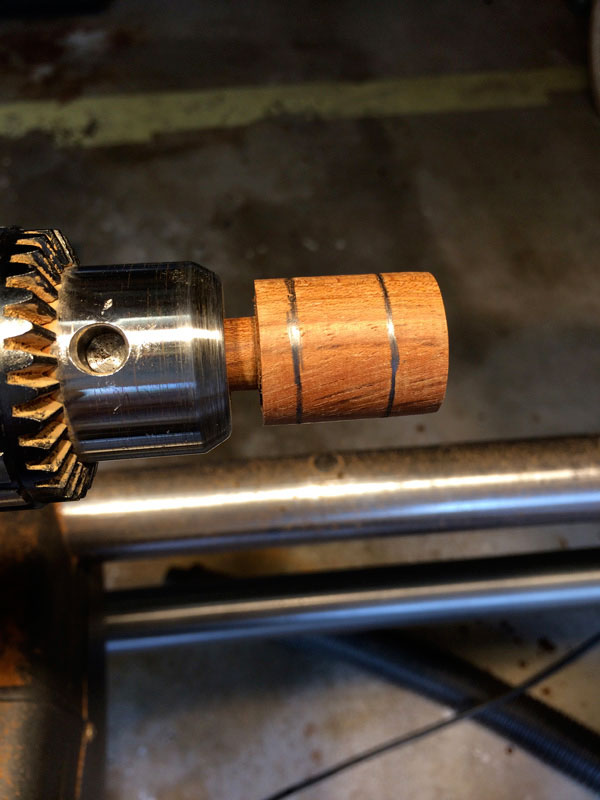
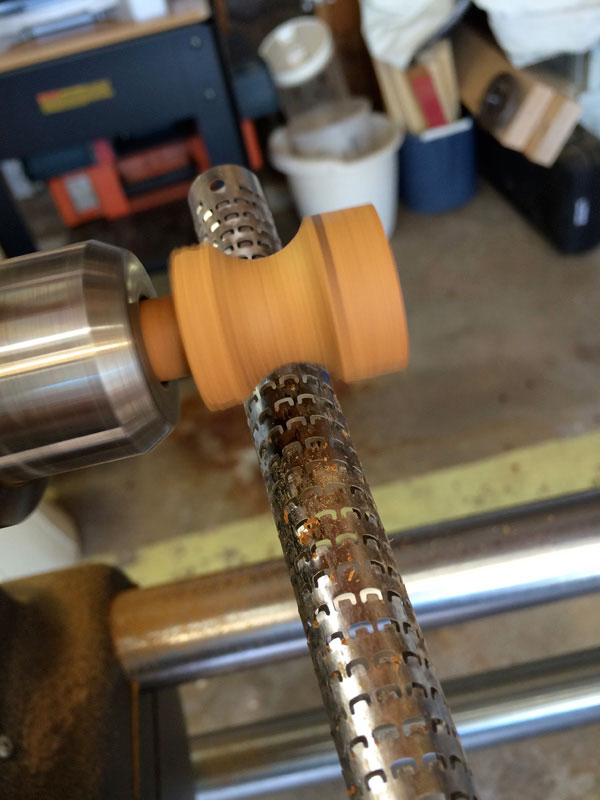
I followed the method
Christian Becksvoort shows online
, except I did the 'turning' horizontally on my Shopsmith.
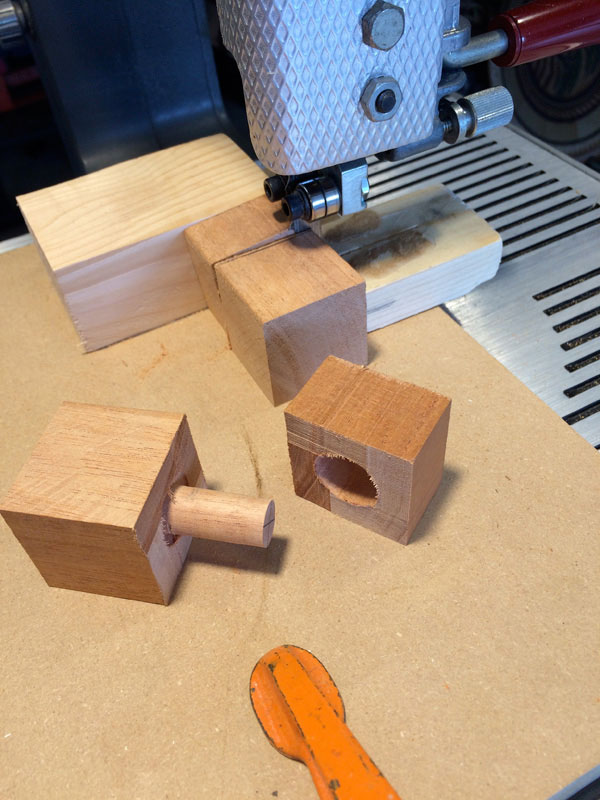
Several more than the needed four were made to allow for my learning curve on
this process.
First, the tenon was cut using a 1/2 inch tenon cutter and then removing the waste
on the bandsaw as Christian Becksvoort recommended.
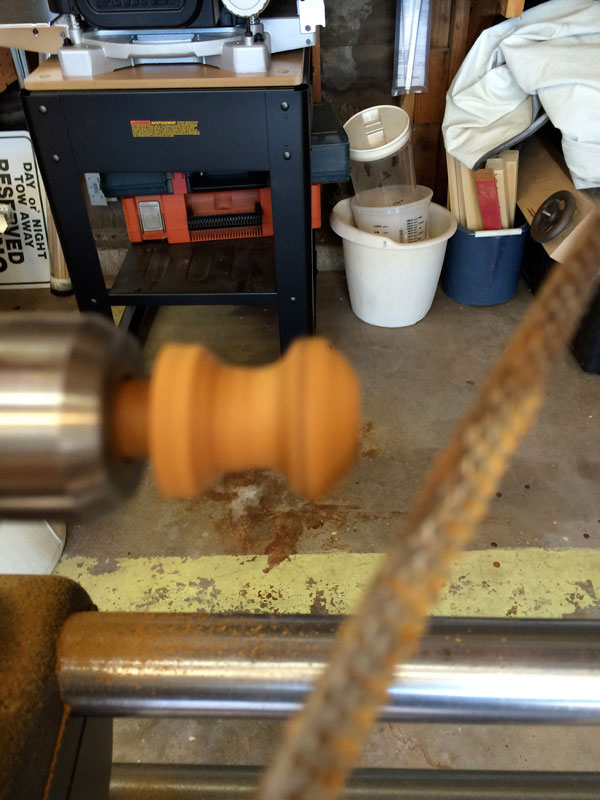
I cut off the corners, rounded to final diameter, and marked the major element
points.
Rasps and files followed by sandpaper shaped the pull and brown wax finished it.
I used a taper bit to taper the holes from the rear of the front panels for the
pulls. The slot in the tenon will accept a wedge to lock in the pull and the drilled
hole will limit any tendency for the slot to grow down the grain since the slot
should be lined up with the grain of the pull.
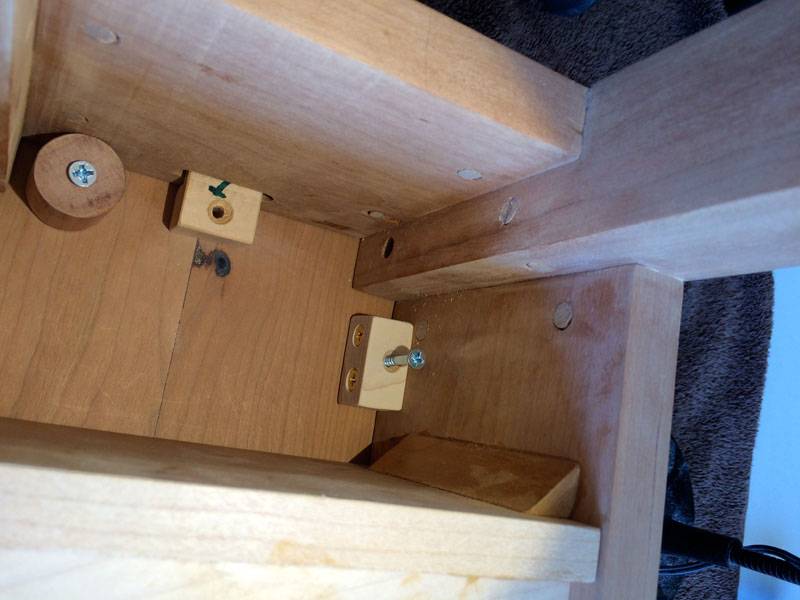
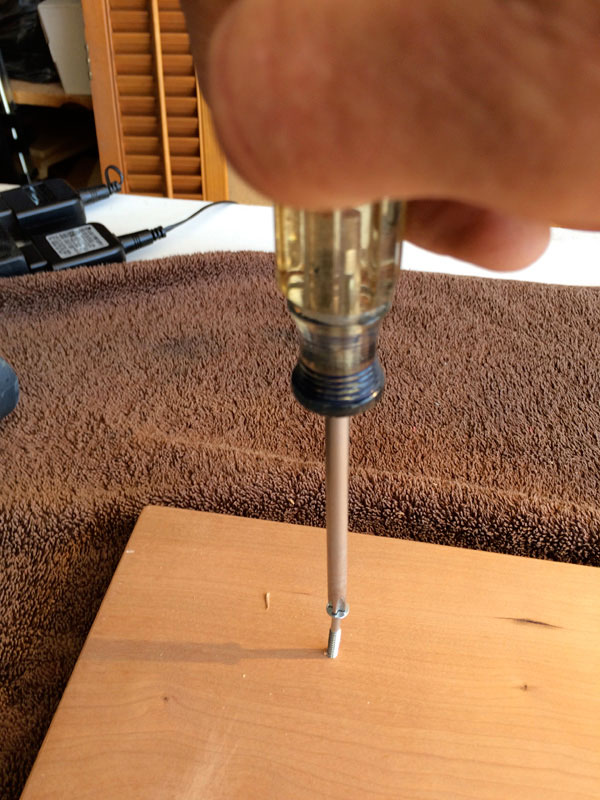
With all the pieces ready for finish, I inverted the base on the bottom of the top to
locate and drill where the various top hold-downs are.
The round piece on the upper left-hand side is one of four temporary locators
(two on the front and one on each side) that allowed me to final install the top in
exactly the same location as when I marked the screw holes.
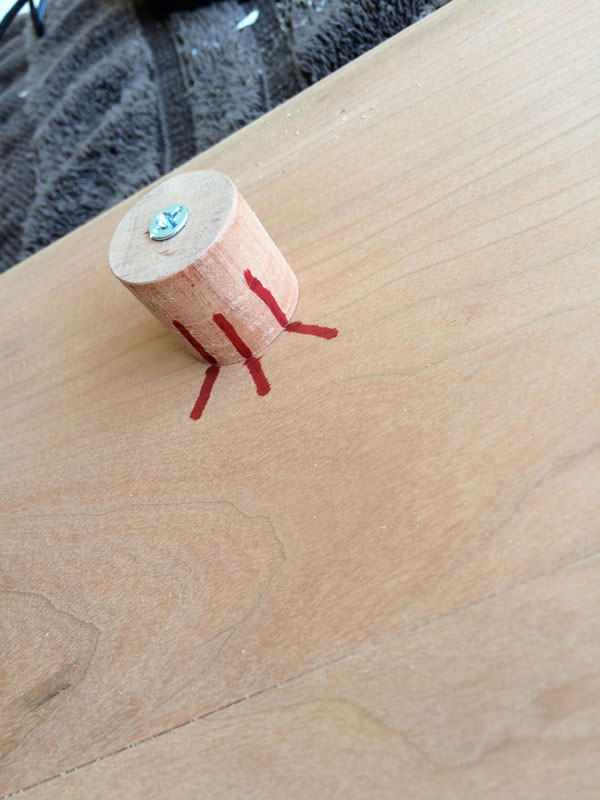
They in turn were marked with 1 to 4 lines so that they could be installed at the
correct location and to the same orientation. The marks are well inside of the
overhang area and will not be readily visible.
The marked locations were drilled to depth and the threads cut with a steel
screw.
In the third and final installment of this Hall Table Project Series, that will be featured in the July 2016 issue of Wood News Online, I will be "finishing" up the drawers and hall table.
You can email Forrest at
forrest.bonner@verizon.net
.
Return to
Wood News
front page
|