|
|
|
|
Installing My Eclipse Bench Vise
By Forrest Bonner
|
|
|
When I made my workbench some 40-odd years ago, there were no readily available
workbench plans
as there are today. I had been reading Tage Frid and James Krenov and those books did have pictures, so I laboriously starting trying to scale a workbench based on them. It has served me well.
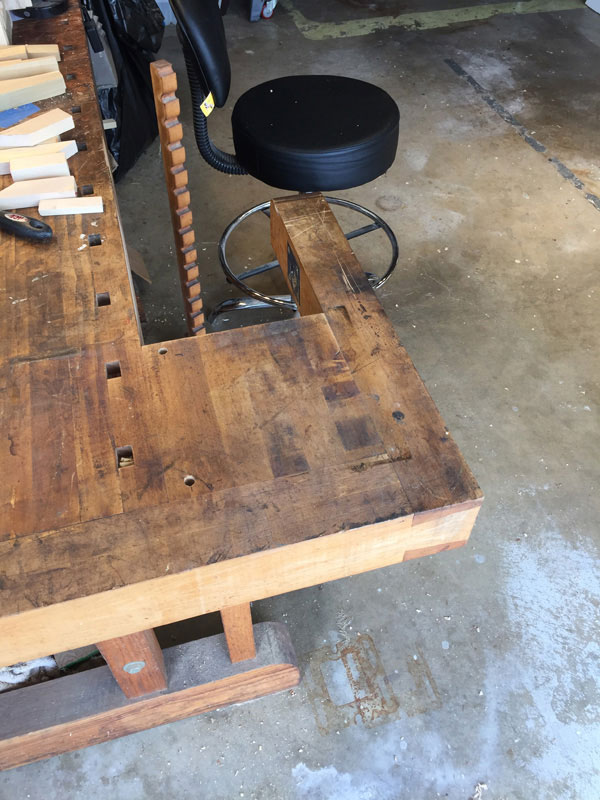
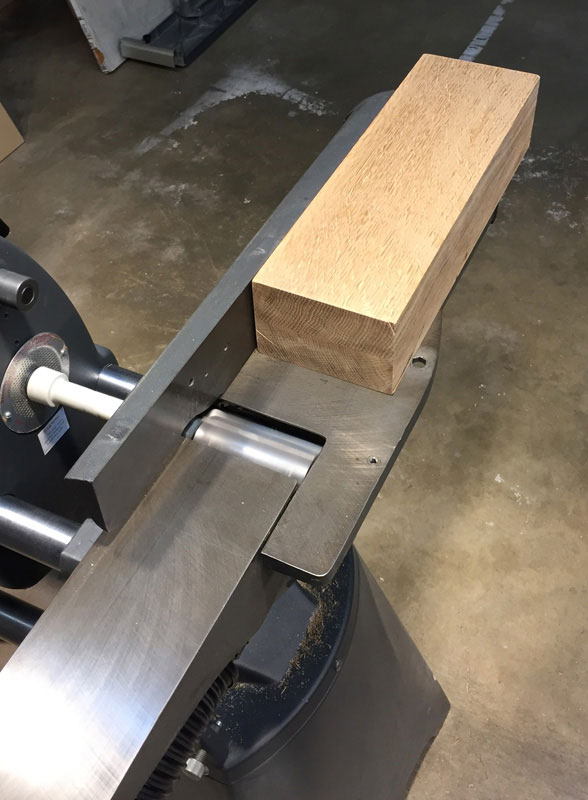
The top is laminated boards of hard maple and the base is made from one big plank of oak. By not measuring twice and cutting once, I wound up having to widen the base feet since I cut the legs too short to tenon the original length. After finding that the vise in that 'crook' was not all that useful, I put my drill press on it – attested to by the holes on the arm. This, obviously, reduced its usefulness even more.
The vise had already been removed when I took this picture.
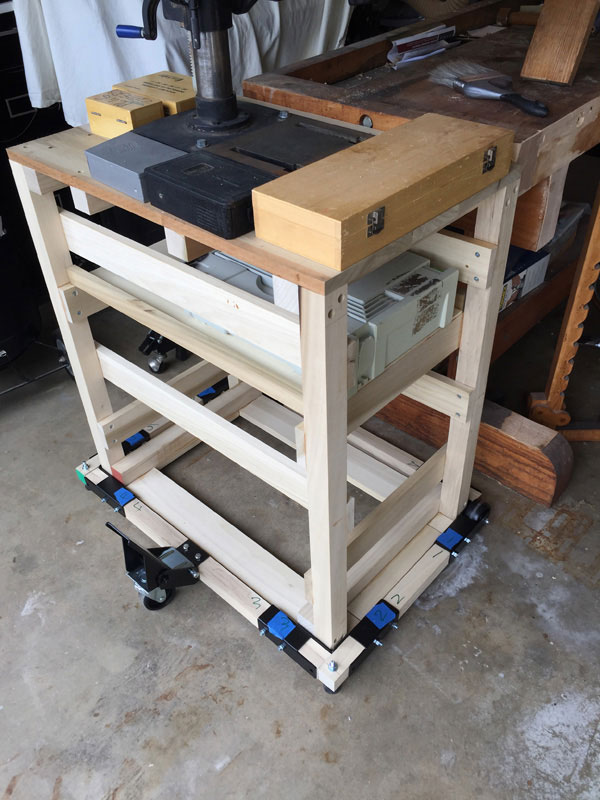
I decided to get a
10 inch Eclipse Quick Release Bench Vise
so I built a stand for my drill press using a mobile base kit.
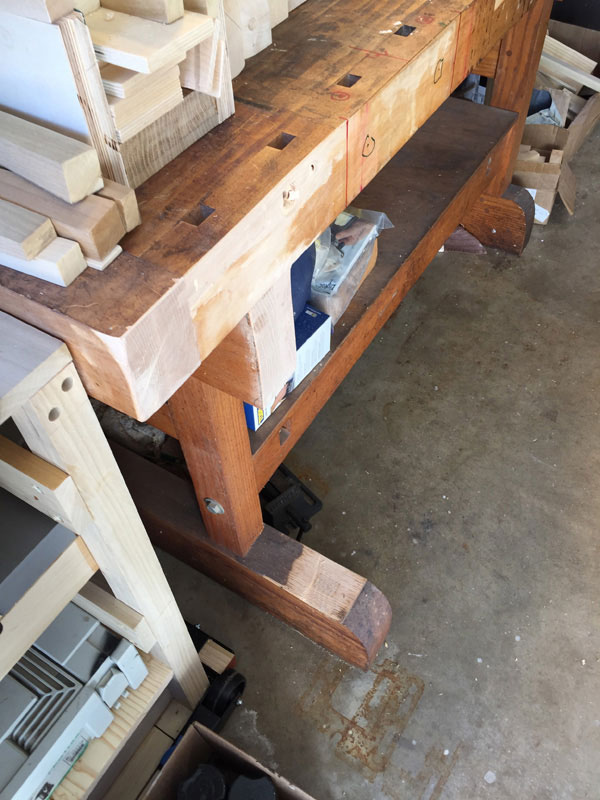
The 'crook' was cut off to make room for the new vise.
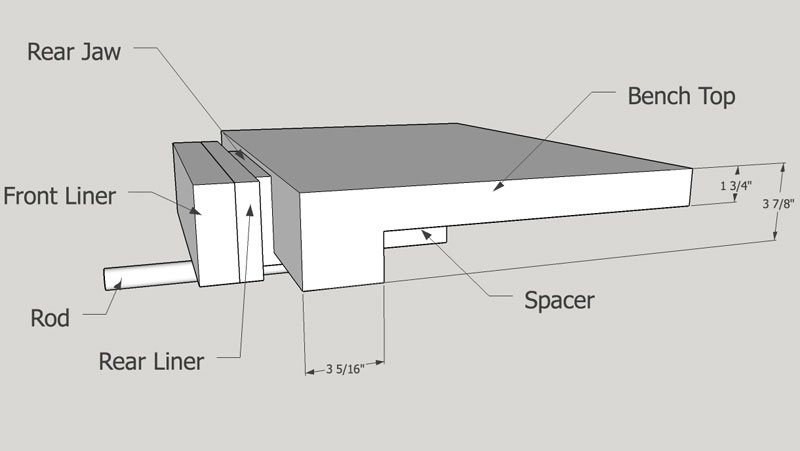
I used the bench, vise, and jaw liner actual measurements in SketchUp to determine the size needed for the spacer block under the rear set of vise holes.
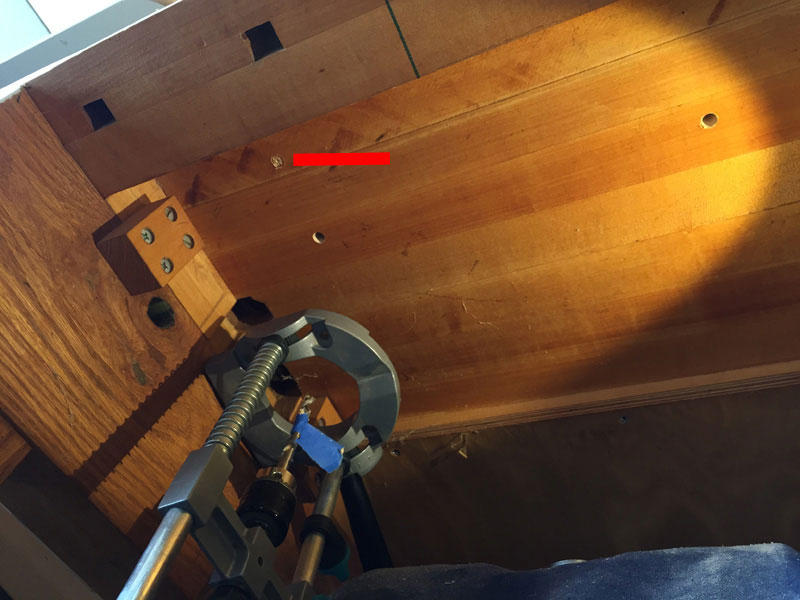
I supported the vise against the bench skirt to get an approximate location that did not interfere with any existing bench function. I set it far enough to the left end so that I still had room for my Moxon vise to be clamped to the bench to the right.
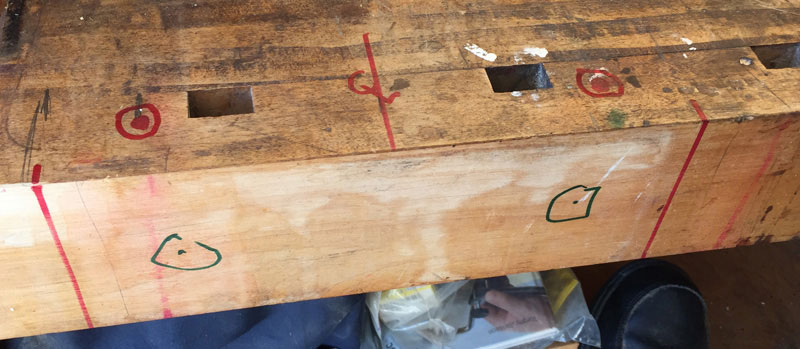
Then it was time to use actual vise measurements to locate the vise so that the front set of mounting lag screws missed the existing dog holes. Those locations are shown by the red dots on top. The green dots on the skirt face are to be where shallow mortises will provide clearance for the screws that hold the rear liner on. I have chosen to not mortise the rear jaw in the bench after consulting with Highland Woodworking Technical Support. Kudos to them for the same day response to my emailed question.
I purchased quarter sawn white oak for its stability and roughly located the needed pieces.
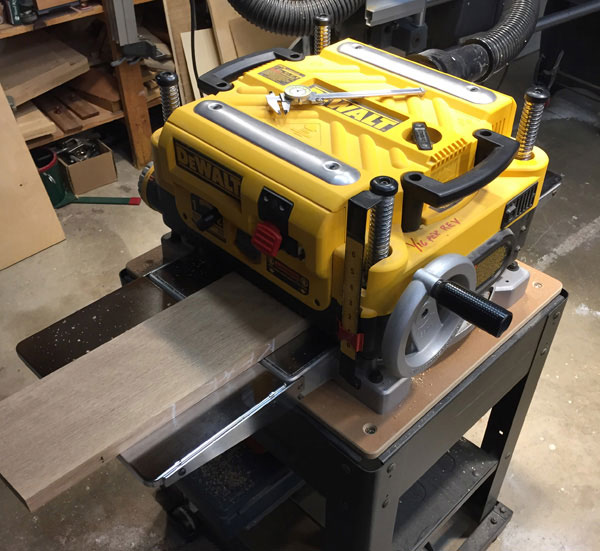
After rough cutting to length and a 6 inch width I again used Mathias Wendell's jointing technique for boards wider than my jointer.
And thickness planed to final size.
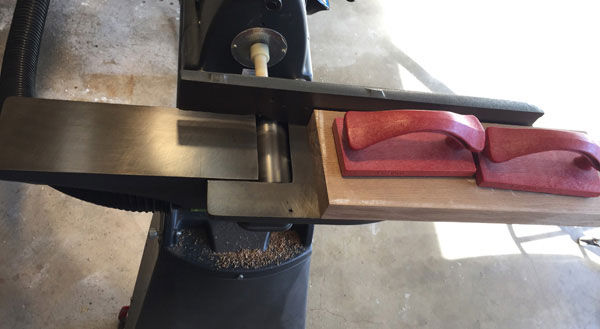
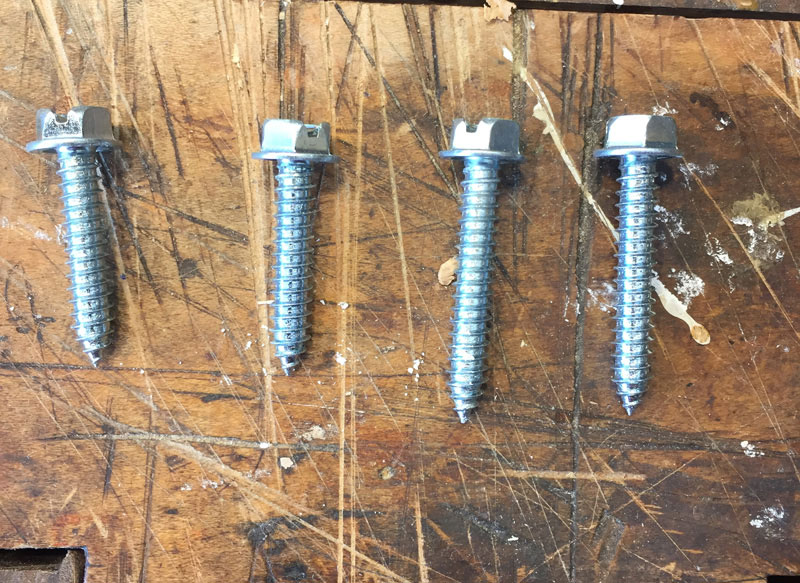
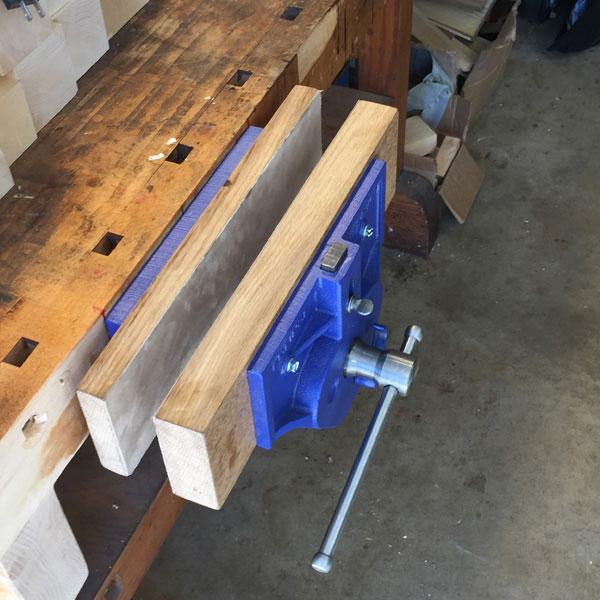
The rear liner is 1 inch thick and the front liner is 1-5/8 inch thick as recommended by the installation instructions. The appropriate length 1/4 inch screws are used to attach them to the vise.
Although the installation instructions stated that the 10 inch vise could handle liners up to 18 inches, I chose to stay with liners that are 16 inches long and 4-1/4 inches deep. That depth will allow the metal top of the vise to be below the level of the bench top as recommended and will also allow me to level the liner tops with the bench top surface after installation. I was fortunate that my bench face was just the correct height so that I didn't have to shim the vise down. The thin shim shown under the liners is to raise them 1/8 inch above the rods to allow for seasonal movement – also recommended.
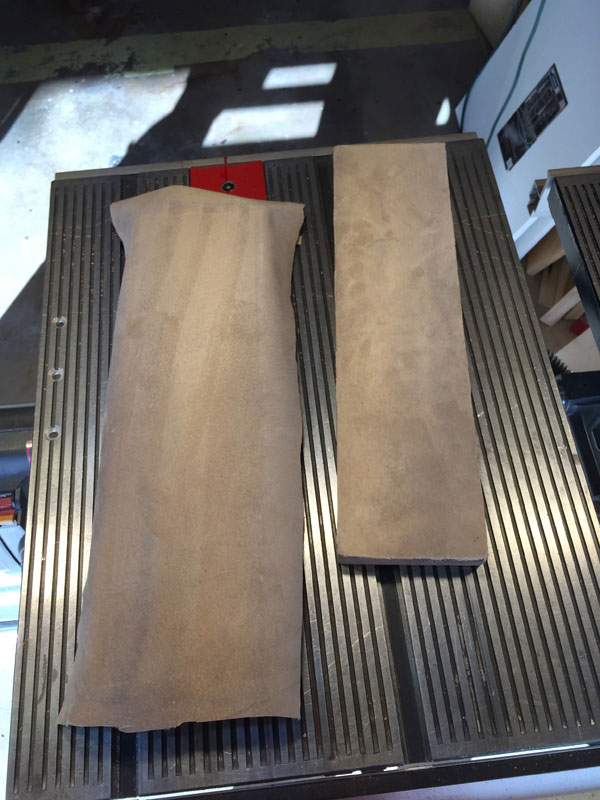
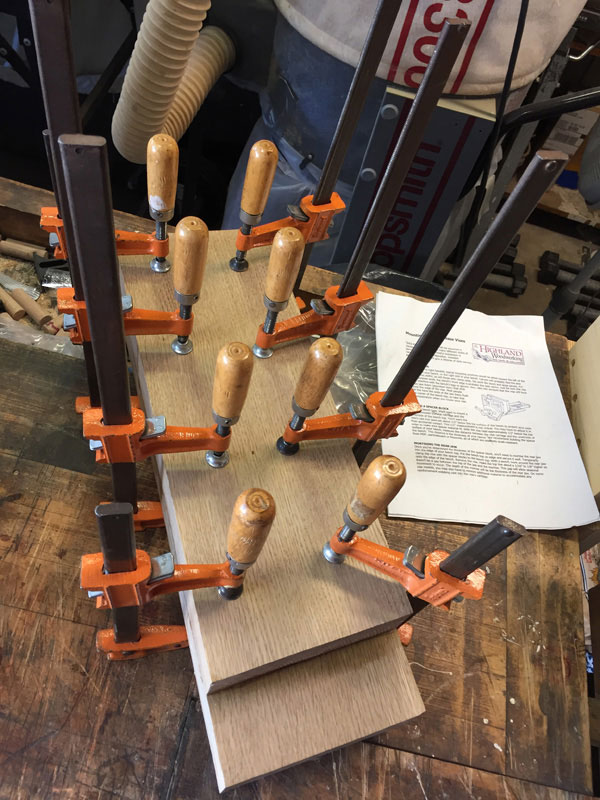
Once fit to the vise, I faced the liners with leather using
Old Brown Glue
.
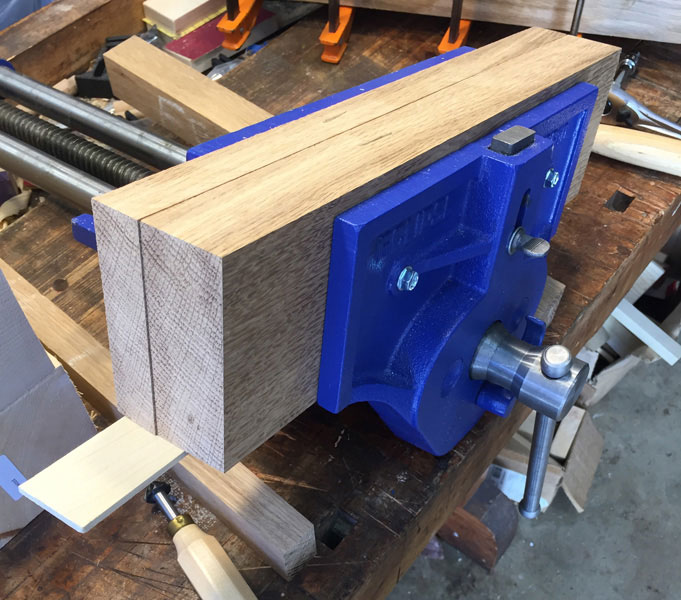
The needed thickness of the spacer required a
Titebond III
glue-up. I didn't use any cauls since both faces will be planed to get to the final thickness.
With the glue dry, I jointed and planed the spacer to size. The thickness planing was checked frequently to be sure it came out flush to the bottom of the bench face.
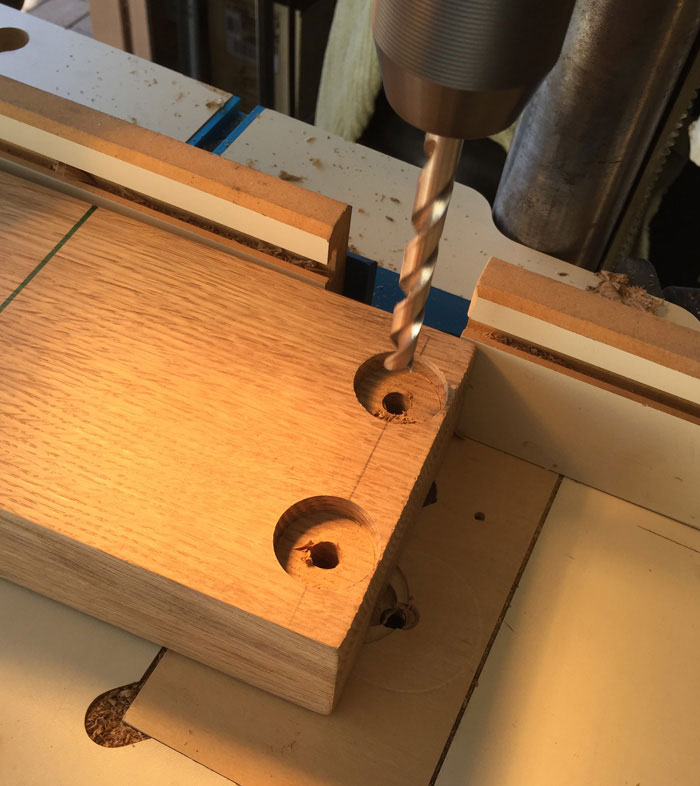
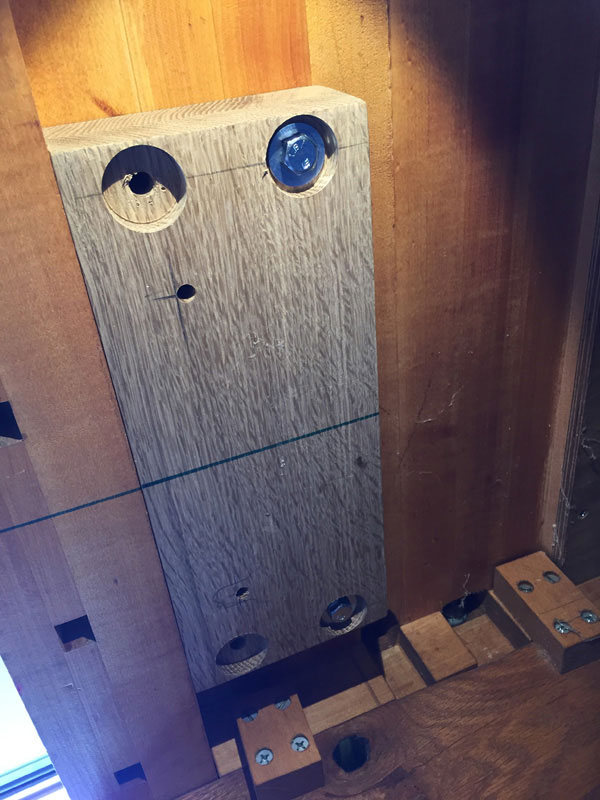
When sized, I drilled 3/8 inch shank clearance holes for the 3/8 inch lag screws that will mount the spacer to my workbench. The recess flushes the washer and bolt head but more importantly gives me additional screw engagement.
I centered the spacer on the vise at a distance equal to the thickness of my bench face. I turned the clamped assembly over and marked the locations of the rear mounting wings. I drilled 5/16 inch pilot holes through the spacer for the 3/8 inch lag bolts that will hold the rear vise wings.
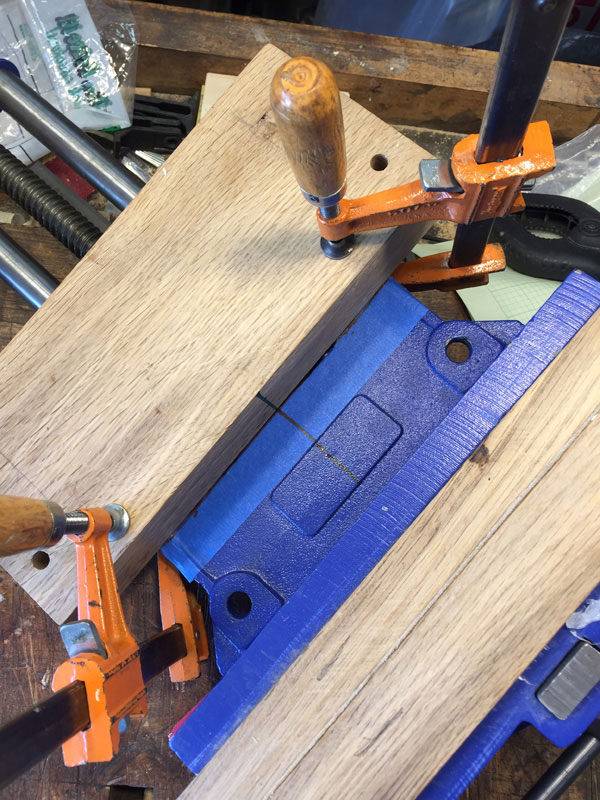
I aligned the centerline of the spacer with the extended centerline of the vise and clamped it in place.
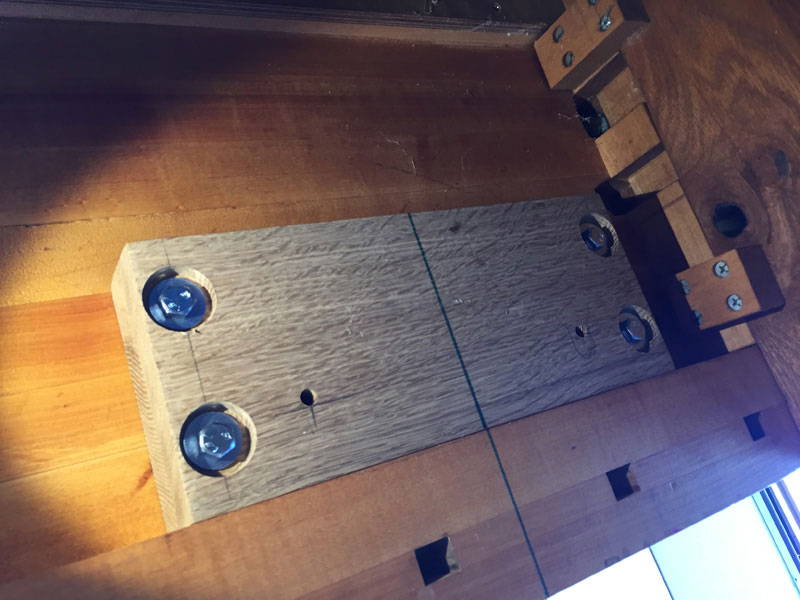
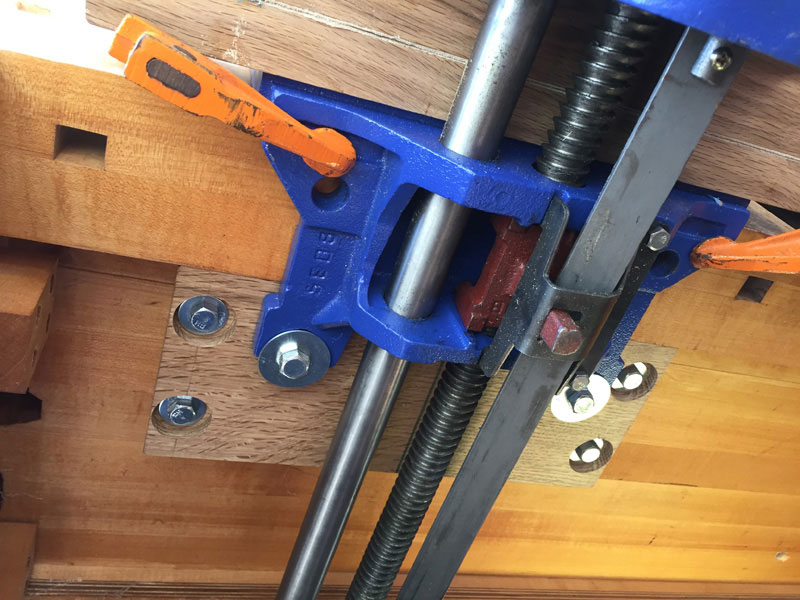
I used a 3/8 inch drill through the spacer mounting holes to mark where the 5/6 inch pilot holes in the bench top must be. I was able to assure a 90 degree hole on the two rear locations using my adjustable angle stand. The blue tape marks the maximum depth to keep from drilling through the top of the bench. The two front holes (one next to the red line) were too close to the rear of the bench face to use the angle stand, so a modification was needed.
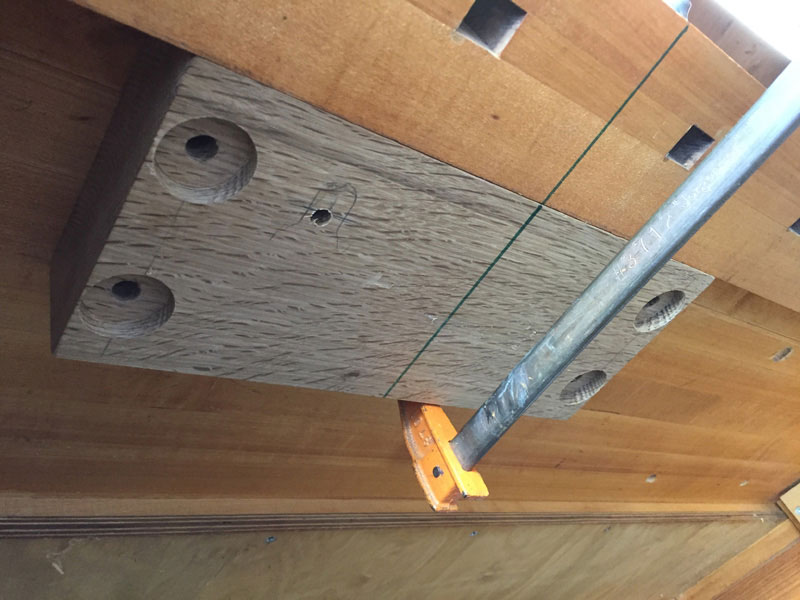
I mounted the spacer using the two rear holes.
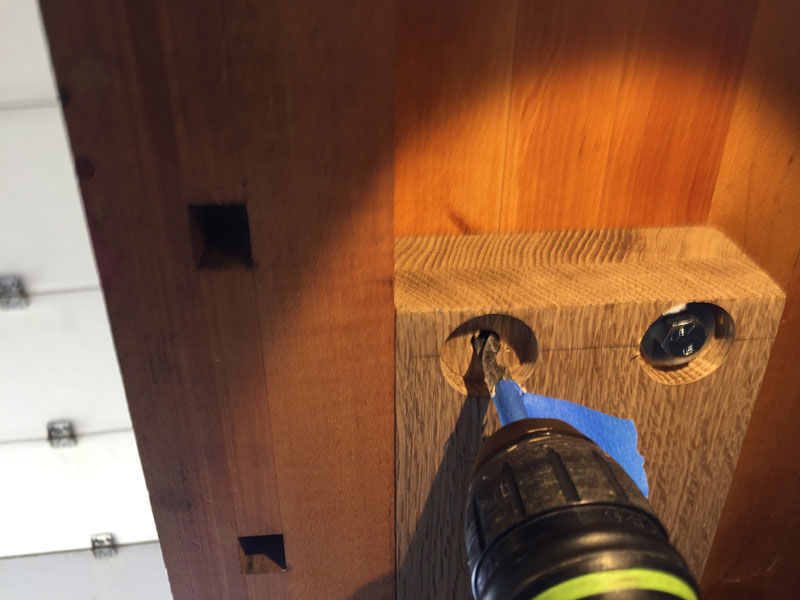
The two front mounting pilot holes were drilled through the two front spacer clearance holes to assure a 90 degree hole. A different depth flag was needed. While here, I drilled the pilot holes into the bench for the rear vise mounting lag screws using the previously drilled 5/16 inch pilot holes.
The spacer is attached and ready for the vise.
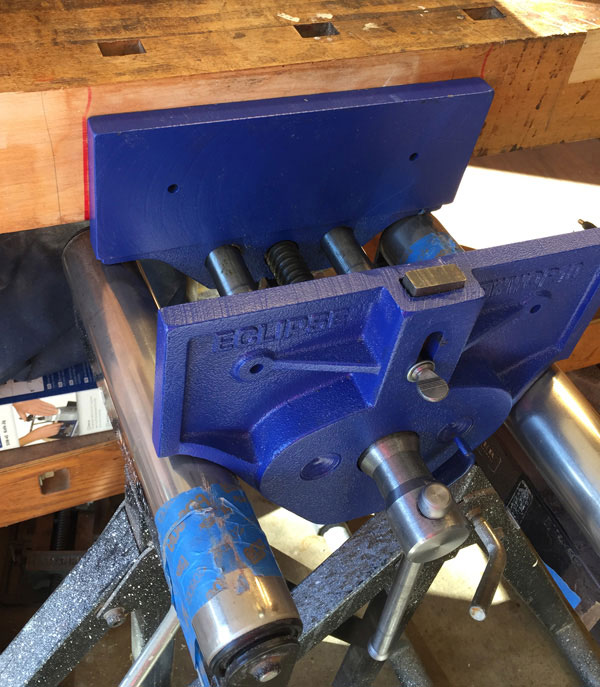
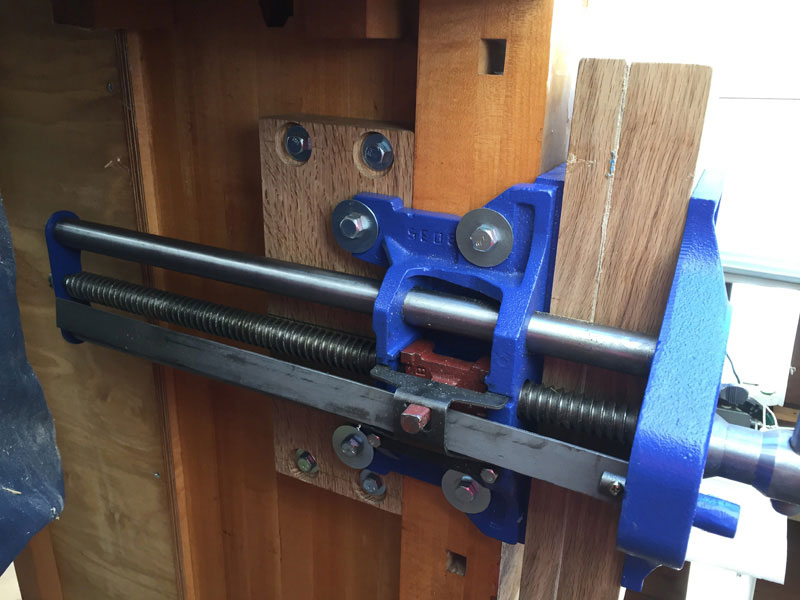
I first put in the two rear lag screws partially engaged so that I could slide the rear vise slots onto the washers. The front of the vise was supported on stands as shown in an above picture. I tightened the vise to the bench face and clamped it against the bench so I could complete the tightening of the rear lag screws. The holes for the two front lag screws were drilled through the vise.
With the front lag screws now installed, it's time to enjoy my new vise!
You can email Forrest at
forrest.bonner@verizon.net
.
Return to the
Wood News Online
front page
|
|
|
|
|