|
(Page 2 of 2)
Previous Page
1
2
The Poor Man's Roubo Bench Build - Part 3
To start at Part 1 of this series, Click Here
Click on any picture to see a larger version.
With what seems to be a football field sized slab of coniferous goodness now glued up and "rested," it was now time to turn my attention to flattening the thing. With this much acreage to work on, I was not feeling all that enthusiastic for the traditional means of flattening the thing, namely using a scrub plane to work out the high spots, and then a number 7 jointer plane and winding sticks to bring the surfaces into "true."
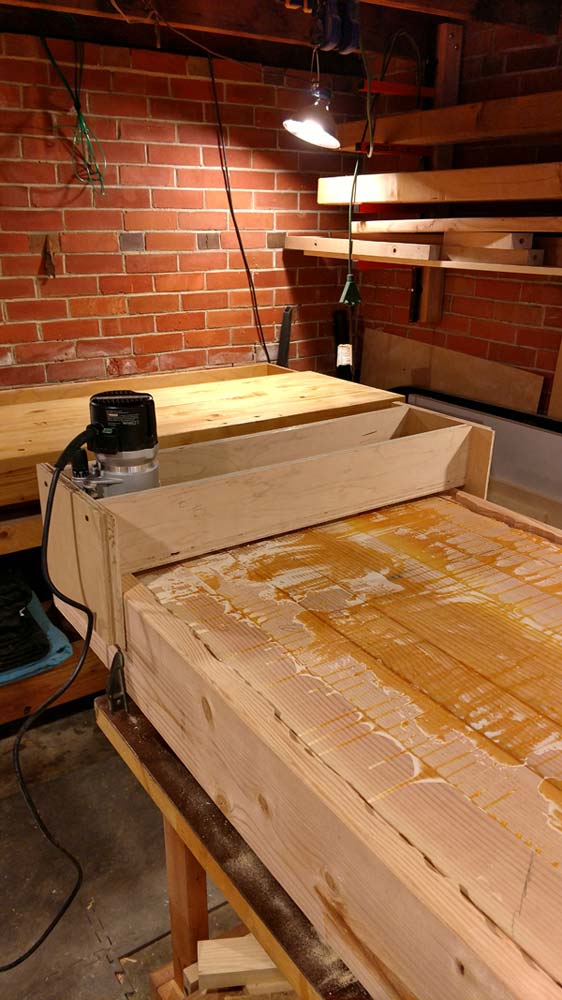
Instead, I planned to build Tage Frid's router sled, and to use his two string/criss cross method of finding parallel to
flatten the Roubo's top
.
Since the glue up left many high spots and general weirdness in the top, I wanted to try to take some of this out and get the surfaces sort of "pre-flattened."
So, instead of using a scrub plane and sweat equity, I dug out my old 3.5' electric planer.
I can almost hear the groans and feel the indignation of many purists out there. Let's just bear in mind the initial thinking behind my build of this bench. Cheap, fast, traditional joinery, yet still putting pride in my work and taking care of details.
I am building this bench to be worked on and NOT as a show piece or "Shop Queen." It is just another tool.
This is not to say that it is to be slapped together, quite the opposite in fact. But it can be said that I am not taking any great pains to be historically accurate in my methods. If I can save myself some money, time, pain, mental anguish by using a method not traditionally employed, then HELL YES I am going to take advantage of it.
During my nightly forum reading I actually ran across several posts in several different forums, discussing the use of this little electric planer to do exactly what I was planning to do.
Universally the response was that it was not a good idea with next to zero reasoning behind why it was not a good idea.
Always the rebel, this just encouraged me further to give this a try. The thinking was that I was only taking high spots out, and that I would be able to clean up any tear out with the router and sled.
I could find no reason why a "pre-flattening" with the electric hand planer should not be applied.
So, off I went and used the little planer to get me close for final flattening.
As it turns out, I ended up using this method to pre-flatten just the bottom of the bench. I pre-flattened and then applied the Tage Frid sled and rails to flatten and true up the bottom. I needed a nice stable, flat surface to work on once finished.
(The picture below is just to show the sled. It obviously is prior to the pre-flattening)
|
I will let you read the router sled article above, or better yet, pick up the trio of
Tage Frid books
, to get an idea how to execute this method of flattening slabs. I have mentioned this before, but this set of books is an invaluable resource for the novice woodworker and the experienced hand alike. Well worth the money.
It works quite well. You can also find a great video of the process if you search YouTube. "The Wood Whisperer" has a great video, and Marc is pretty adept at being able to simplify processes and provide clear guidance.
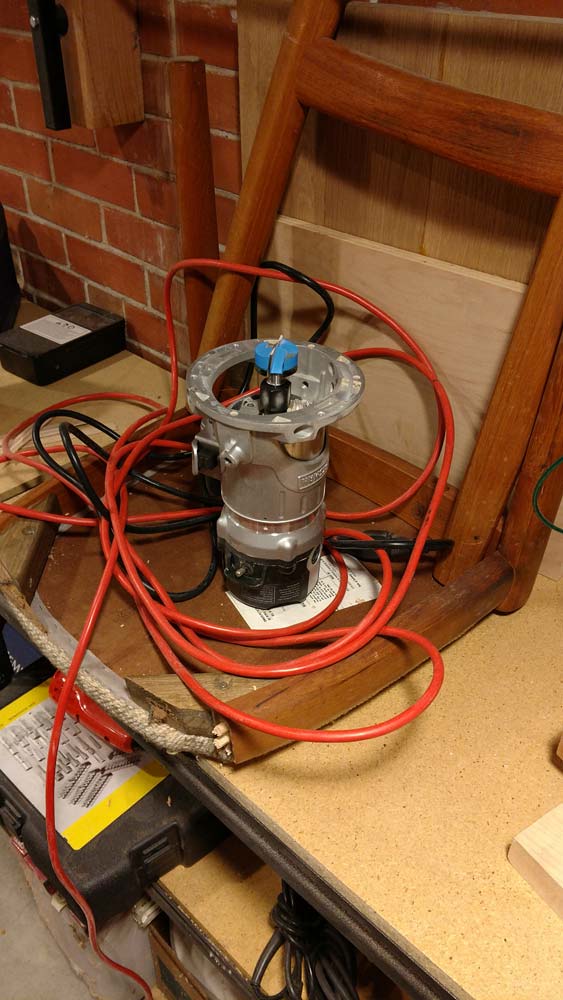
I used the largest bottom cleaning router bit I could find. 1-1/2" and while it was a pretty hefty bit in my underpowered router, my minimal depth of cut made it much easier on the poor, elderly router. I highly recommend taking light cuts when doing this operation. Starting at the lowest spot in the benchtop, set your router bit to this point and use it as your reference starting point.
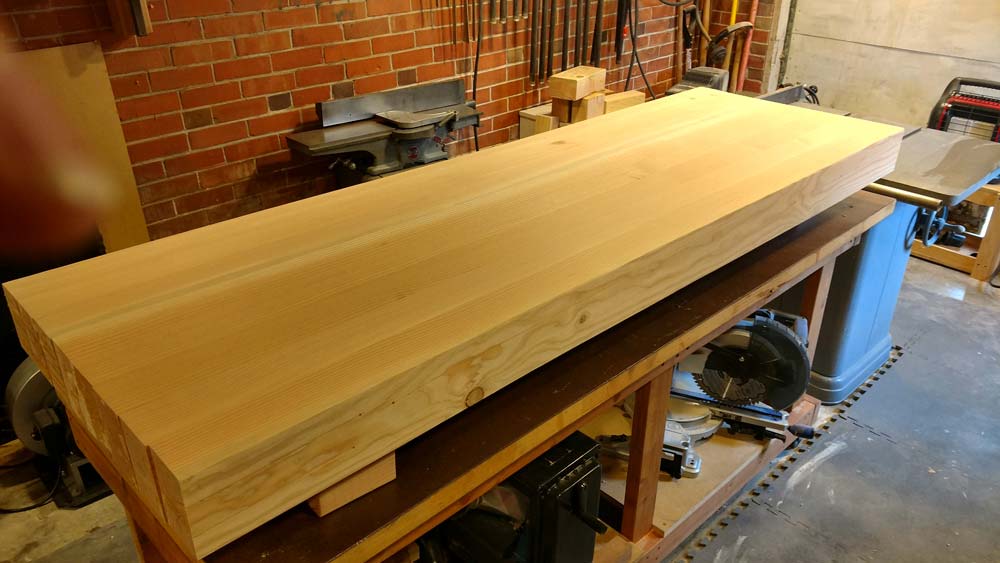
Flattening the bottom of the slab took about two hours set-up to finish. Using a scrub plane and a number 7 jointer plane would probably have taken far less time in theory, but I attribute a large portion of this time to set up, checking the setup, double checking the setup and small, incrementally deeper passes as a means of ensuring I did not hose up the process.
Having one side trued up now, I decided to leave the bottom up as a surface to work on for cutting joinery.
Traditionally, the base is mortised into the top and draw bored. However, adding a top rail to each end provided a place to use mechanical fasteners in order to allow for disassembly in the future if need be. While it is possible to simply join the mortise and tenons without the use of glue and making knock down capability as easy as drilling out the draw bore pins, I honestly just did not feel the need to go this route.
Good stout lag screws and elongated pilot holes in the upper cross rails of the base more than do the trick for my needs. Simple, easy, and working with wood movement, this attachment method is more than adequate.
That being said, I did go ahead and mill the material for the brutish base of the Roubo.
I also took great pains in the joinery layout. Mortise and tenon joinery in timbers this size may seem easier due to the larger scale, and to some degree it is. However I think it important to stress that well fitting joints are key to the bench's stability and longevity.
Make your mortises deep, and your tenons thick. Draw boring these joints will make for a bench that will likely outlive you and your children even if you elect to take this "less than persnickety" approach to its build, as I am.
Next time, I will take a look at the joinery and the initial assembly of this beast. At this point in the build, the transition from fabrication of the top and the layout and cutting of the joinery is always a bit of a relief.
The literal heavy lifting has been taken care of for the most part, and the challenge of the joinery is still to come.
It's something of a milestone reached, and I enjoyed taking a little time to enjoy the progress. Do yourself a favor and make time to enjoy these small steps of progress when you take on a woodworking project like this. It is a small thing, but in my view, is important in the enjoyment of the art.
Remember that life is too damn short. Enjoy it with joy and abandon.
(Page 2 of 2)
Previous Page
1
2
John McBride is a professional woodwright, blogger, and writer, living and working joyfully and with abandon in Denver, Colorado. He welcomes feedback on any of his writing, and can be reached
at
madcapwoodwright@gmail.com
. Feel free to drop him a note.
Return to the
Wood News Online
front page
|