|
Click on any image to see a larger version.
In
Part 1 of this series
the goal was to turn a lidded box with the top turned from its
original vertical orientation to sustain figured grain running through the piece from
bottom to top. In the specific case of our sample box, the running lines of spalting line up
smoothly and do not appear disconnected by the separation of lid from box.
This Part 2 article looks more specifically at turning the lid from a box-block in the
inverted position. Working in this method allows the turner to do much more to
embellish the underside of the lid before parting it off, reversing it, and fitting it to the
body before shaping the knob/finial.
If you need a review of the lidded box turning process from Part 1,
click here:
Inverted Lid Box
In the process of teaching new woodturners to learn
how to turn a specific object, we work first from
models trying to copy the design, discover the most
efficient progression of tools and cuts, and refine the
skills of riding the bevel, positioning the gouges,
feathering the scraper, and maintaining the sharpness
of each tool – all technical challenges that lie at the
core of becoming successful.
As the students build their experience, the next major
hurdle is the challenge of design, the challenge of
creating an image of the end-goal visual look of the
turned object.
This stage of creation typically stymie's the student (and occasionally all of us) because
the blank "canvas" of a newly rounded block of wood offers an infinite variety of
possibilities for shape and form and decoration, a wonderful if sometimes paralyzing
reality.
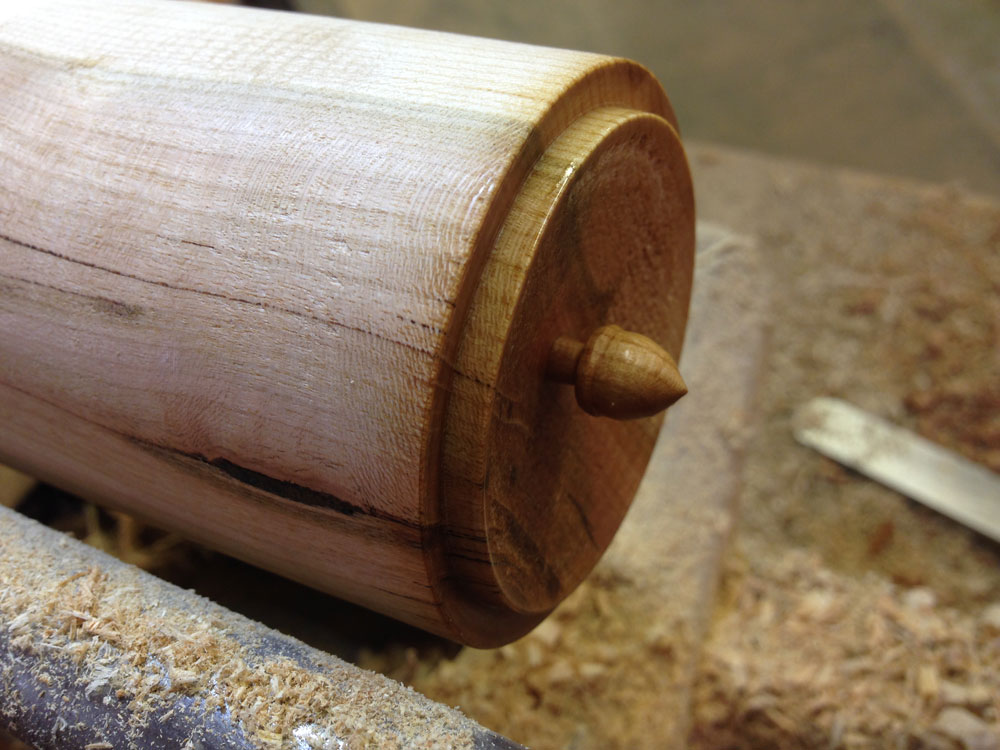
On this occasion, beginning with the rounded
blank and thinking about the underside of the
lid being exposed, the turner has a great deal of
control over what might decorate the inside of
the box, that eventual surprising discovery that
someone might experience when the box is
opened.
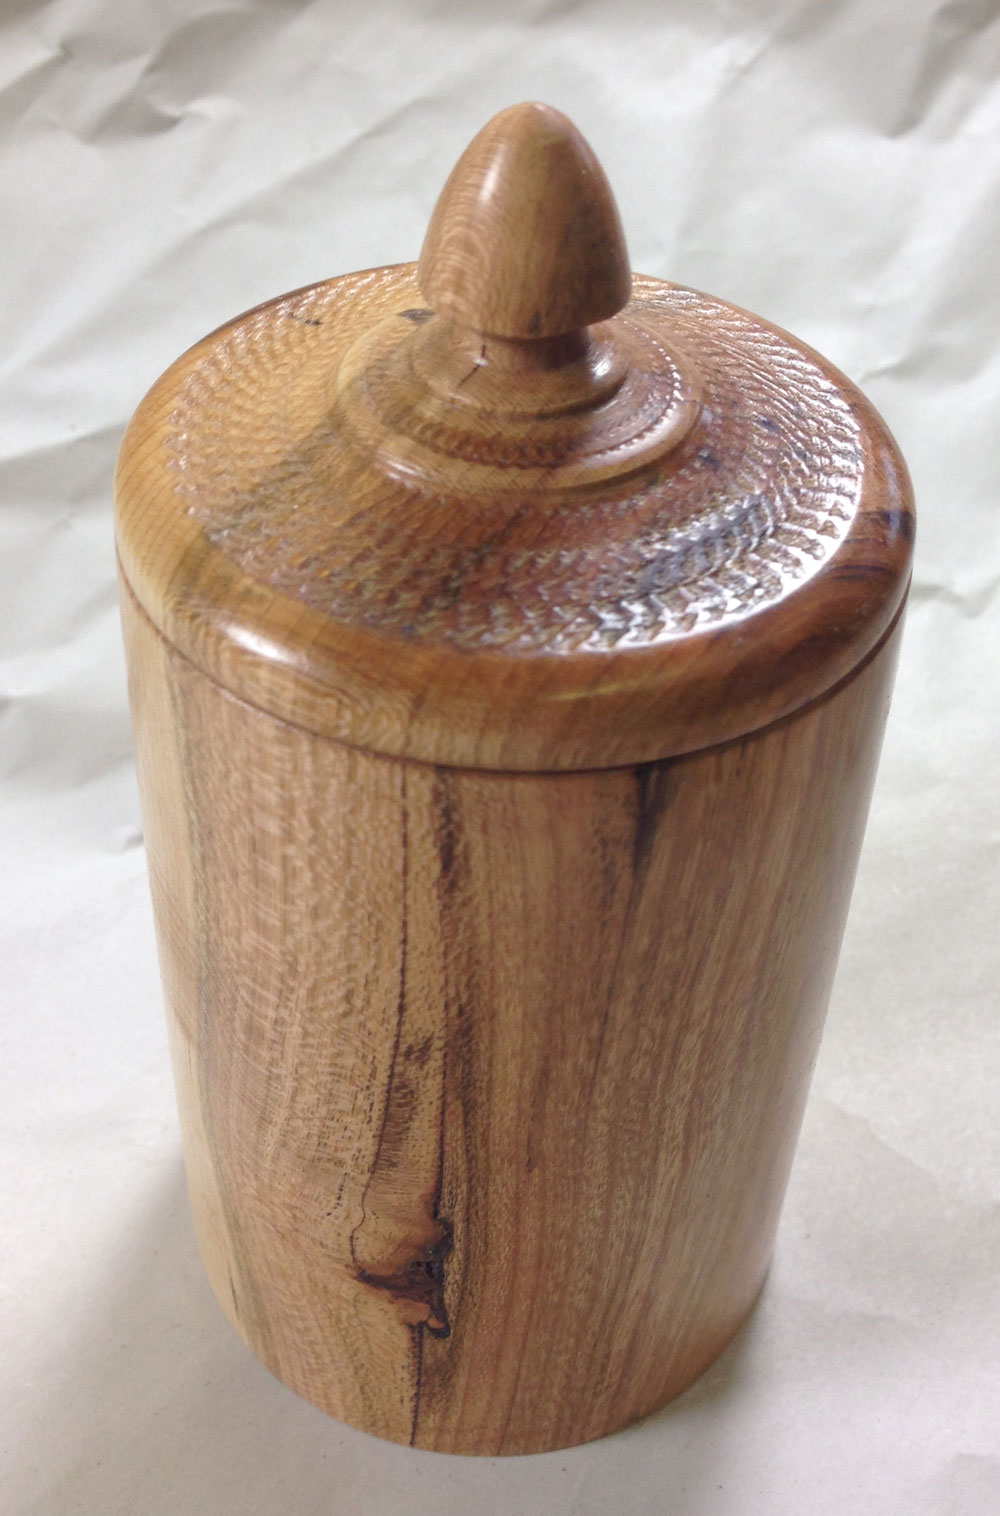
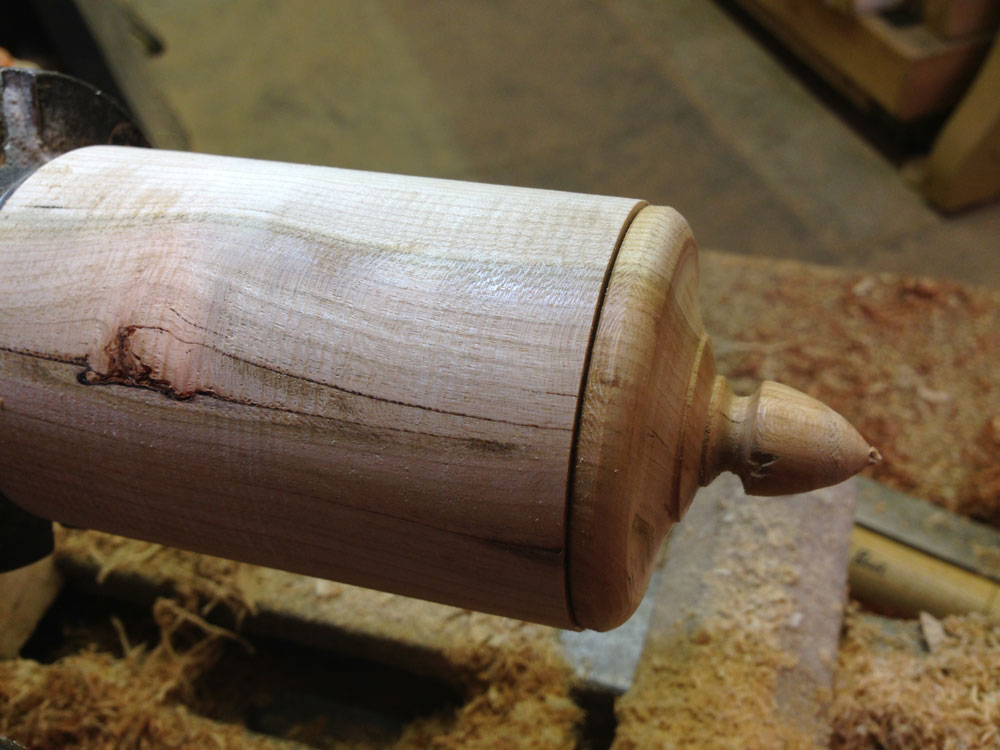
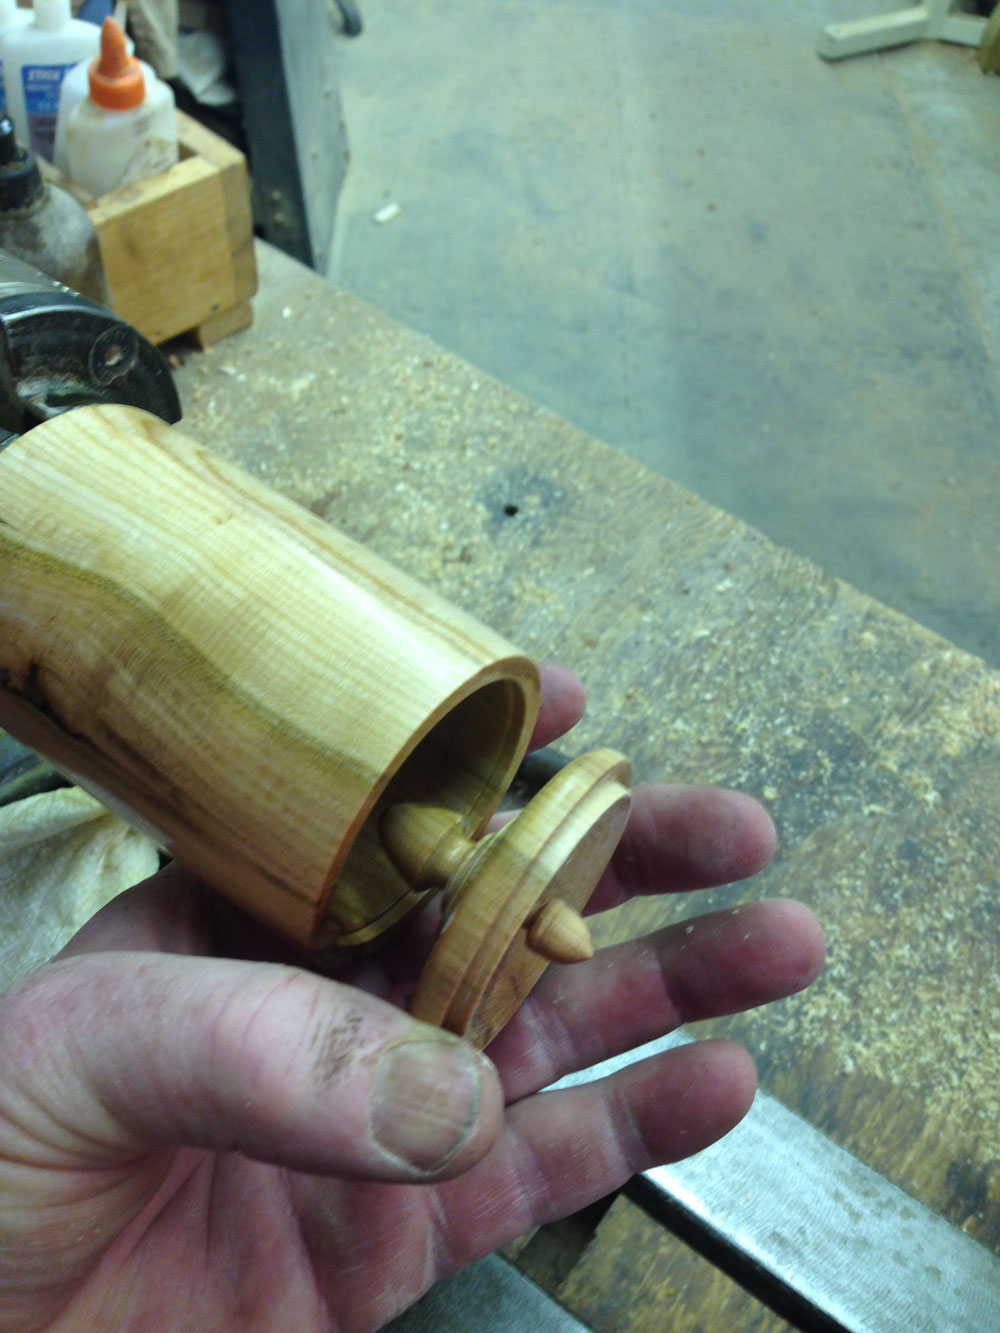
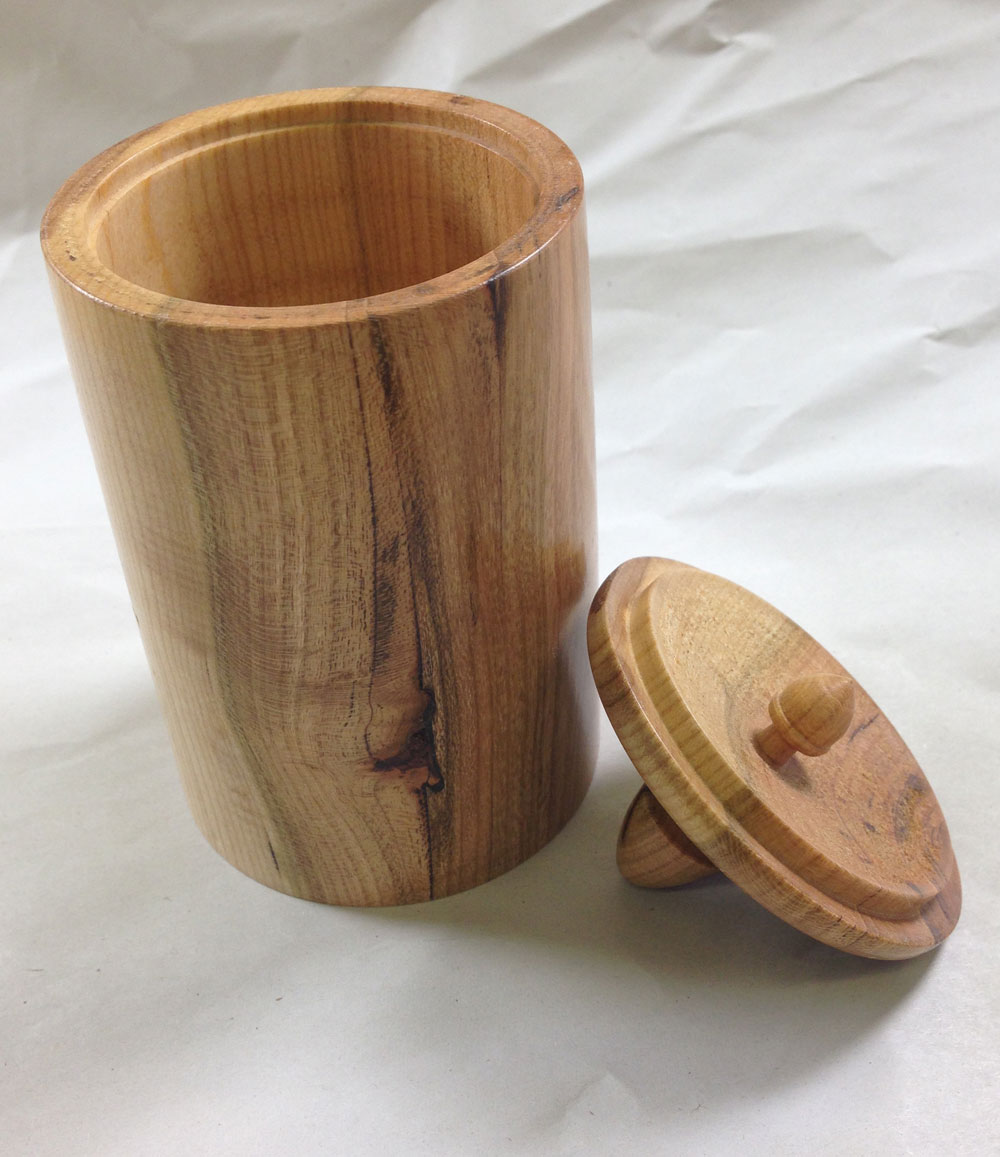
In this box, a small acorn is formed using a
finger-nail grind 1/8" gouge, a simple but easy
shape to create because the end grain
orientation is quite firmly attached.
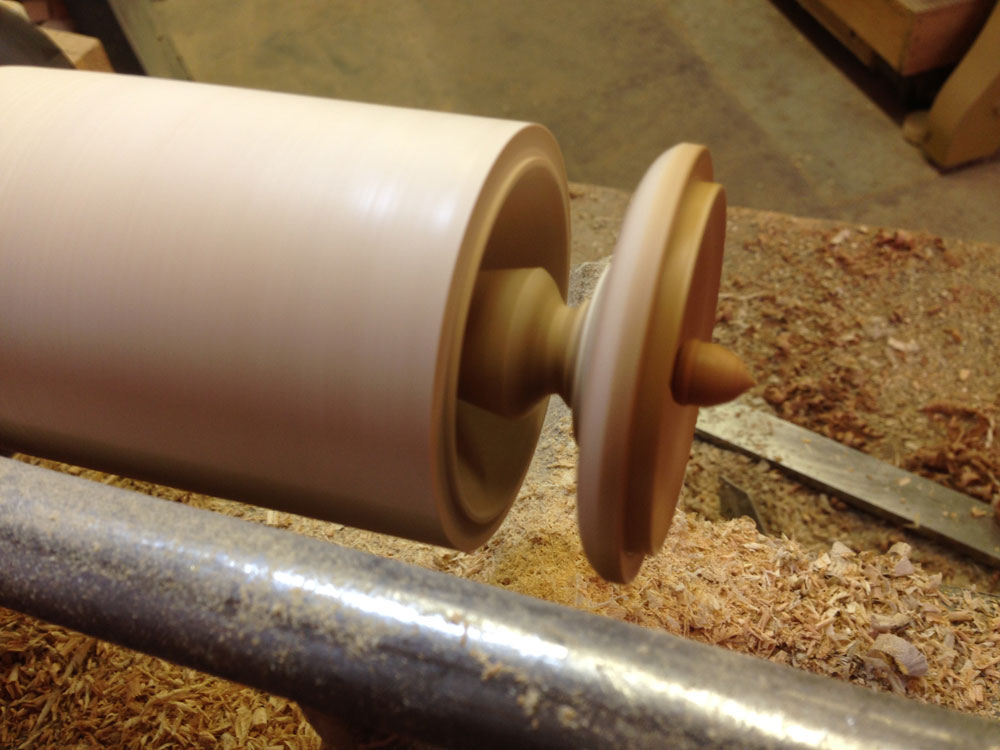
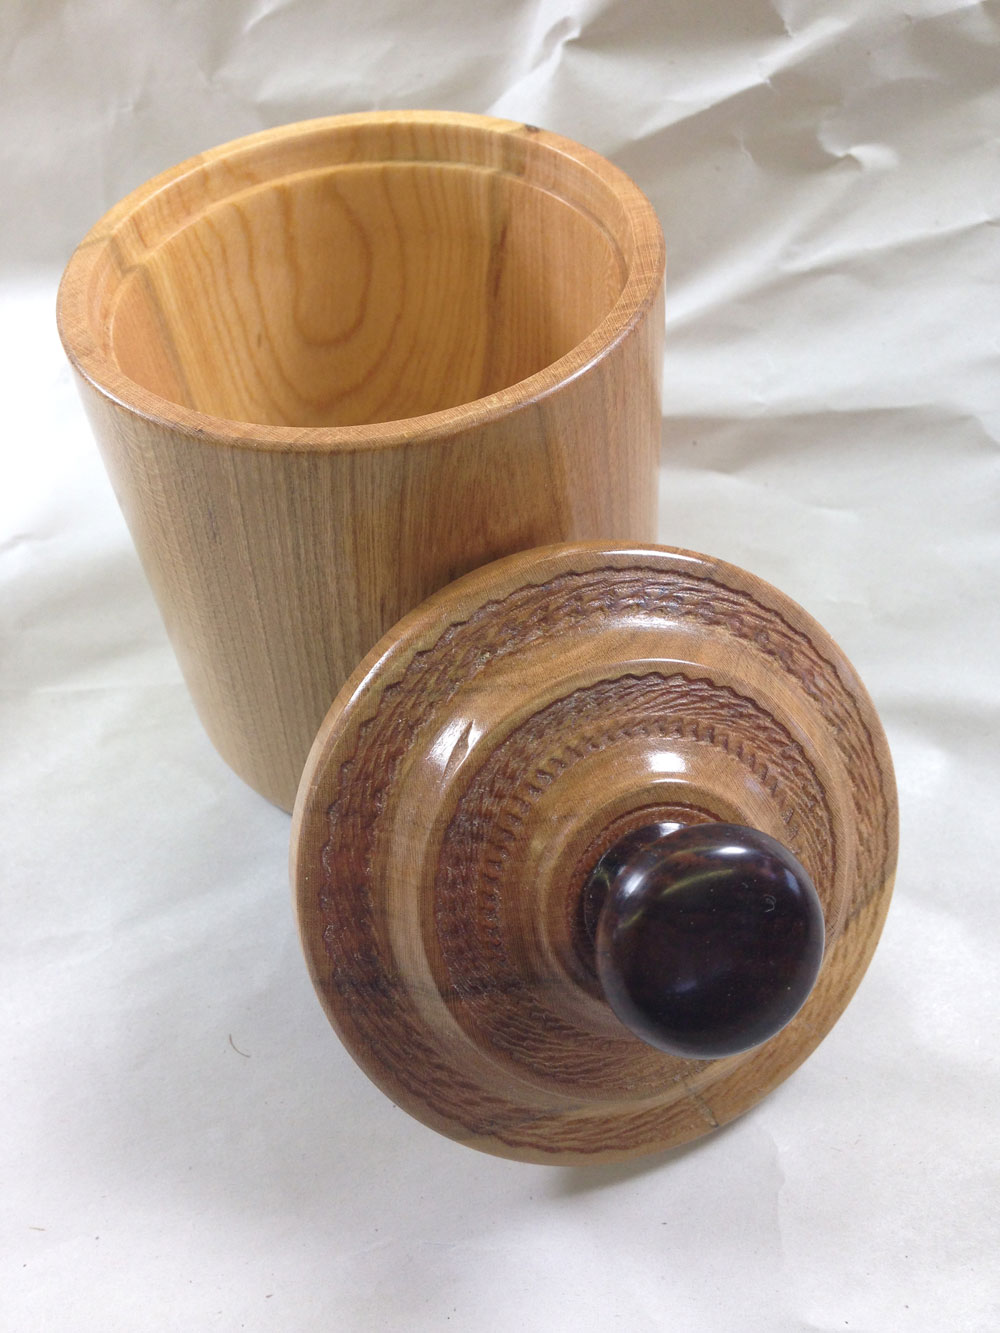
The lid's underside is also slightly dished
(concave) to reduce the lid's weight, to create
more inner space in the box, and to protect the
ornament.
Other choices for this might include attaching a
small gem stone or other-media artifact, using the
chatter-tool
to carve the distinctive
waves, or hollowing the lid more dramatically as shown in the box in
Part 1.
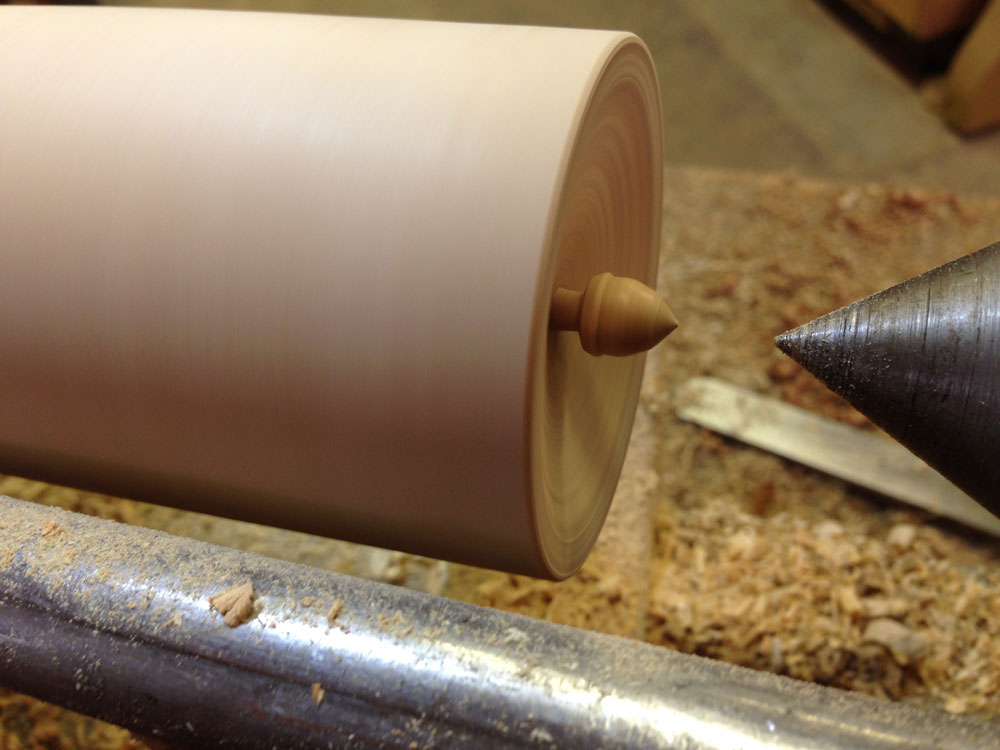
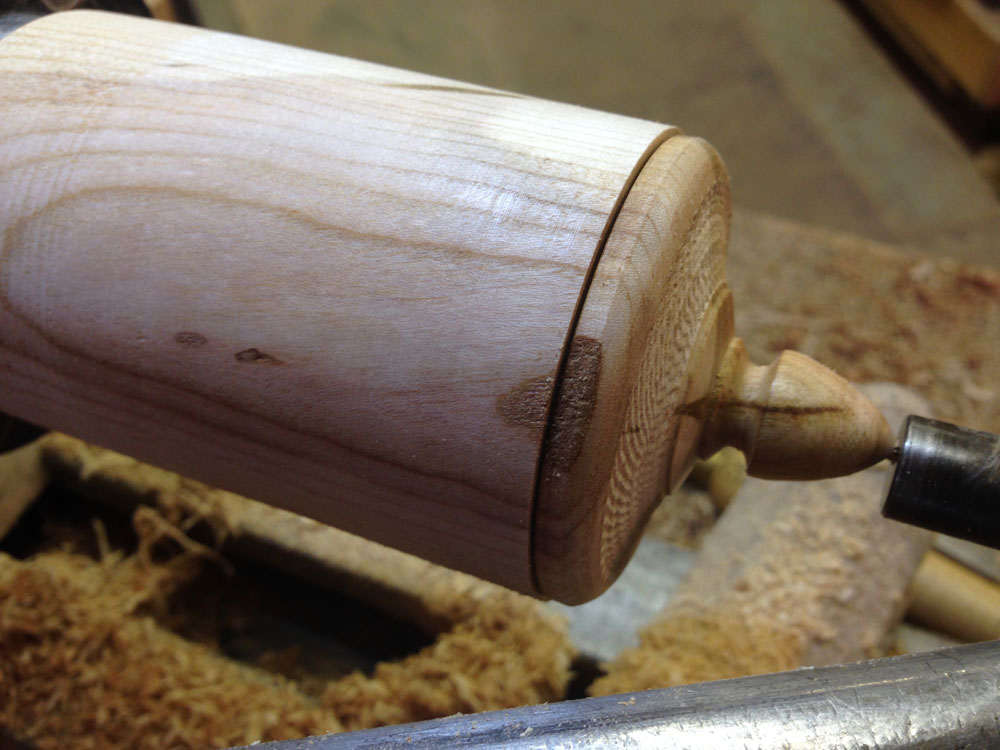
The next step is to define the shoulder that will
become the pressure fit spigot (tenon), which will
form the tight bond into the body of the box
(mortise).
Using the small gouges with the
fingernail
grind
allows the turner/designer to form the
thickness of the lid as well as to rough turn the
potential final shape of the outside of the lid.
The cleaner cuts made at this point will help
facilitate the final shaping and finishing.
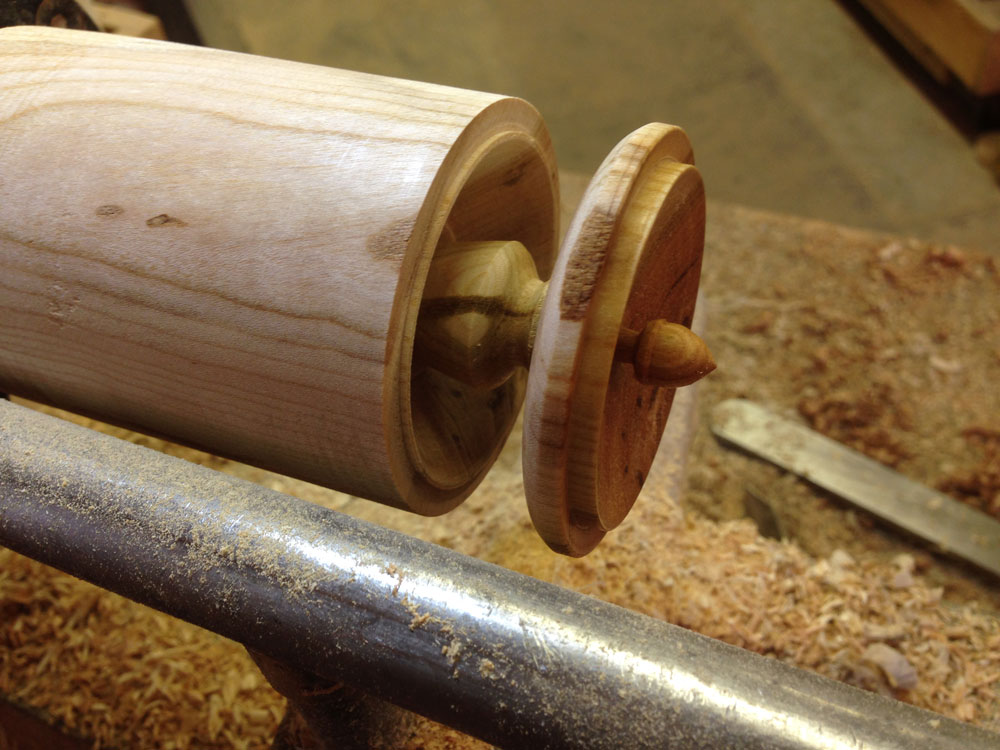
The other advantage at this point is that the
turner can preserve a ridge on the body that will
help mark the point where the mortise in the
body can be quickly sized to the lid's tenon
when the lid is parted off and turned around.
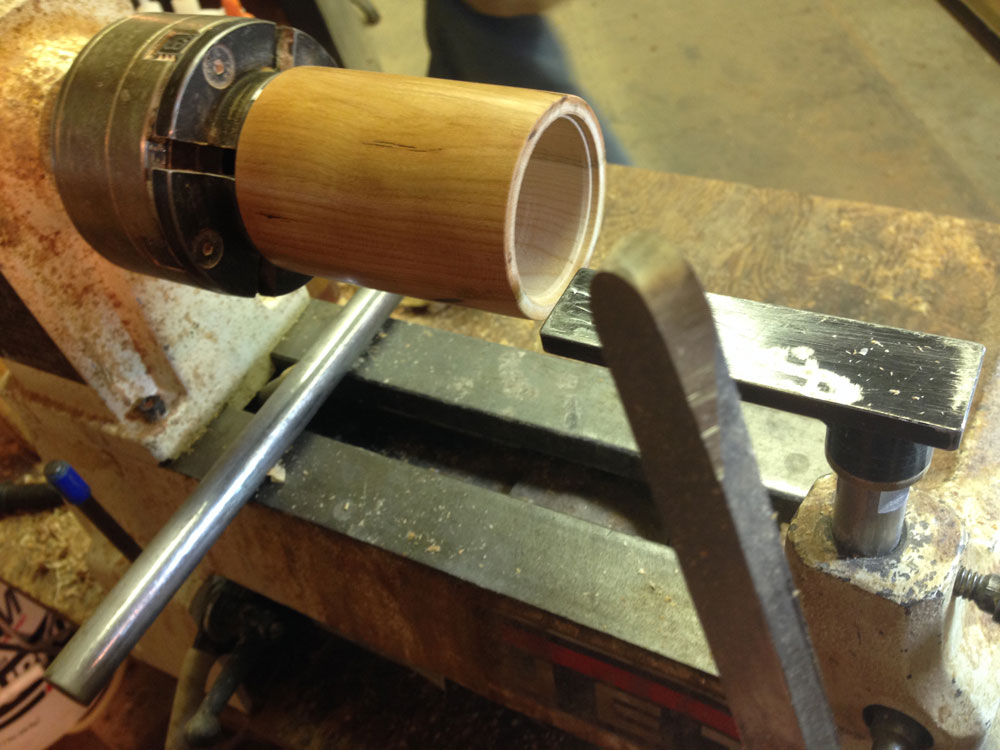
After parting off the lid, use a sharpened
scraper or apply a skew chisel on its side to
accurately size the mortise to create an
extremely tight fit for the lid. This is a critical
point where stopping to test the fit is well worth
the extra time.
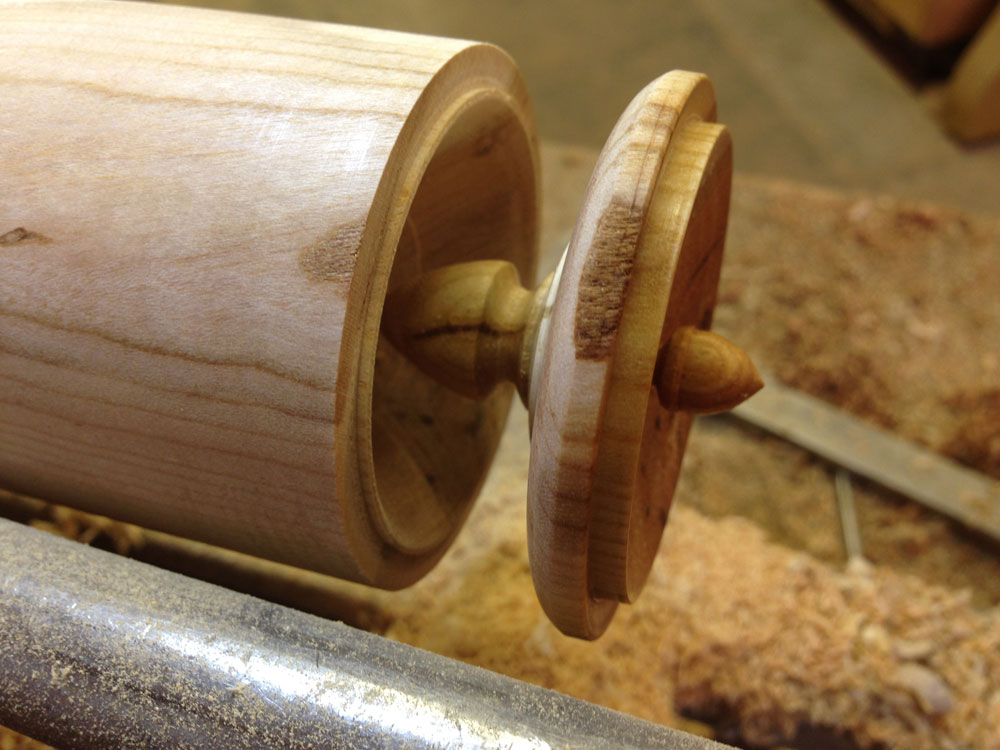
A tight fit here will also allow further refinement to the shape and design details of the lid
as well as another opportunity to add chatter. Chattered decorations and sharp design
lines seem to always generate interest and comments.
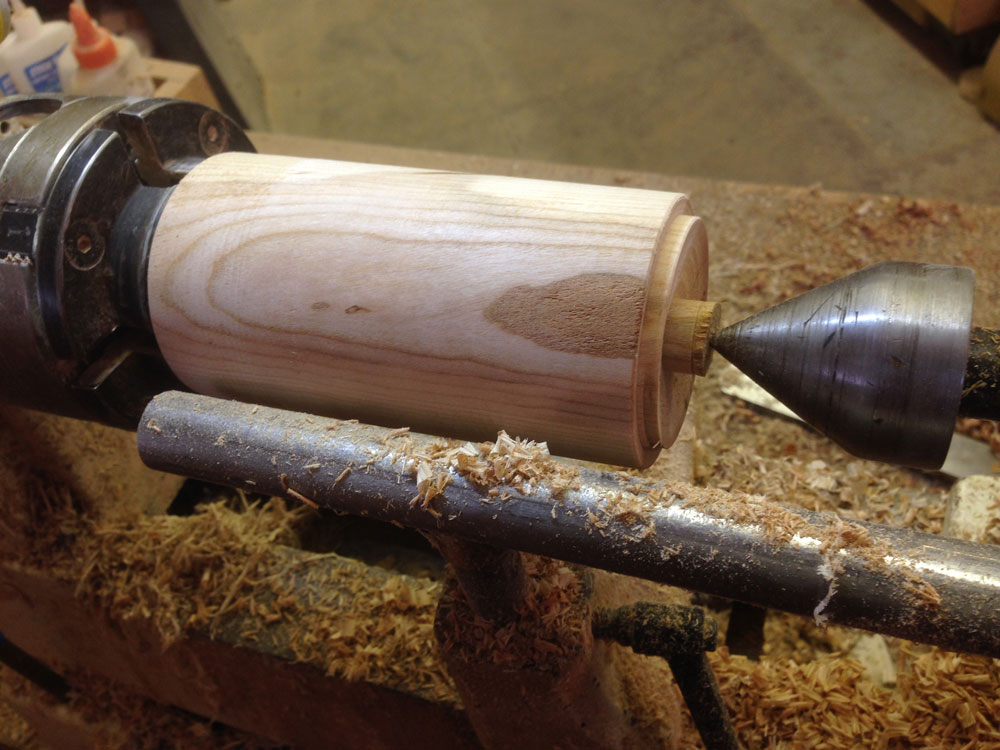
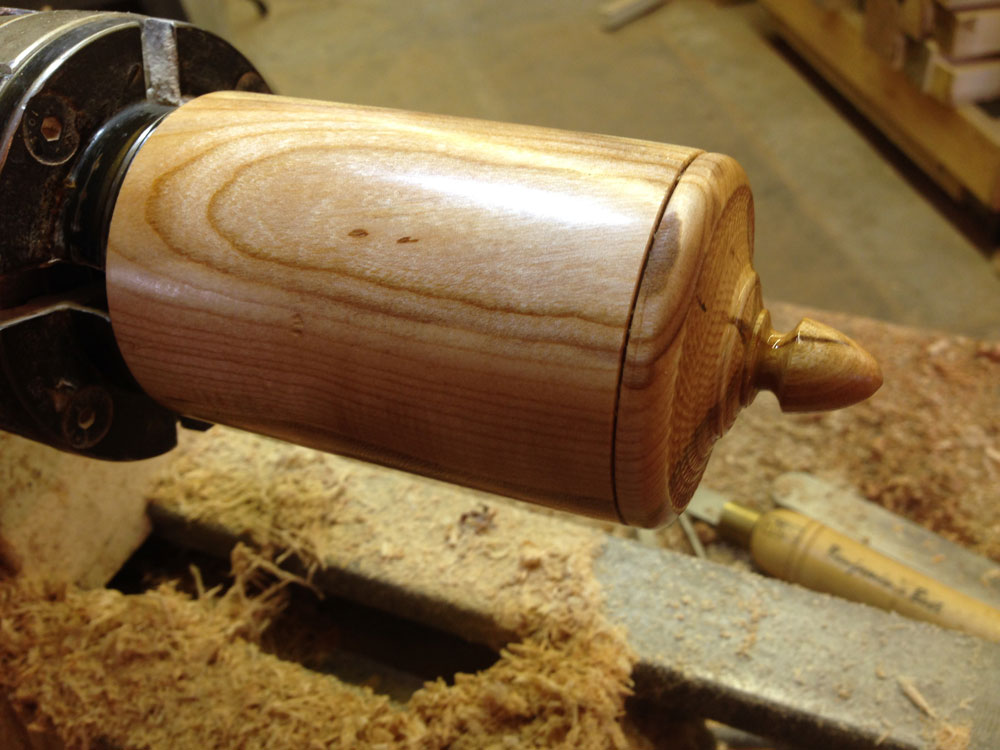
In the demonstration image, the tailstock with a
blunt live-center adds an important measure of
support for the stress of the chatter tool.
Unless the blank is extremely dry, the later
drying action of the box will potentially help
seat the lid, and the lid itself will keep the box
round as it dries and adjusts over time.
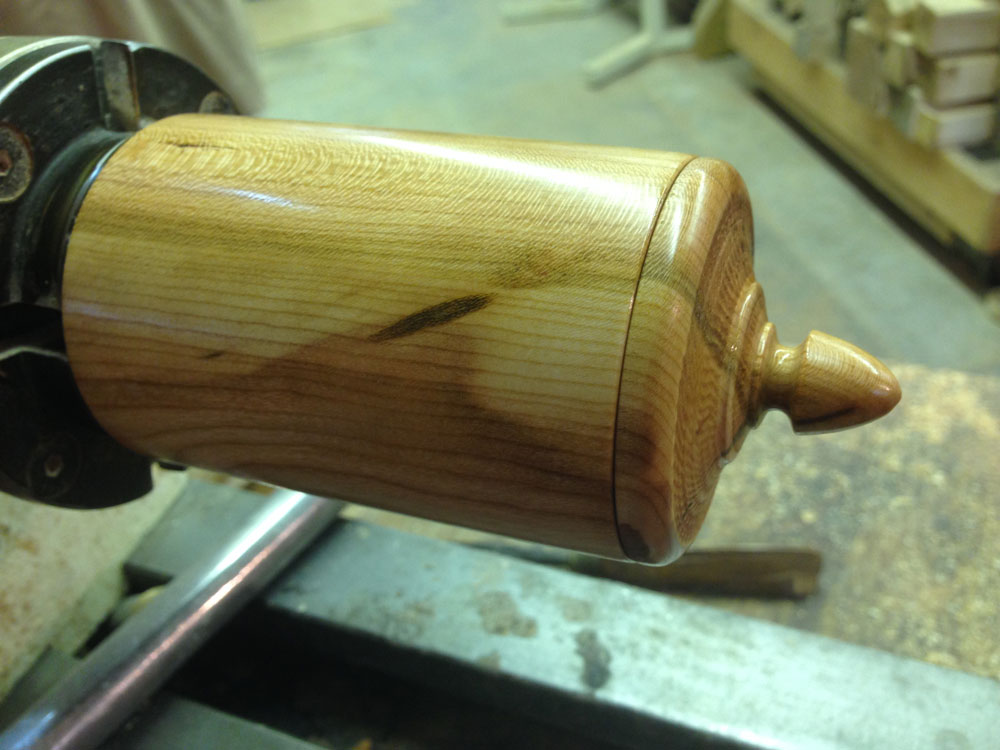
With the lid complete, the turner can dress the
outside of the box and either alter (by beading
or coving delicately) or sharpen the actual joint
between lid and body. In the case of this
sample, a simple
friction polish
completes the
outside.
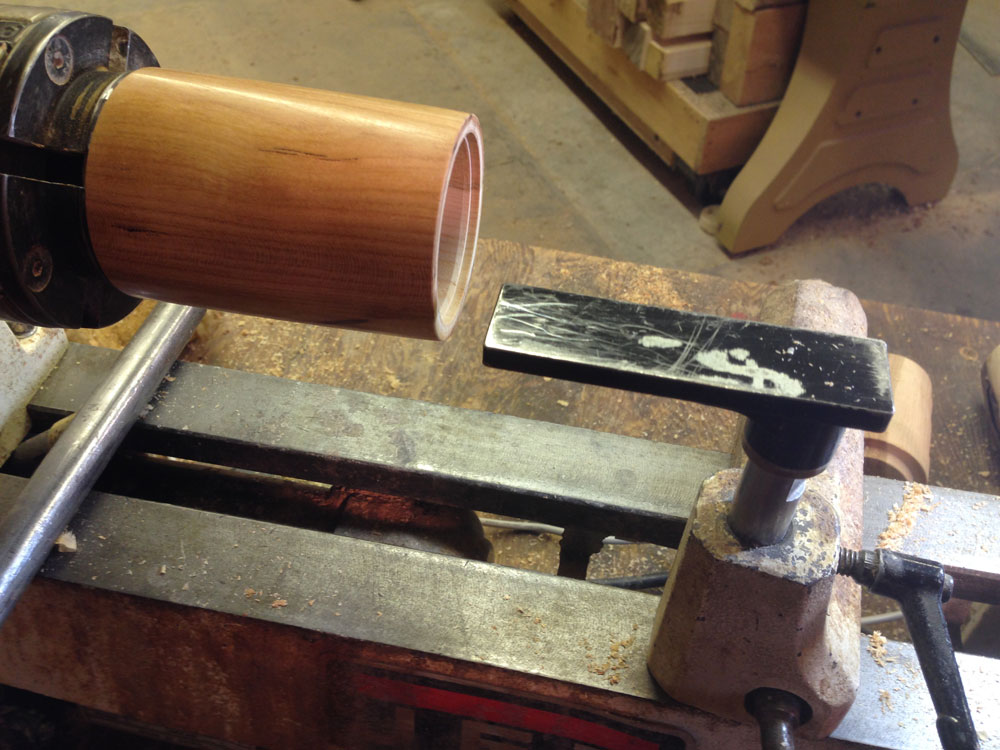
The next step is common to all boxes regardless
of the orientation of turning the lid and its
details – hollowing.
For this box, using a well-sized
forstner bit
to
drill nearly to depth followed by a well-
supported and sharpened side/end flat scraper
(note the special tool-rest that internally can
support the scraper) makes quick work of
completing the hollowing process.
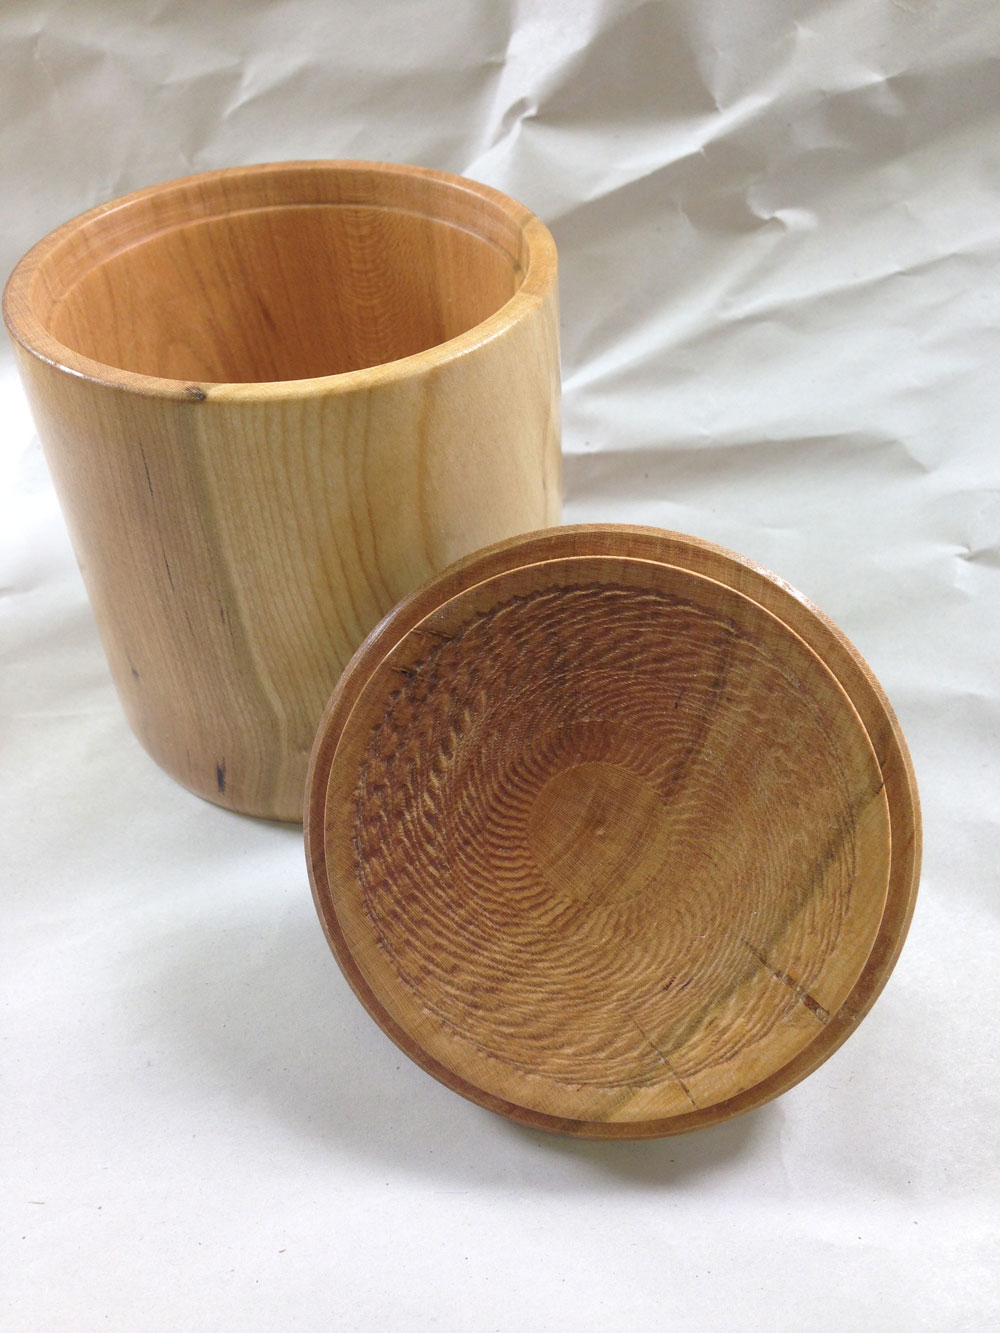
The inside bottom of a box like this might be
flat (flat scraper), concave (rounded scraper –
pictured), or some combination of each. Be
sure that a concave design does not intrude on
the slight dishing of the outside bottom, a last
step.
The choice of how
to approach
turning the lid of a
lidded box depends
upon the turner, the
vision of the final
design, and personal
preference.
As a demonstration
activity for the public, this project offers an opportunity to capture the audiences'
attention over a longer period while showing off a number of different simple turning
skills.
Parting off the final box with a thin parting tool
or even the specialized fluted parting tool can
be a dramatic ending to a public demonstration.
While this is relatively simple to do, the one
caution is to understand the weakness of the
end-grain as the parting diameter becomes
small by keeping the tools sharp, avoid scraping
or twisting, and anticipate the potential for
pulling out the bottom, especially if the bottom
is dangerously thin.
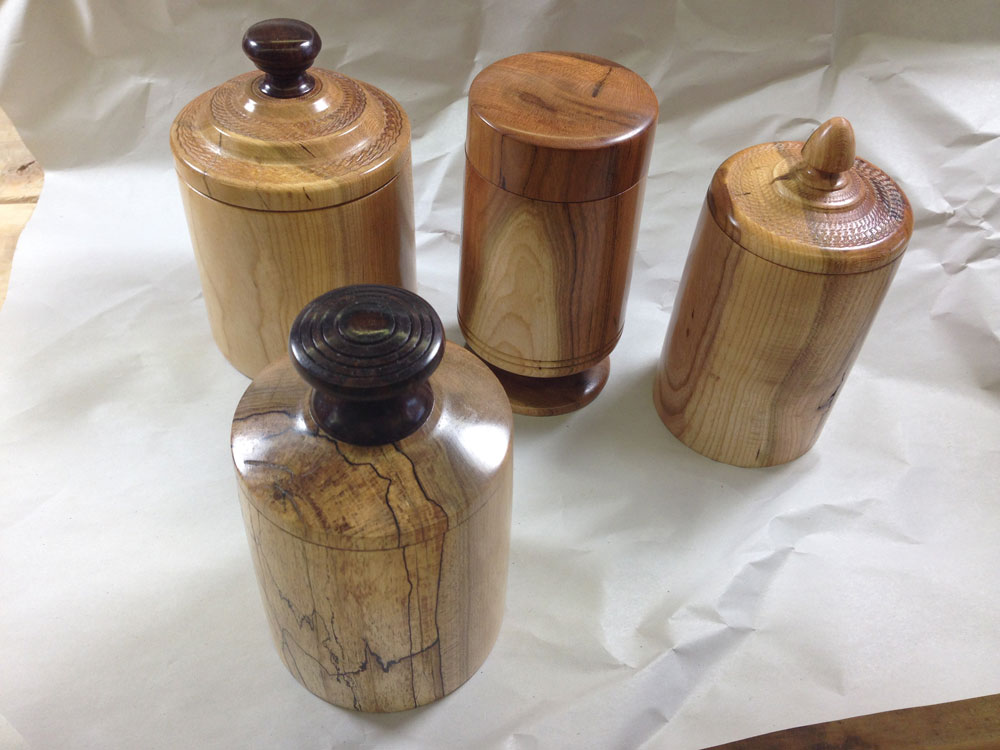
Lidded boxes are fun and challenging to turn, and the public's appetite for them in most
woods and shapes seems endless. The infinite variety of shapes, forms, colors, and
decorative detail makes this a wonderful and rewarding challenge to the turner/designer.
Located in Castine, Maine, Highlands Woodturning gallery and shop offers woodturning classes and shop time, a gallery of woodturned art, custom woodturning for repairs, renovations, and architectural installations. You can email Temple at
temple@highlandswoodturning.com. Take a look at Temple's Website at
http://www.highlandswoodturning.com/.
Return to
The Highland Woodturner
front page
|