My Last Shop: Part 10 - Final Details
by Michael Smith
Mountain Park, GA
Click on any picture to see a larger version.
Hello again, this is my tenth installment of my experience with building my last shop. To bring you up to speed I am a retired California high school woodshop teacher now living in Mountain Park, GA near my two grown children and their families. Not counting the woodshop where I taught this will be my fourth and last (probably) shop.
As I write this, the weather here is nasty. The governor has declared a State of Emergency here in Georgia, schools are closed and the roads are iced over. It's a good day to sit at the computer and hammer away. The hotel/motel heat pump I installed in the shop would be working overtime to take the edge off the cold
(see My Last Shop #9)
so I'll stay inside with Mama.
I had some woodworkers respond with some questions about my dust collection system so I thought I would address some things that I didn't make clear:
I am interested in more details on the ground wire you put inside the PVC. Is it actually attached to the pipe or is it just laying inside?
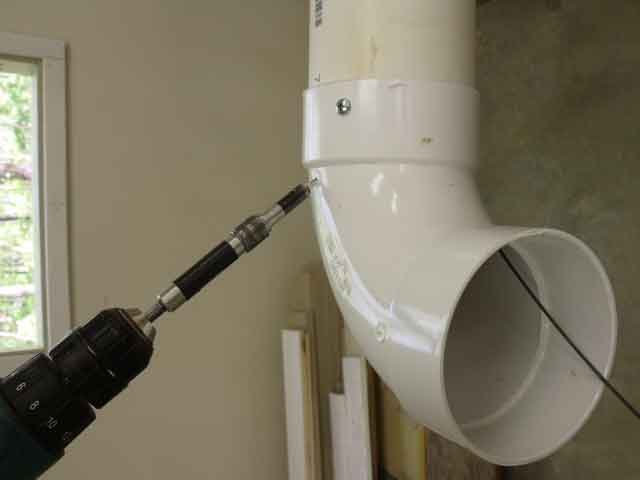
I drilled a small 1/8 inch hole at each fitting and fished a thin galvanized steel wire
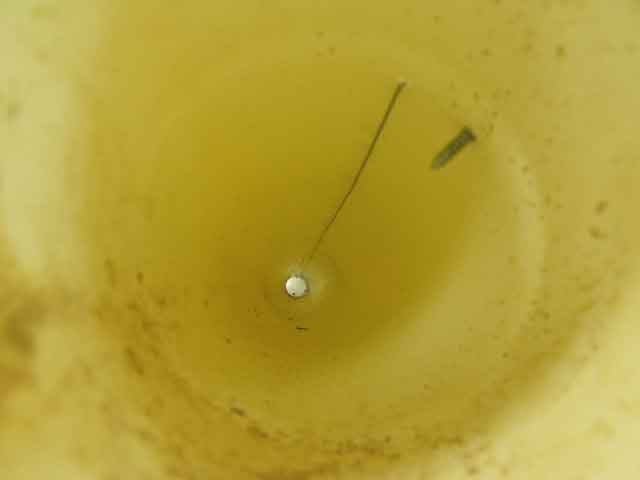
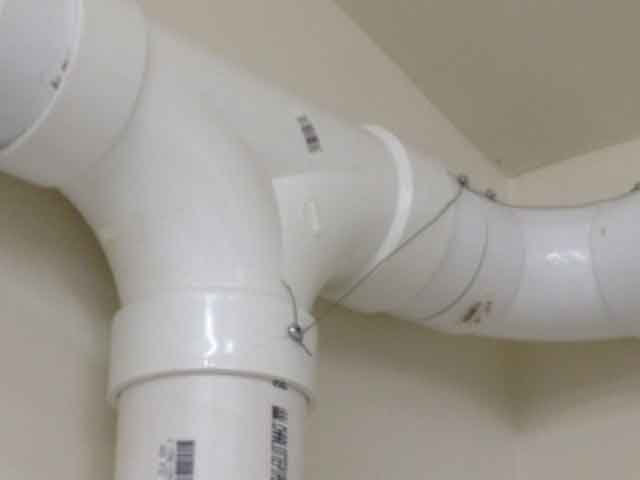
The wire is probably the kind used for electric fencing, I'm thinking its about 20-24 ga. And is labeled Mechanics Wire. The wire is secured at each connection and pulled tight inside the pipe to eliminate snagging debris. I set it at the top of horizontal runs and pulled it to the inside of curves.
Though the wire goes from joint to joint it is electrically continuous. (I hope that makes sense.)
How did you bring out out to tie it to ground?
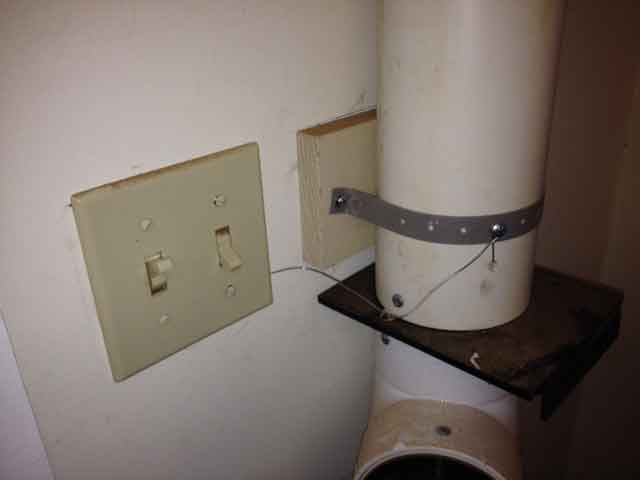
I tied it to ground at three points. The duct comes up next to my tablesaw receptacle so I took the wire into the receptacle and tied it directly to the receptacle ground. It's also grounded at the end of the run at a light switch box.
The other ground point is on the dust collector metal duct, grounding through the collector frame itself which is grounded through that receptacle to the service entrance.
Having said all of this I need to say that I'm am not a Dust Collection Specialist. I've only done what made sense to me and I'm willing to take a dust mop to my floors when necessary. After a few months of working in my shop I see I need to fine tune my table saw set-up to collect the dust better. It still blows dust out around the base.
Now, let's get on to the table saw set up. Before I start this let me say that there are plenty of people to tell you how to true up your saw. I'd go to YouTube to find that. I'm just going to go through the basic process I went through to get my table saw on line.
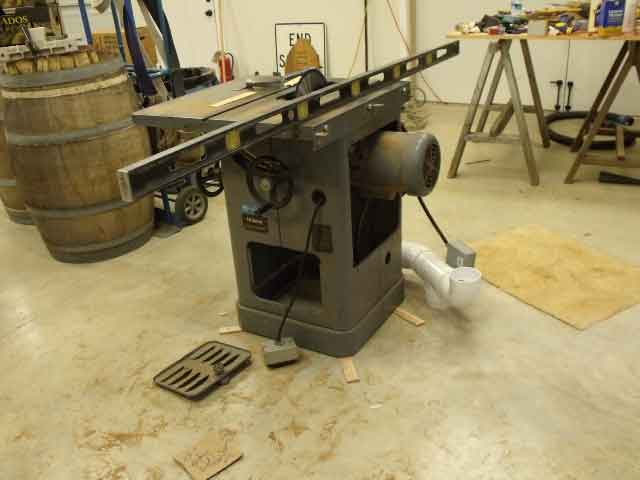
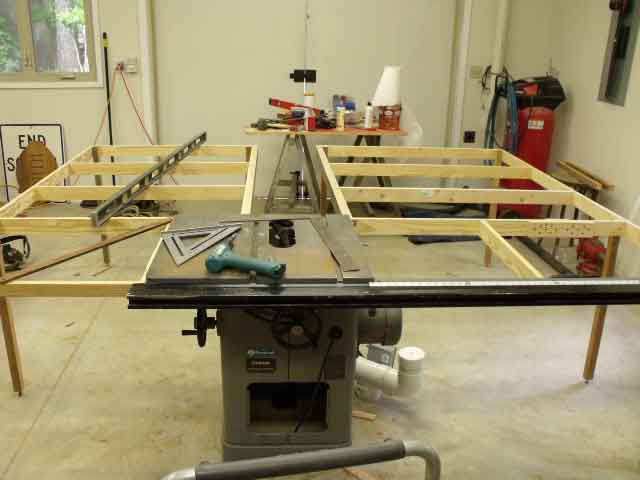
The first thing I did was to put the saw roughly where I wanted it and leveled the saw with shims. I suppose you could glue the shims in place but my saw is heavy and it won't be moving. I hope.
Next I set the blade parallel to the wall. This just helps my sense of symmetry.
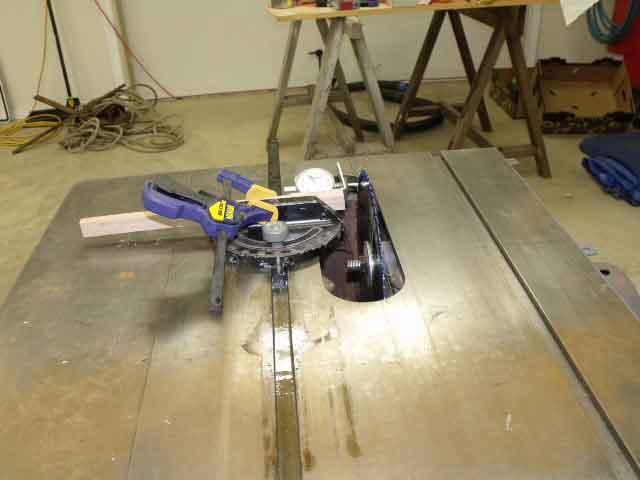
Next I align the table top to the blade. I have a dial indicator that I used but you can use a stick.
The table saw itself is almost ready to use. There are other adjustments I checked/made but I won't go into them here. Again, better videos are on YouTube. Search
aligning/squaring/leveling/truing
a table saw.
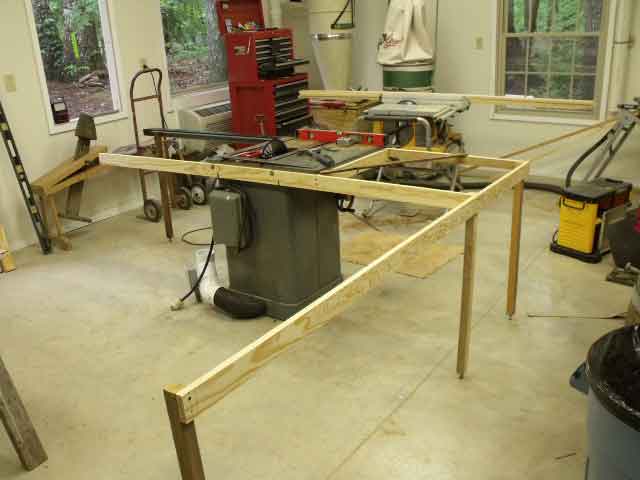
My next task is to make the table that surrounds the saw. I've never used a formal workbench much. Because I work alone I prefer to have a large table built around the saw to support sheet goods and long boards. So I made a table for just that purpose.
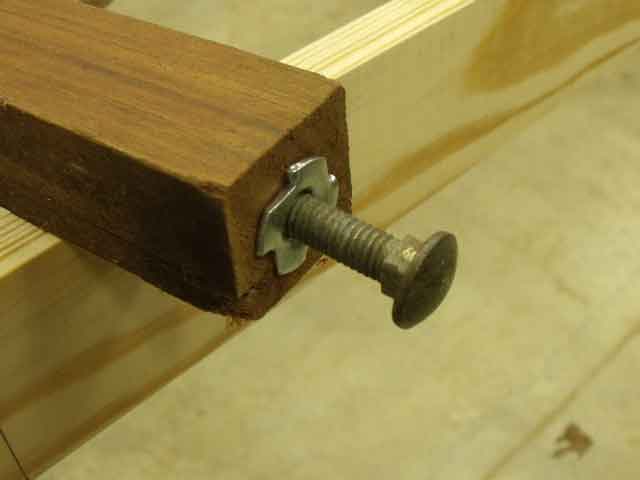
I had a bunch of legs that I had made up from my other shop. These were cut 2 X 2 X 34 inches. I drilled the bottoms and installed a 3/8 inch Tee nut. Then screw in a 3/8 X 2 inch carriage bolt. This will allow the height to be adjusted later.
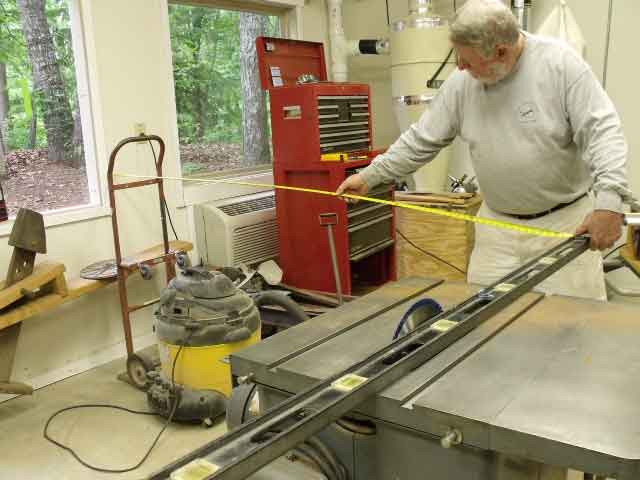
Next, I went to Home Depot and culled for some straight, knot-free Douglass Fir 1 X 4 X 8s. Any wood will work but I was looking for cheap and straight. I bolted them to my cast-iron tabletop. Make sure the top edges are ¾ inch below the surface and that they are as level as you can get.
Now using all the skills I know you have build your table frame level and square to the right and left of your saw.
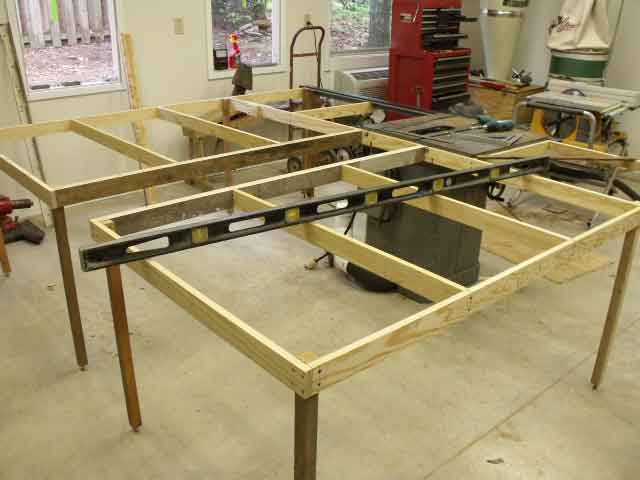
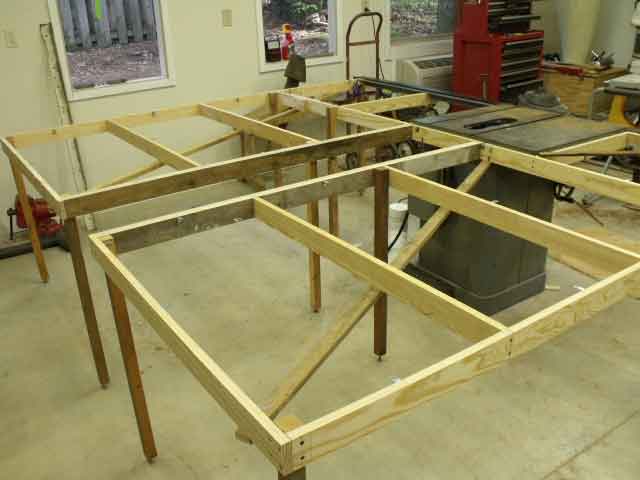
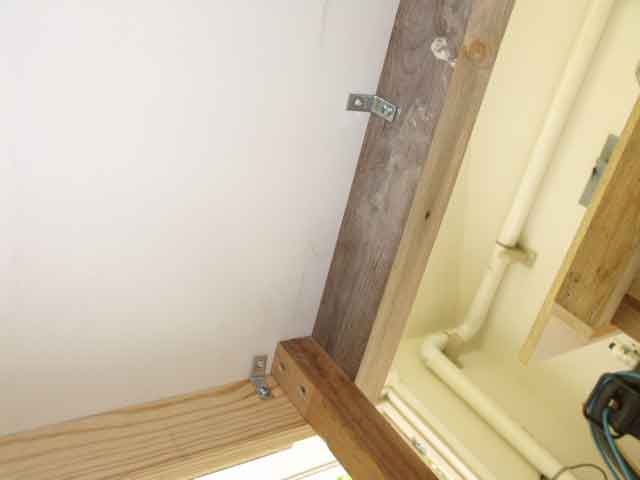
You will notice that I put diagonal braces on the bottom of my table skirts. This is to keep the framework square until I get the table top attached. At this point it's easy to bump and put out of kilter.
Also, you can see that the frame is actually in two pieces. I left a center walkway to allow me to walk up to the back side of the saw. It's important later that the two frames are parallel.
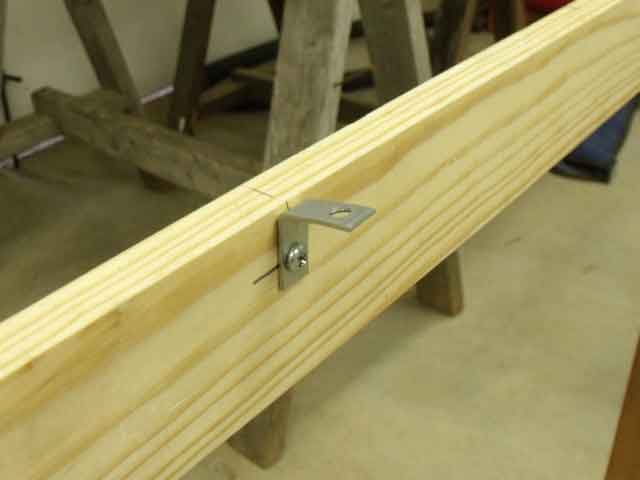
I needed a way to hold the tops down in place so I just bought these ¾ X ¾ clips and spaced them as I saw fit. Just think symmetry!
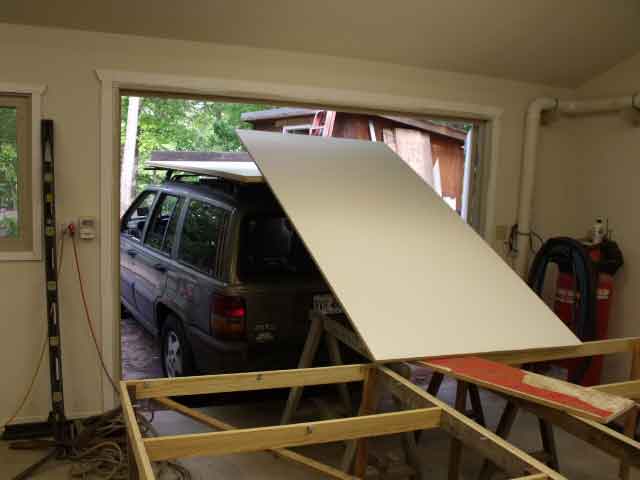
My table top material is a particle board that I call white vinyl. Sometimes the white material is called melamine. It's nasty stuff to work with and once you work with it and learn from your mistakes you get pretty good. I'll just say that the edges will cut like glass so wear gloves. I'll ease my edges later with a router. Also, for one person it's heavy and awkward. If you buy it from a retail place it will come in 49 X 97 inch sheets so you can cut it to size and eliminate the chipped edges. The good part about this material is that the surface is hard and slick. It's easy to clean glue, paint dirt from it.
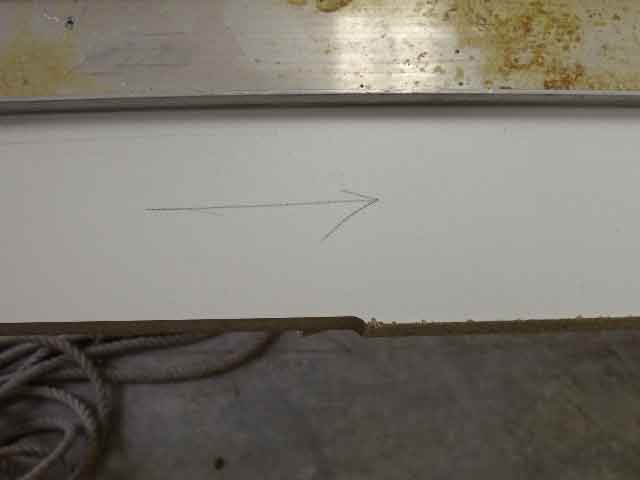
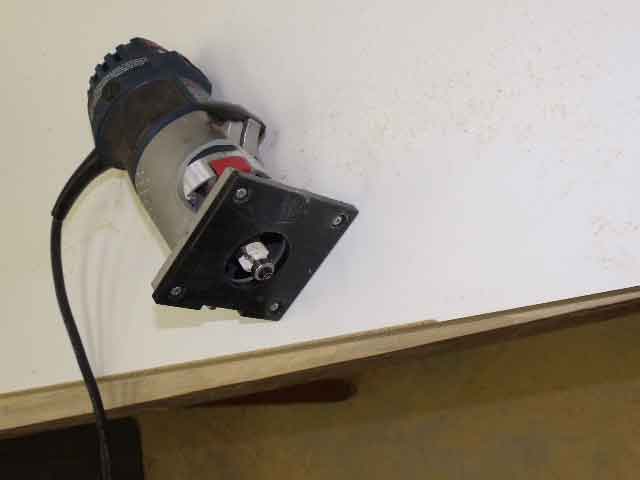
Once I have it down I use a straight-edge and rout the edge. Notice the 'factory' edge and the routed edge.
Unless you have an expensive commercial grade panel saw designed to cut white vinyl board it's better to cut it with a heavy duty router and straight bit. So I had to cut out a notch where it fits around the table saw.
My next step is to round-over the edges to make them friendly. Also corners are rounded for safety sake.
Now I'll just fasten the top down on the frame with those clips.
You'll notice that the insert in the middle will slide out so that I can walk up to the back of the saw. This helps in many ways. In a perfect word I would rout dados for the miter gauges to slide in but when I use them or a cross cut sled I just slide the insert back away.
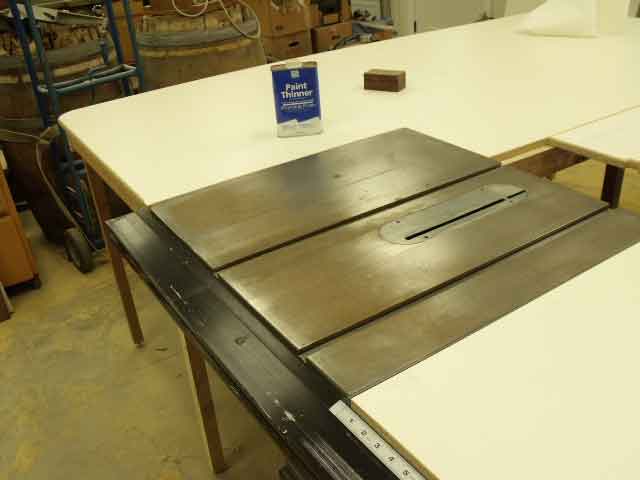
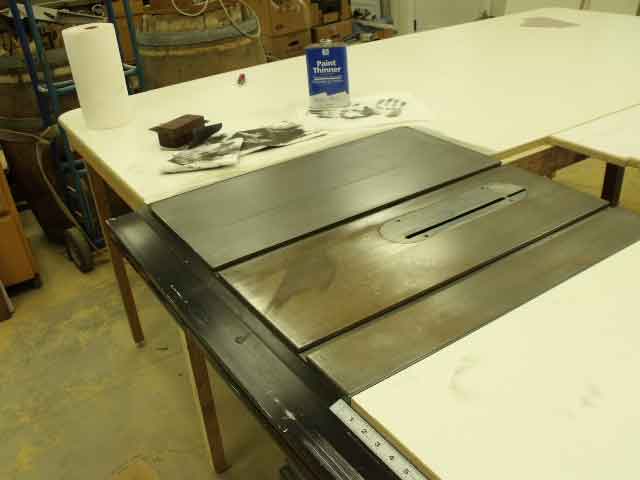
My last step is to clean up the surface of the saw. The saw has been in storage for over a year and you can see in the photo below there is rust on the saw. I have to get rid of this. Rust is not the woodworkers friend and you might think I don't know how to care for my tools. I'll use paint thinner and silicon carbide wet/dry sandpaper on it. I'll start with 180 grit and finish with 220 grit. I like to use a sanding block also with the sandpaper.
Here it is partly sanded clean. You can see the difference.
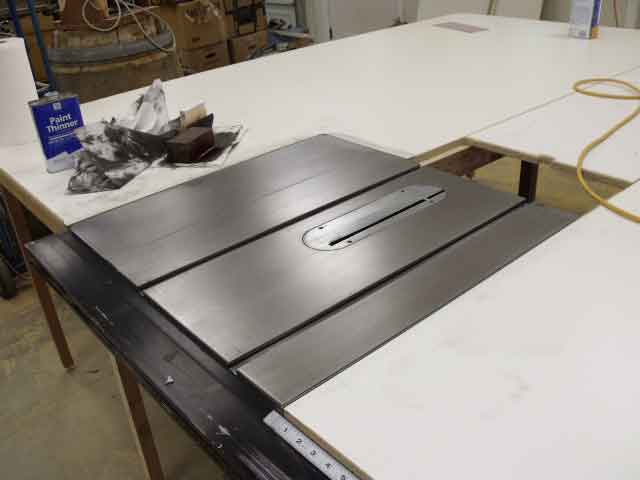
And now after sanding the surface
and
the miter slots you can see it shine.
The last step is to wax the top. You could use your favorite paste wax here. I'm using MinWax but Johnson's Paste Wax will work. I would not use a liquid wax or something like Pledge. Not heavy duty enough I'm thinking.
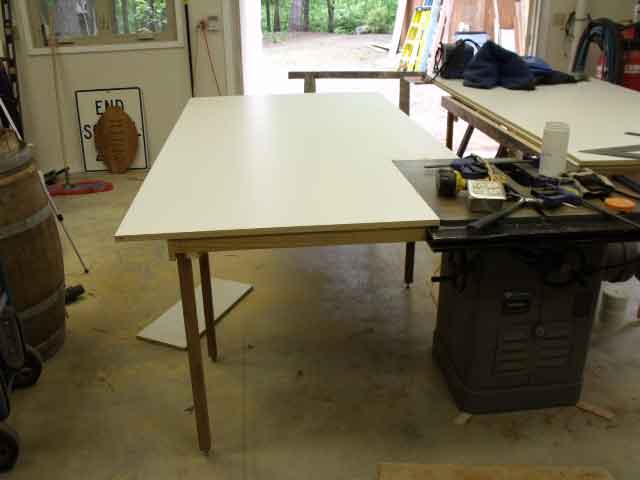
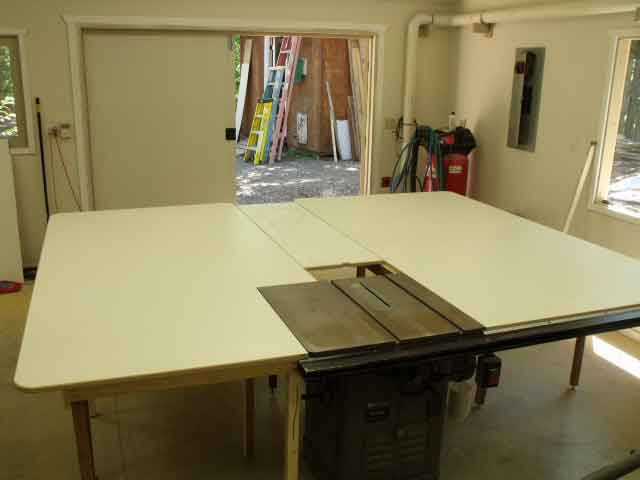
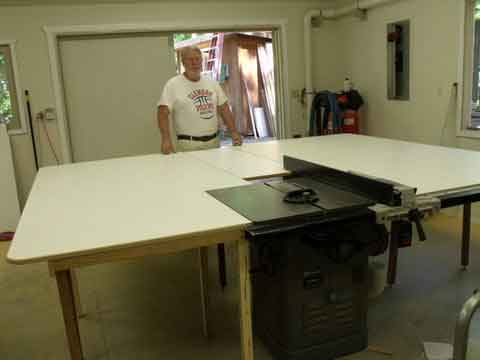
Here is my trued up table saw and table.
If I haven't made everything clear enough write me and I'll try to make it clearer.
Michael can be reached by email at
woodsmith@sonic.net
.
Return to
Wood News
front page