by Steven D. Johnson
Racine, Wisconsin
This month:
•
Plugging The Holes
•
End-Of-Day Strategies For Greater Workshop Efficiency
•
Killin' Time
•
Off The Cutting Room Floor
Plugging The Holes
Click on any picture to see a larger version.
Some astute watchers of the
SawStop Outfeed Table video series
asked about dust potentially accumulating in the access holes for the top leveling adjustment screws. A plug that sits on the surface of the table could interfere with the smooth movement of boards and possibly get in the way while doing glue-ups. I'll bet someone has already come up with a great preventive idea, but here is what I did.
|
|
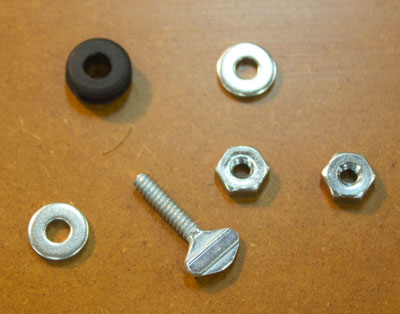
Figure 1 - Parts to make one "stopper"

|
You will need the following hardware, which should be available at any reasonably well-stocked big-box or hardware store:
-
4 - #6-32 X 1/2" Thumb Screws
-
4 - 3/16" ID X 7/16" OD Rubber Grommets
-
8 - #6-32 Hex Nuts
-
8 - #6 Flat Washers
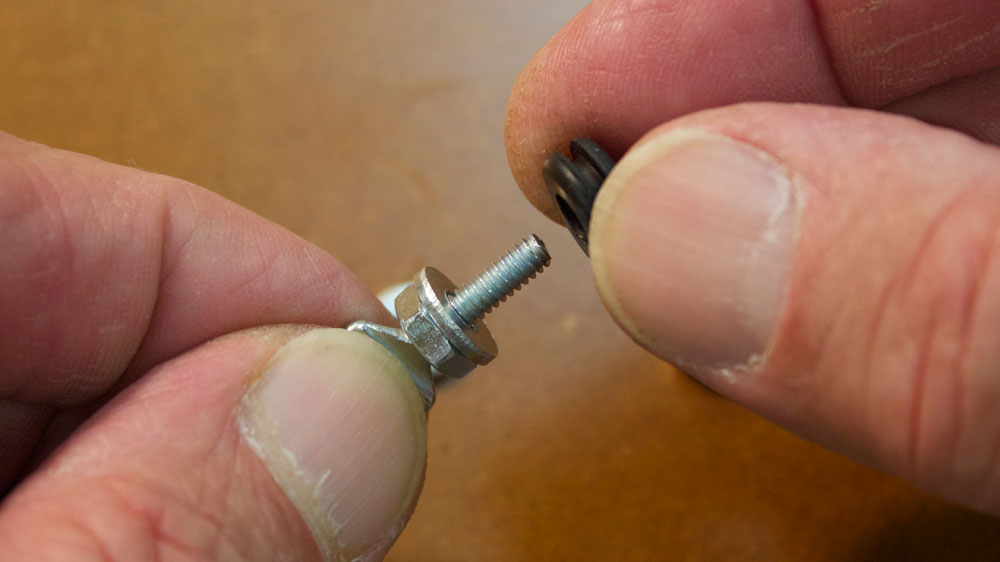
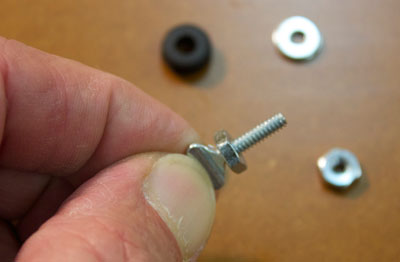
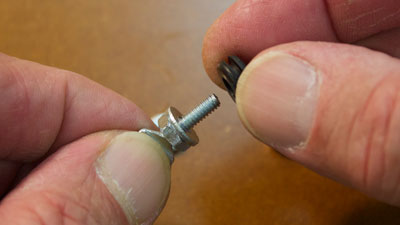
Thread one nut onto a thumbscrew and take it all the way down to the end. Add a washer, then the rubber grommet, another washer, and then thread on another nut and tighten it down slightly (hand tight without tools is about right).
|
|
Figure 2 - Thread the first nut onto the thumbscrew

|
|
|
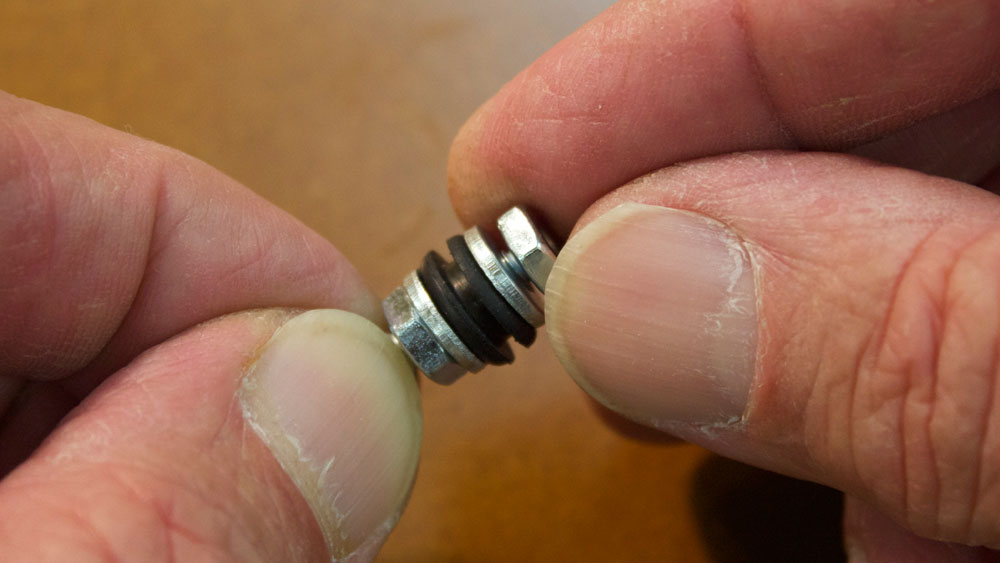
Figure 3 - Assemble the rest of the parts as described

|

|
|
Figure 4 - The assembled "plug"

|
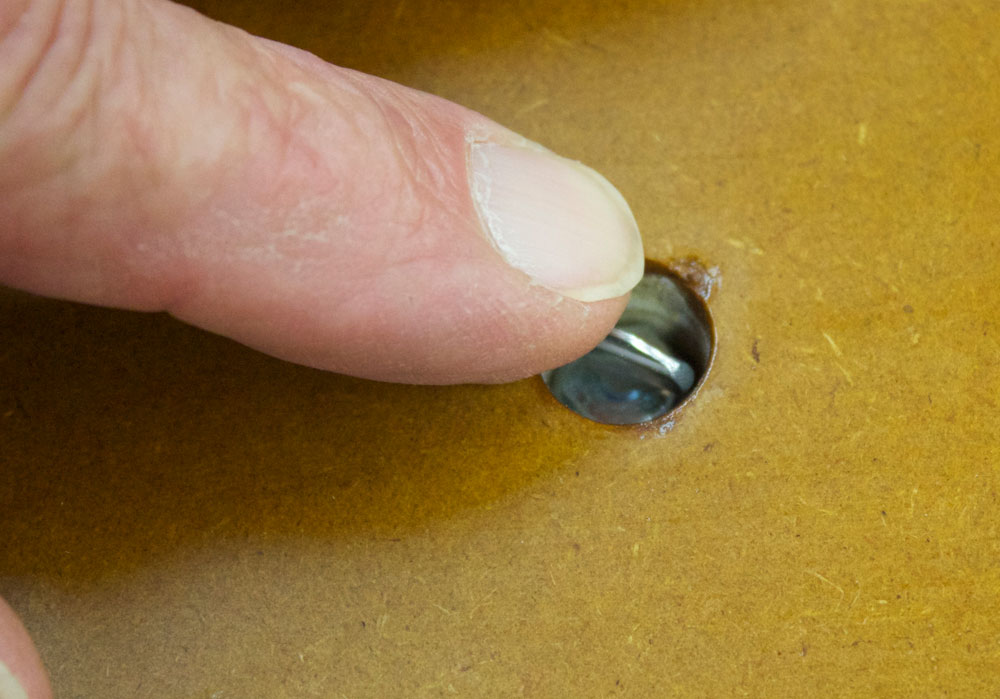
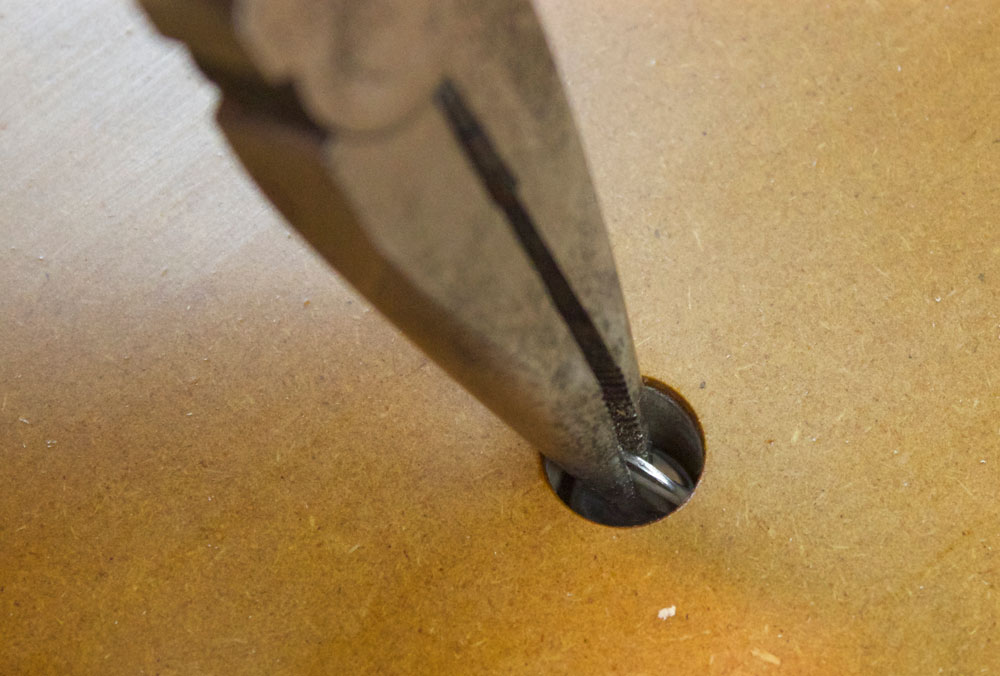
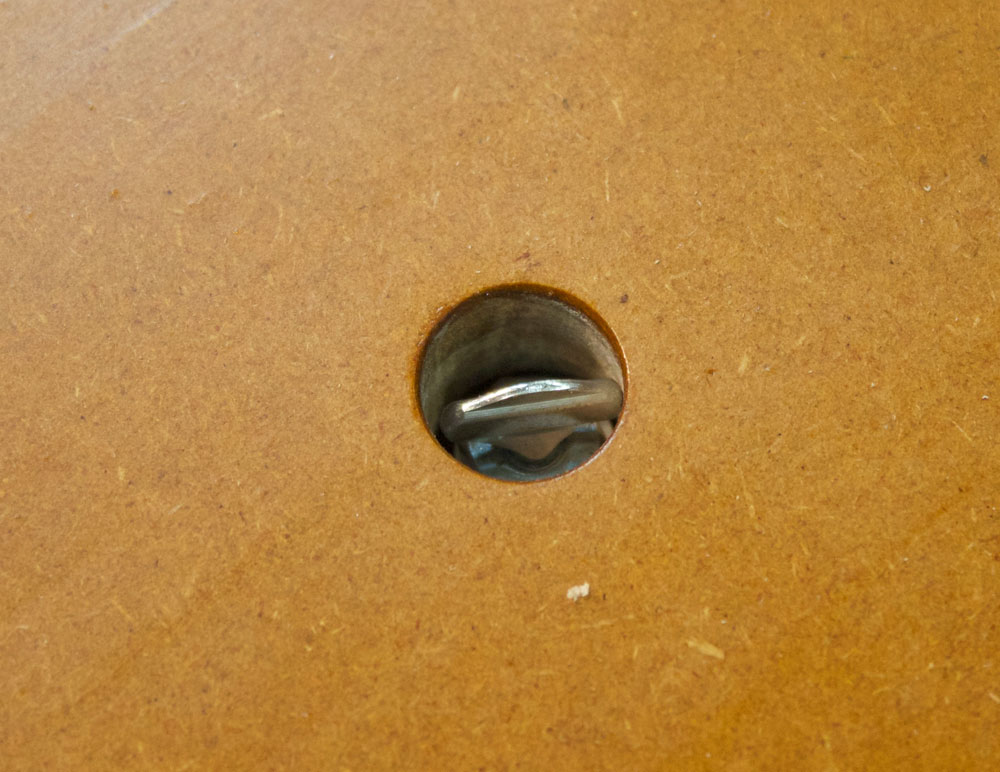
The two nuts tightening down on the grommet flatten it slightly, thereby expanding its diameter. The assembly will then fit snugly into the access hole (see photos). Push it down until the "thumb" part of the thumbscrew is below the surface of the table. To remove the "dust plug" simply use a pair of needle nose pliers. If you need a slightly tighter fit, crank down on the nut another half-turn causing the grommet to flatten and expand further.

|
Figure 5 - Push the plug down until it is
just below the surface of the table

|
|
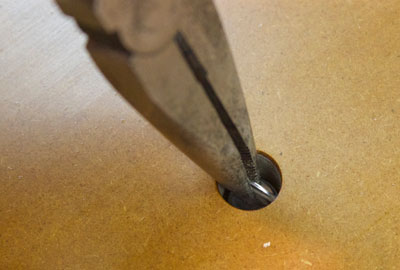
Figure 6 - The plug is easy to remove
with a pair of needle-nose pliers

|

|
Figure 7 - A simple but effective way to keep dust out of
the top leveling adjustment access holes

|
This arrangement will keep dust out of the holes. Most times a quick vacuuming will remove any dust that accumulates on top of the plug. Whenever an adjustment to the torsion box top leveling system is needed, simply remove the "plugs."
Did you have a better idea? Let us know and we will be sure to share it!
(Page 1 of 4)
1
2
3
4
Next Page
Return to
Wood News
front page