The Great Sawbo - Part 3 (Final)
by Scott Stahl
Click on any picture to see a larger version.
CLICK HERE
to read Part 1 of
The Great Sawbo
series.
CLICK HERE
to read Part 2 of
The Great Sawbo
series.
If you have read
Part
1
and
Part 2
of the Sawbo saga, you now have a useable sawbench of herculean stamina. But why stop
there?
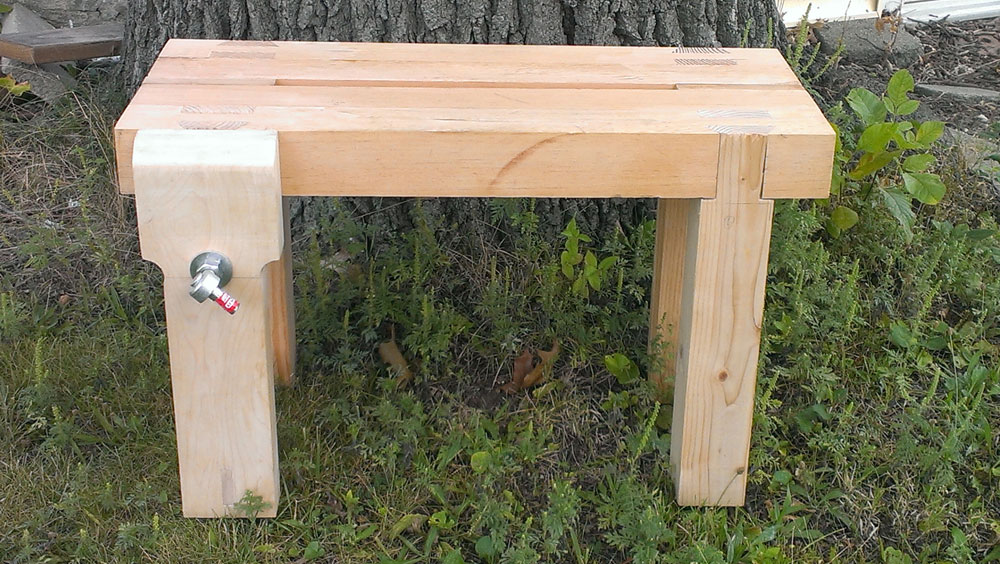
The leg vise on this bench is fully functional and very powerful. I idiotically used my finger in
the initial test. It is worth noting that this leg vise is also extremely economical; all parts come
in under $25.00. The tradeoff is that it is a bit cumbersome to use.
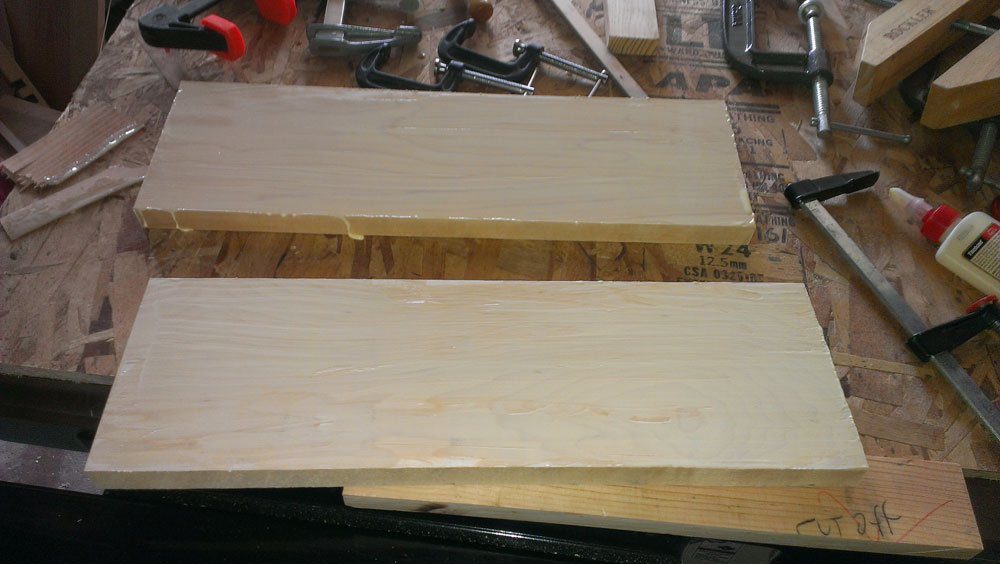
The chop was made from a $14 maple off-cut a little less than six inches wide. I jointed one face
and then cut the board in half. Then I glued the two pieces together by their jointed
faces.
Once the glue cured completely, the vise chop became a single unit, and could be milled on all six sides.
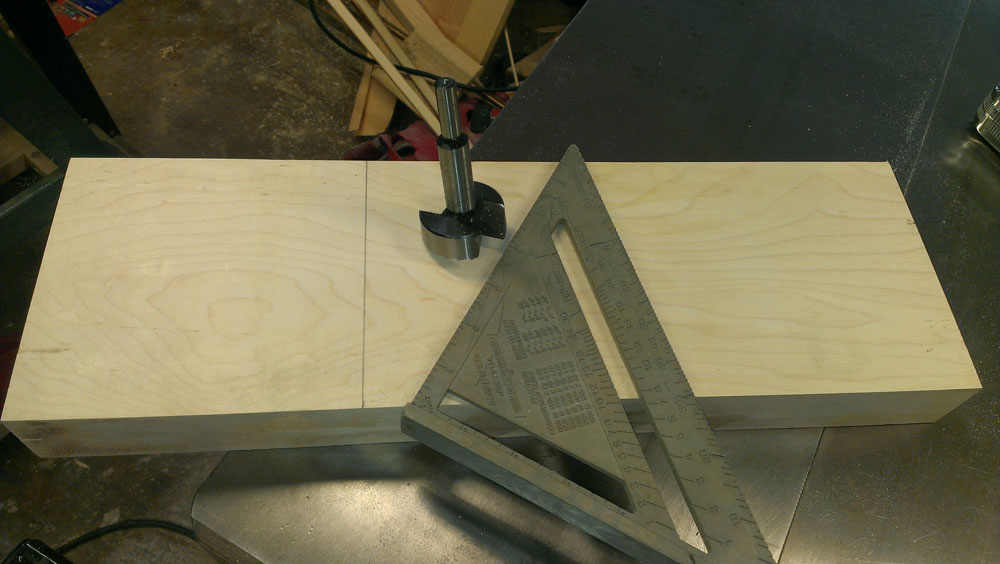
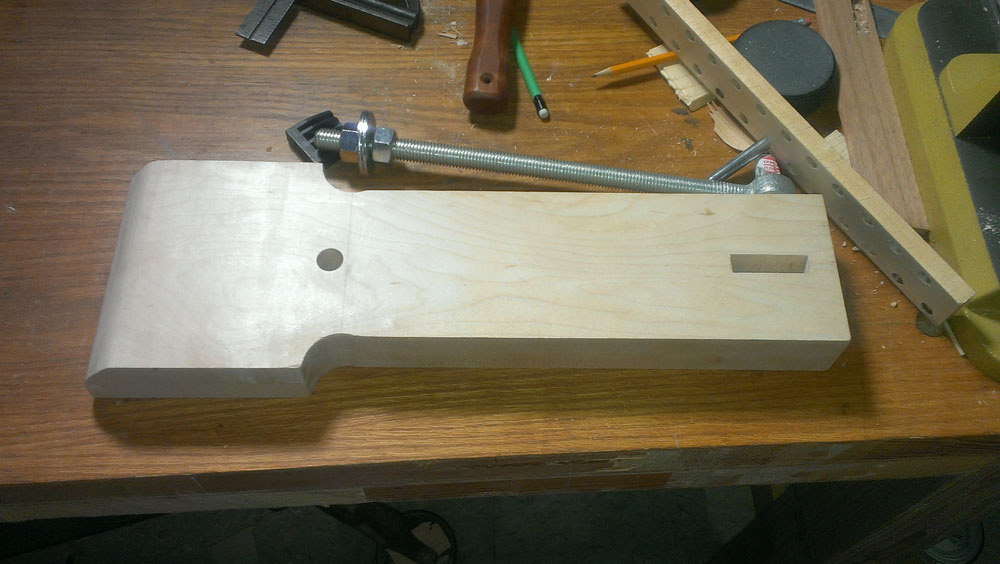
Shaping the chop was the ultimate exercise in Not Measuring Anything. I held the milled blank
up to the completed bench and placed a tic mark where the cutoff should go; the criteria being the
top was flush with the benchtop and the bottom an inch or so off the floor for clearance. The cut
length was somewhere between 17 and 18 inches. I ran the blank over the table saw blade with the
miter gauge producing the final length. Then I mentally (NOT LITERALLY) cut the length into thirds and
drew a line at the first third; this line dictated where the slender part begins. The line is
viewable in the photo above; the completed chop is in the photo below. I do not know if the slender
part of a face vise has any particular name.

|
I created the curved transition to the slender part with a Forstner bit. I pulled bits from the
case until I had a quarter circle profile that I liked. Measuring after the fact shows the bit was
somewhere between 1 1/8" and 1 1/2"--probably a 1 1/4" bit. I used the drill press to cut the holes.
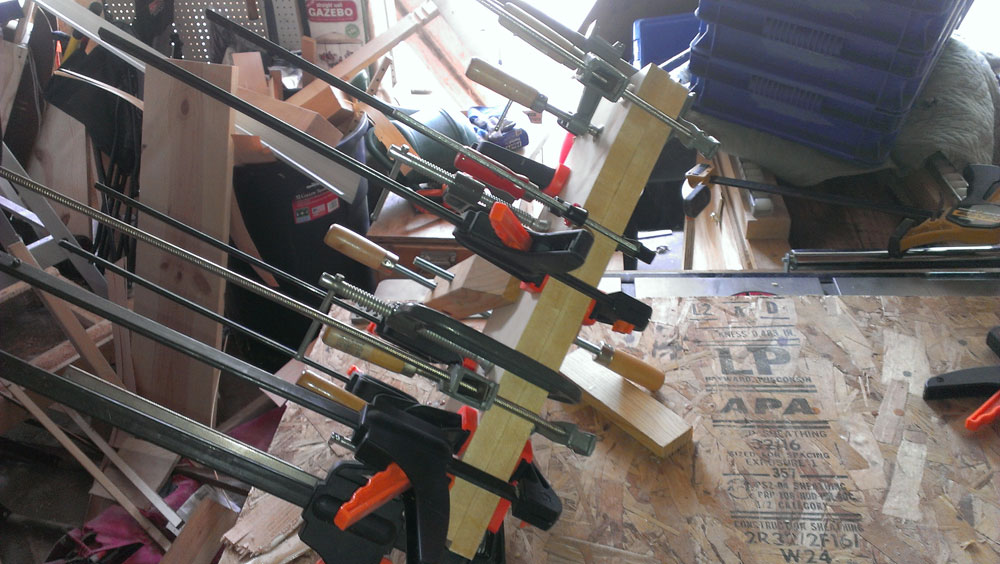
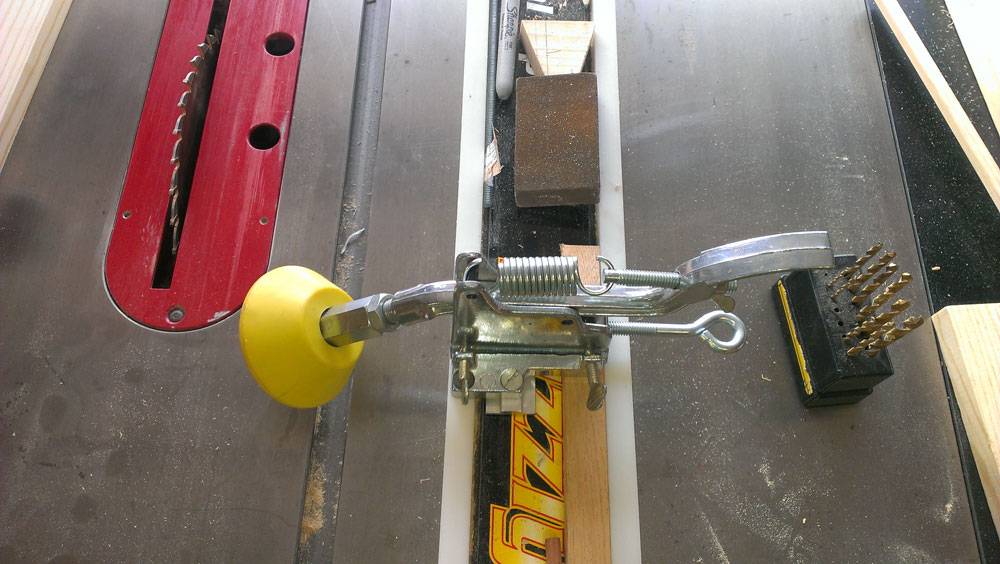
The long straight cuts from the curve to bottom can be done by any means available. I did this chop build
in a hurry, so I went with what was immediately available. I used the table saw to make stop
cuts as far up the chop as feasible. Before the safety police get their knickers in a wad, I did
use a safety net -- The photo below shows a one way roller affixed to my table saw fence. It
prevented kickback by rolling in the feed direction only.

|
I removed the remaining wood in the straight cut with a panel saw and a sawbench, of course. Then a
block plane and curved rasp helped me finish the surfaces. I did the threaded rod hole (5/8", reamed) and mortise
(1/2" X 2") for the guide bar on the drill press and electric mortiser, respectively. I held the
completed chop against a leg of the bench to complete the mating holes. A Forstner bit in
a hand drill took care of the rod hole using the chop as an alignment guide. I marked the mating
mortise with a pencil through the opening in the chop, and removed the leg from the bench to complete the
mortise on the electric mortiser. The mortise on the leg had to be a shade bigger to
allow the guide bar to slide easily in and out--this translates into permission to make a sloppy
mortise.
I started the curved top of the chop with an angled cut at the table saw. Again, I didn't watch
the gauge, just tilted the blade until it looked right to my eye. Once I knocked off the hard corner,
I was able to finish the remaining shaping with a block plane and rough rasp.
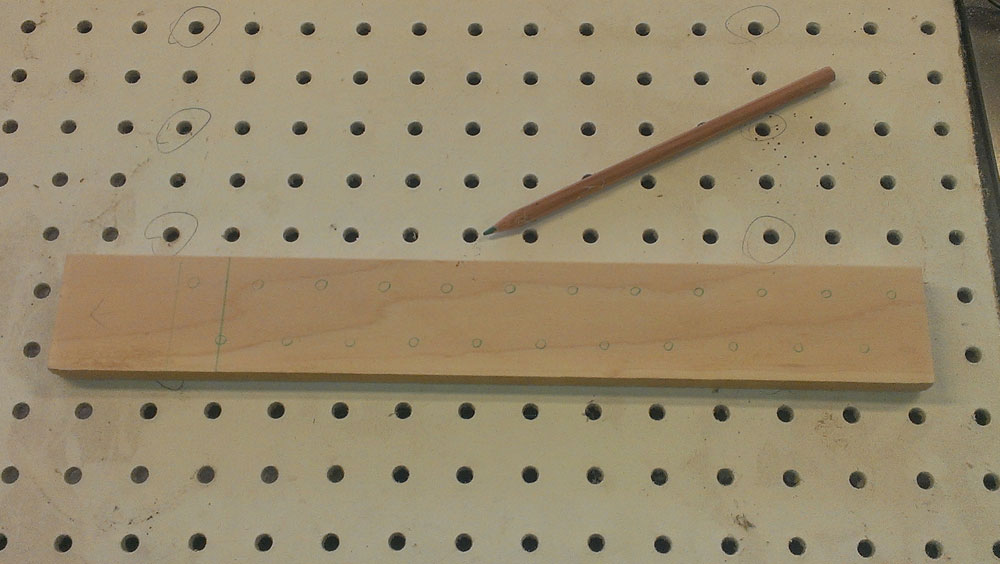
The guide bar is 1/2" X 2" X 12", again from the scrap pile; in this case a piece of maple.
Again, I did no measuring, but did use a jig. The guide bar has two rows of holes, one row
offset by half the distance between the holes. In this case, the distance between the holes in each
row is one inch. With the offset row the guide bar can be adjusted in 1/2" increments. I placed a
section of pegboard over the guide bar and drew circles through the holes, one inch on center by
design. With the hole locations marked, I used a square to mark off the tenon location and two
precise lines to guide the drill holes. Here is a picture of the guide bar layout:

|
|
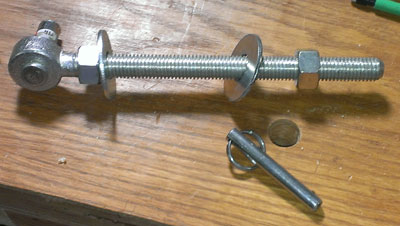
The hardware is from the local home center store. The threaded piece is called a bolt hook and
comes from the gate section. The exact part is available online from many sources like
Tractor Supply Company
. I'm not really sure how to use this on a gate; the shape implies that
you hang a mating hinge on the hook. All I saw was an inexpensive vise mechanism. I've used these
before to build a
Moxon style
vise
. The second piece is a 3/8" retainer pin that cost less than a buck.
There is no hardware on the outside of the leg to hinder bench functionality when the vise is
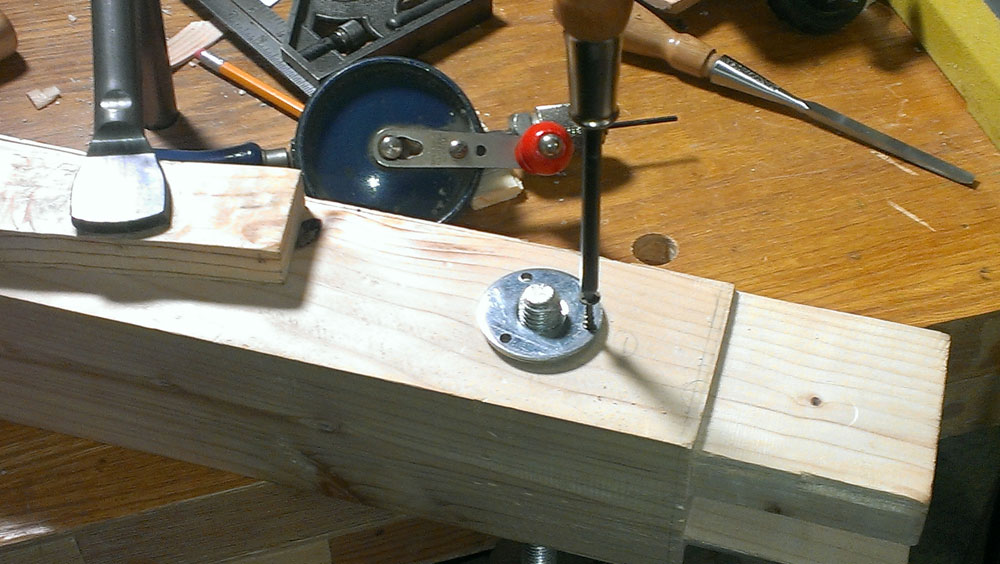
removed. The nut to guide the vise is placed in a fitted mortise on the back side of the leg. I made the
mortise by tightening the vise hard enough to make an impression in the wood by the nut on
the back side of the leg. Again, I pulled Forstner bits from the case until one completely fit
within the bounds of the circular area of the nut. Imagine the nut with all the flat edges removed,
leaving you a "wheel shape". The idea is to make a hole the size of the "wheel", leaving the flat
areas to be chiseled out. You can also chisel out the whole thing. The mortise should be just deep
enough so the nut is flush with the surface of the wood.
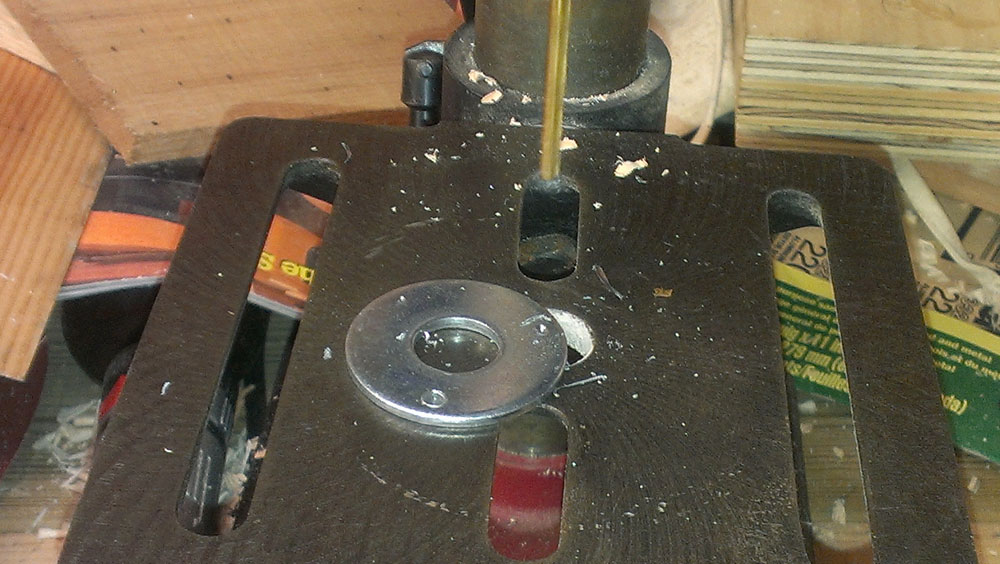
The nut is held into the mortise by a washer with screw holes drilled into it. I used one of the
washers that came with the bolt hook and drilled three equidistant holes around the perimeter of the
washer. See the photo below.
Here is the washer in action:
All that is left to complete the sawbench is to pare the leg tops flush to the surface and apply finish.
I grabbed a chisel, block plane, and #5 jack plane to remove the end grain of the proud legs. I
applied considerable stabilizing mass (with my ample rear end) to one side of the bench while
working the other with the tools. Once the leg tops are flush, face the other wall and repeat.
The finish on this sawbench is going to be a thinned coat (roughly 25-30%) of dewaxed bleached
shellac. The plan is to wait for the completed unit to stabilize in the basement shop before
applying the shellac. The top will be leveled with a #7 plane once equilibrium is reached. The vise
chop will remain unfinished.
The legs are not glued to the top, but certainly can be if desired. The first thing you will
notice about the completed bench is that it is quite heavy. I prefer over-built shop furniture so
the extra mass is desirable. This design is not the best candidate for moving from jobsite to
jobsite.
I really like the look of this little bench and may make another to use as a small table in my
living room; without the vise.
Check out my BLOG, if you would like to read more about what I've been up to,
CLICK HERE
If you have any questions or comments, feel free to email me at
tsstahl@gmail.com
Return to
Wood News
front page