(Click on any picture to see a larger version)
CLICK HERE
to read Part 1 of the Hall Table Project featured in our May 2016 issue of Wood News Online.
CLICK HERE
to read Part 2 of the Hall Table Project featured in our June 2016 issue of Wood News Online.
I decided to use the same finishing that Michael Pekovich used for his Side Table: one coat of 1 lb. cut shellac followed by at least four coats of
Waterlox Varnish
.
Unfortunately, Waterlox is not available in Southern California and companies are not allowed to ship it in. So I made my own using Roland Johnson's Fast-Drying Wiping Varnish (featured in
Fine Woodworking
).
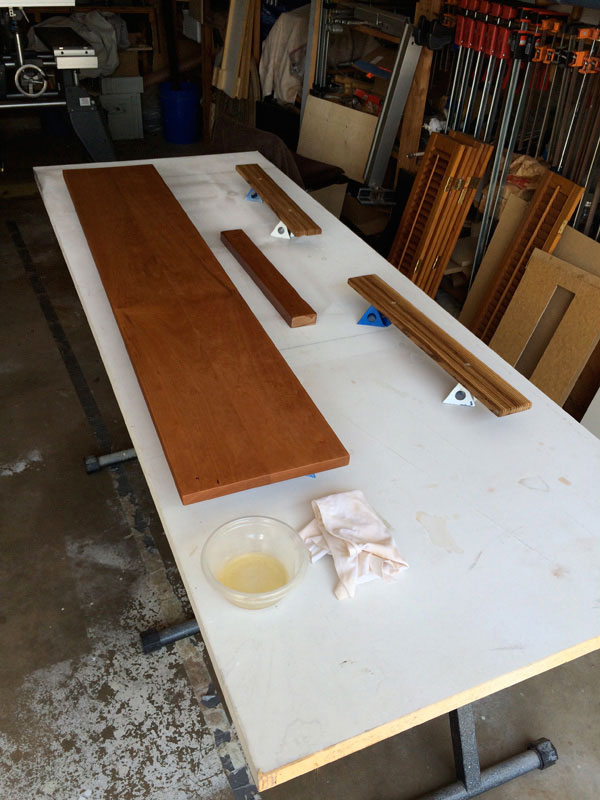
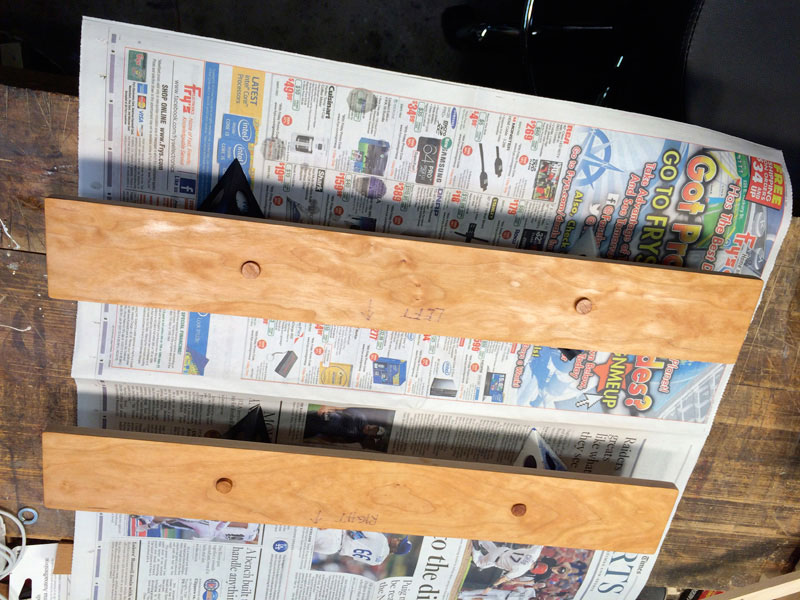
The top and drawer fronts were laid on a large surface and supported by painters pyramids to allow me to turn them over to finish the reverse sides.
I started with the bottom surfaces up, moved over to coat the base and then came back, turned the top and fronts over and finished the top surface. All drying was overnight so the visible top surfaces were hard enough to not be marked by the pyramids when the same coating sequence was used the next day.
The base was upside down on my bench. It too was on painters pyramids although I did not turn it over.
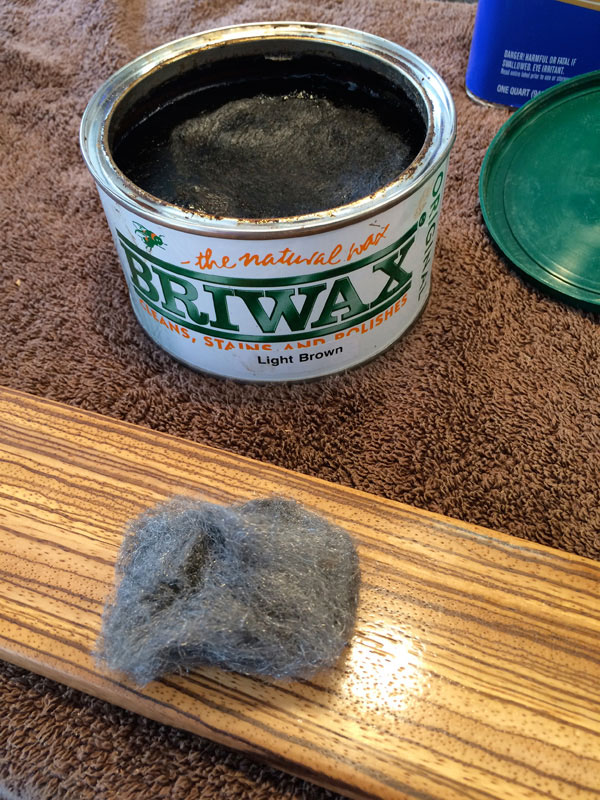
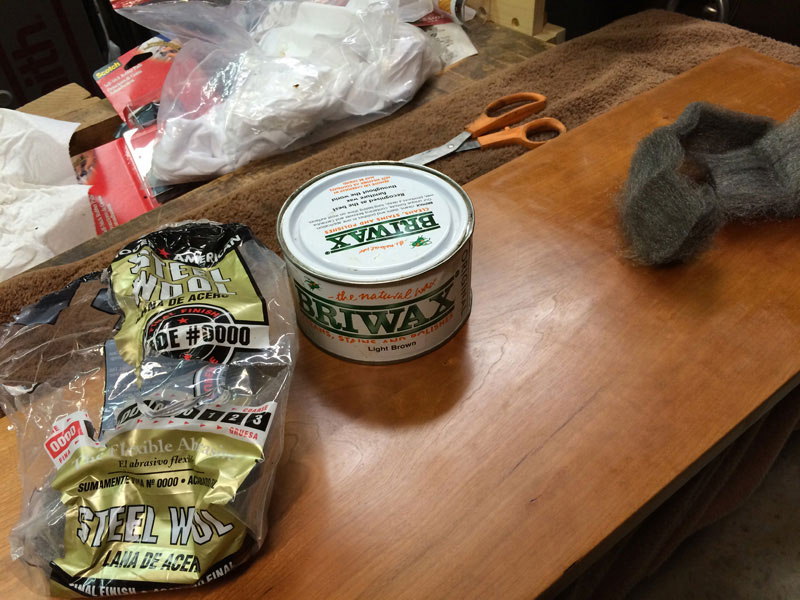
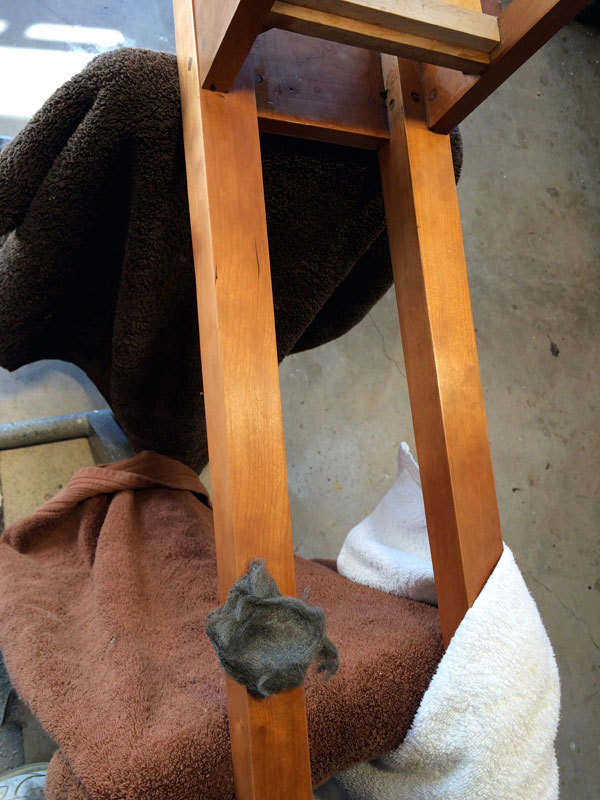
The visible surfaces were rubbed out to a satin finish with 0000 Steel Wool and
Light Brown Briwax
.
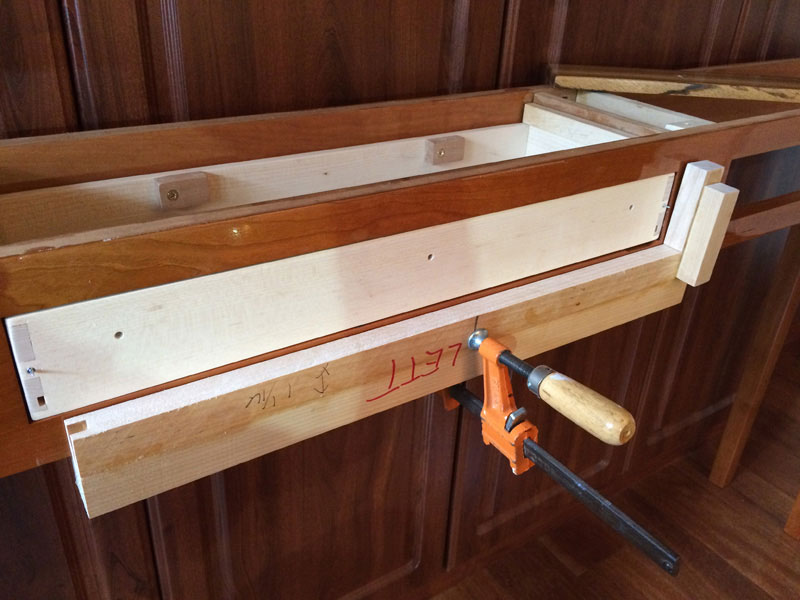
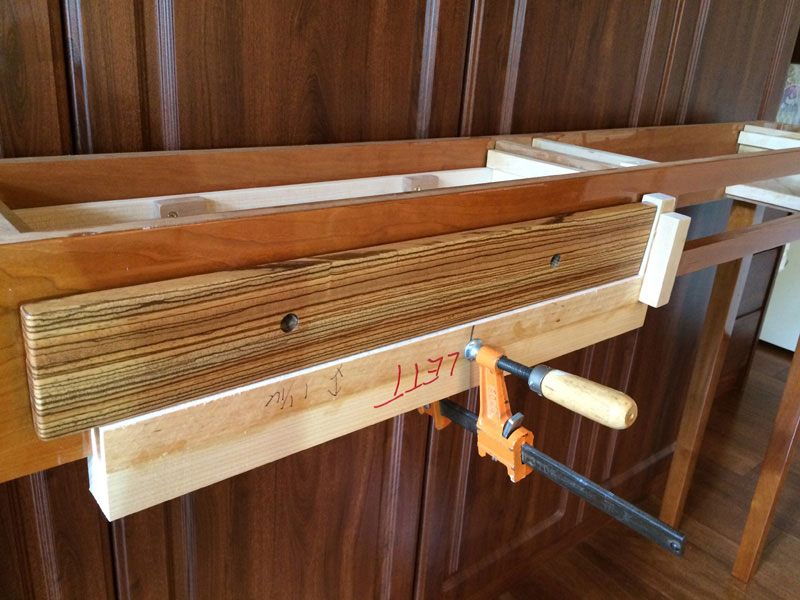
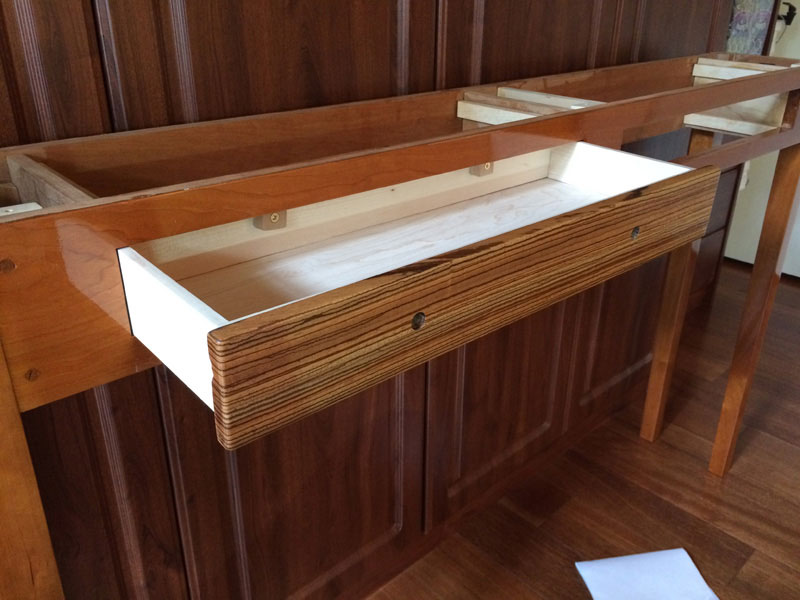
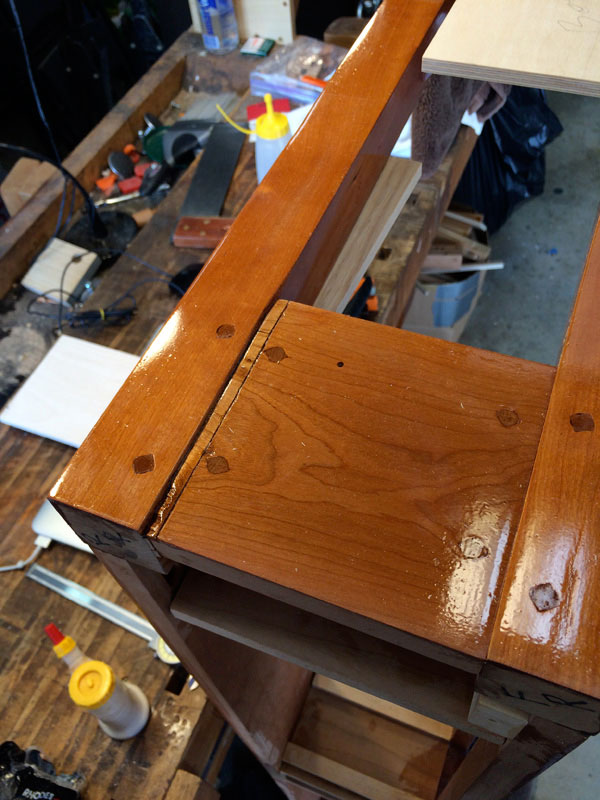
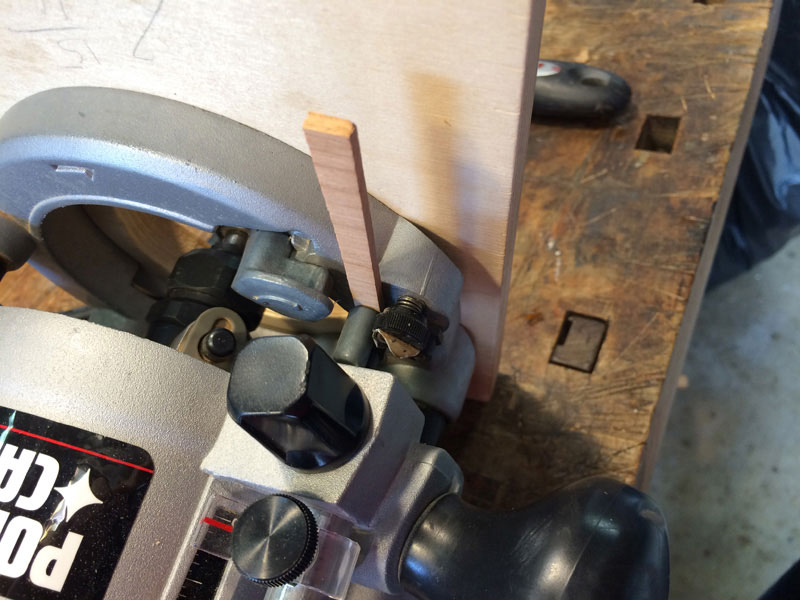
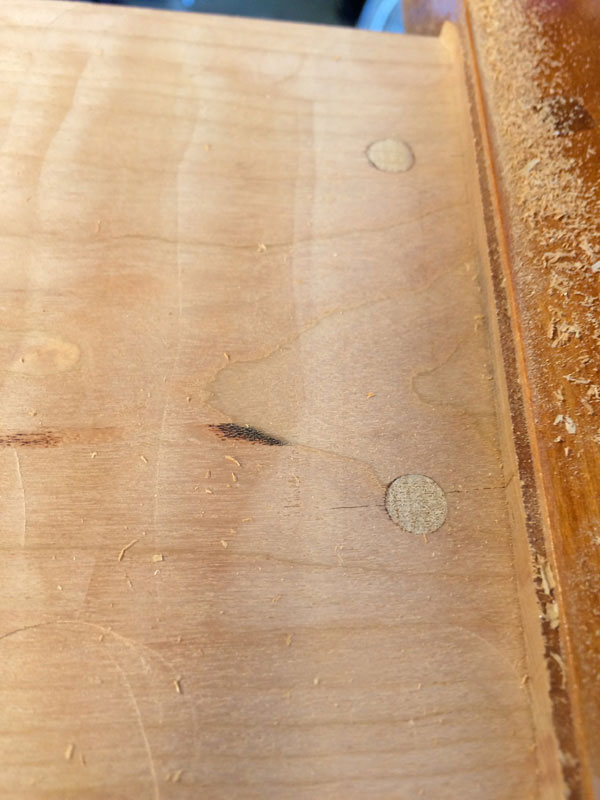
FastCap's Blind Nail Kit let me locate the fronts and mark the holes for retaining screws. Those holes in the drawer dovetailed maple front panel were drilled before the drawers were assembled and were for screws to attach the false front.
A template was required to properly locate the drawer fronts to the two drawers to completely and consistently overlay the opening.
While attached to the drawer by the blind nails, a screw was used to mark the drawer front holes.
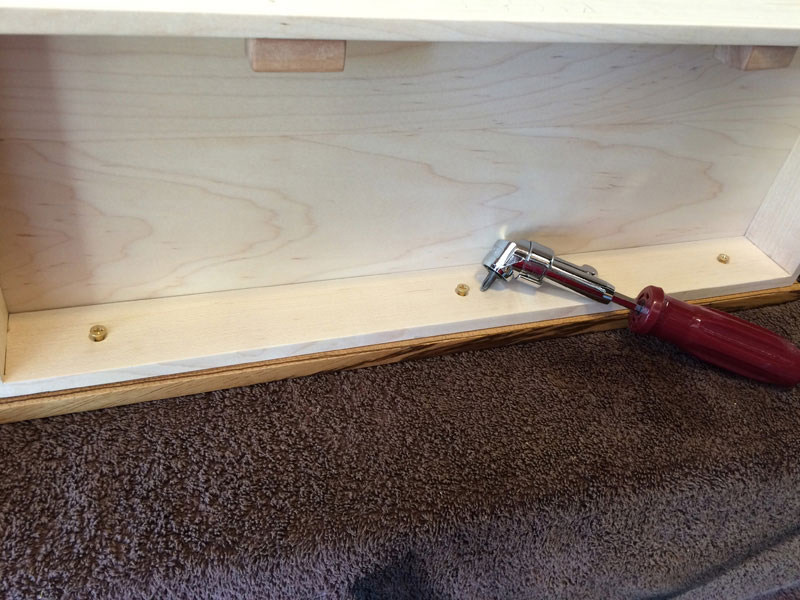
I removed the drawer fronts and pulled out the blind nails. I drilled the holes to depth and cut the threads with a steel screw. The drawer fronts were re-installed with final screws and dry fit again into the base.
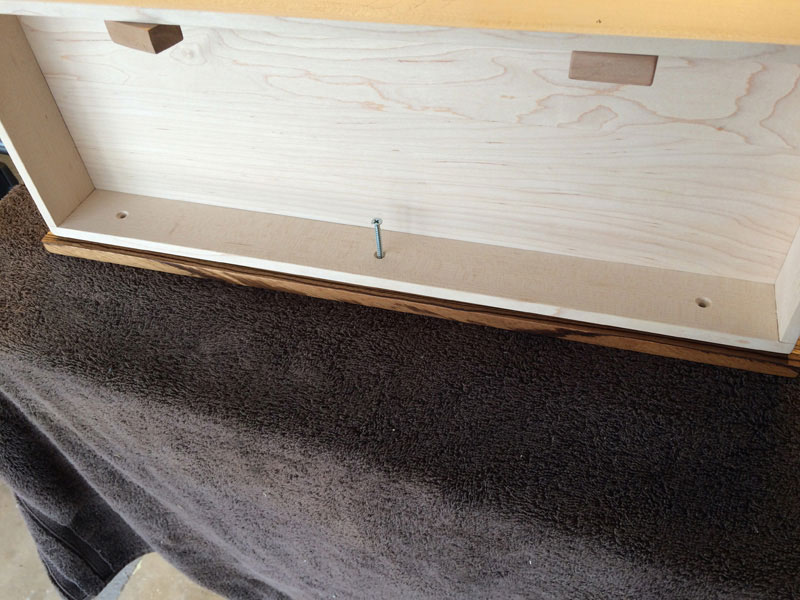
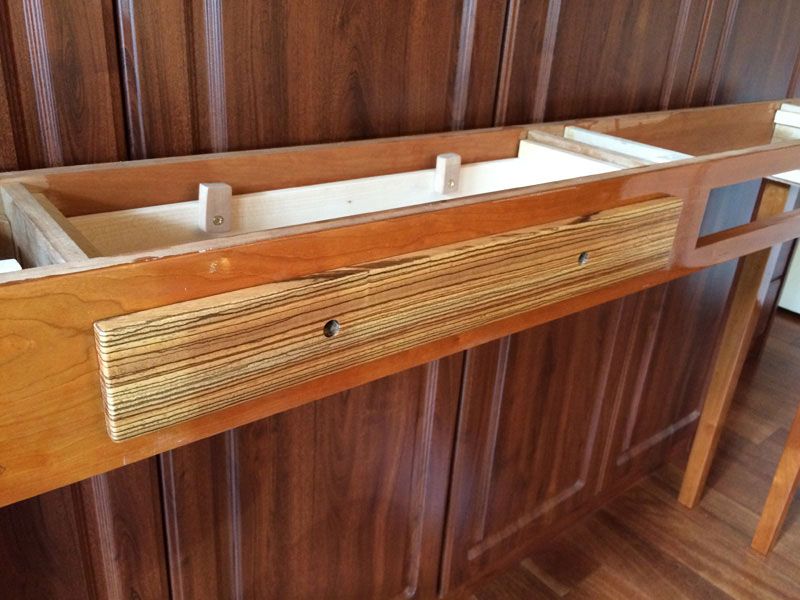
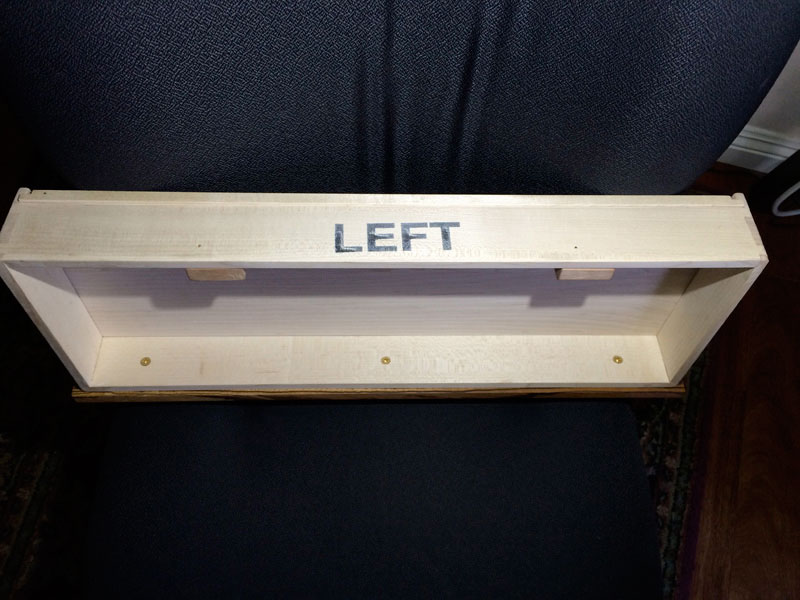
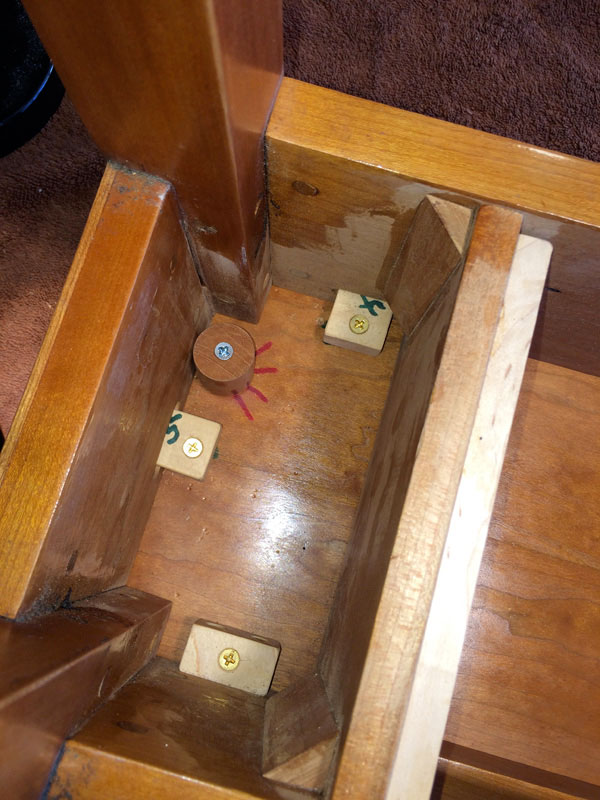
Since I had chosen to use two pulls per long drawer, I decided to use two drawer stop blocks on the rear so there would be no tendency to ‘wobble' when the stops were hit. These may be rotated to allow my friend to remove the drawers for cleaning. The mounting holes for these were also drilled before drawer assembly.
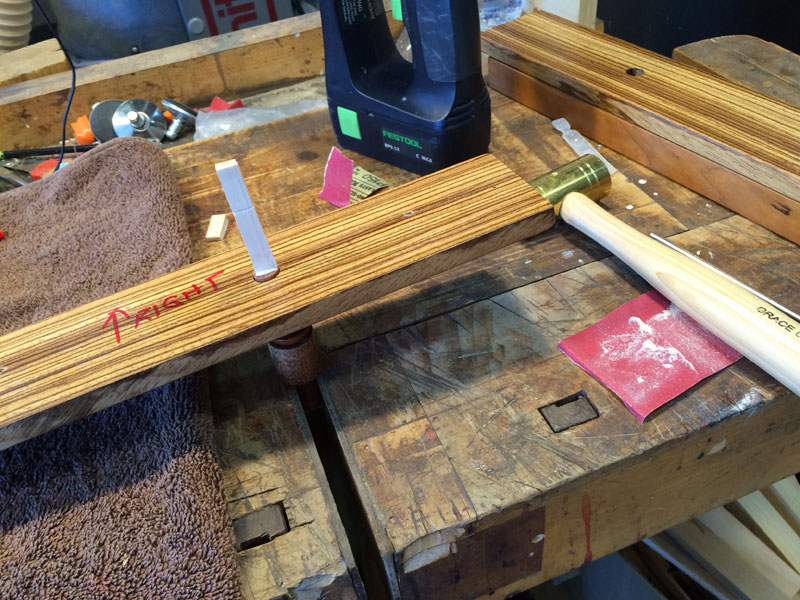
The four pulls were installed with glue and wedges. The fixture clamped in the vise underneath is a mirror image of the pull surface to minimize damage to the pull finish. The wedge is installed perpendicular to the grain of the drawer front to eliminate any tendency to split the front.
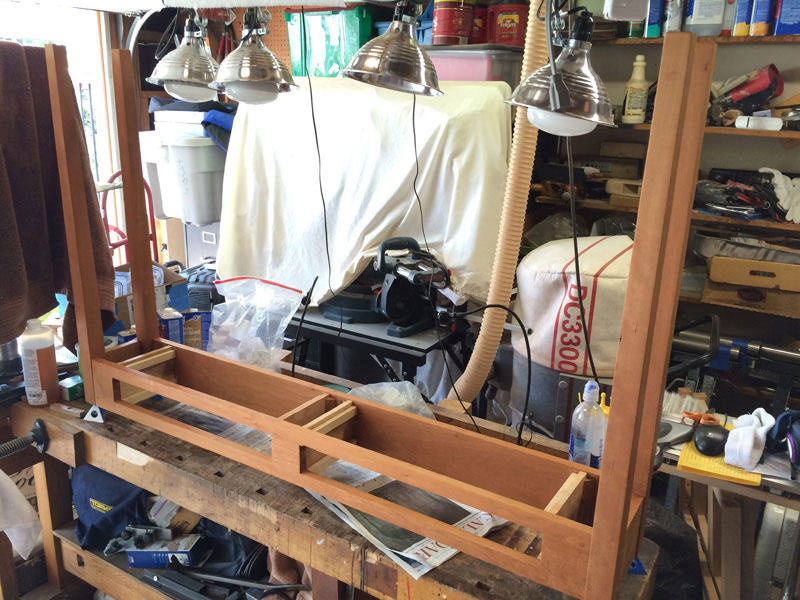
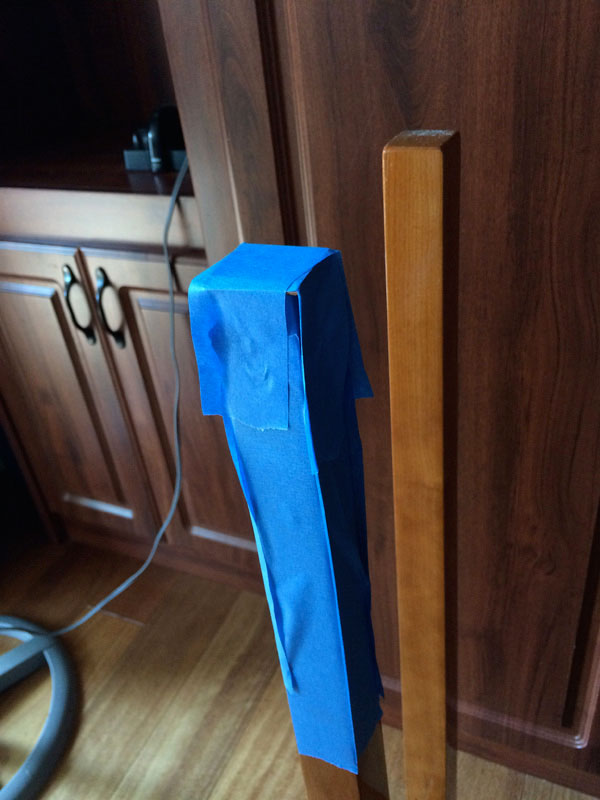
When installing the finished drawers, I noticed a tendency for the right side of the table to ‘wobble' a bit as I pushed in the right-hand drawer. It turns out that a small error at assembly left me with one rear leg that was a wee-bit longer than its matching front leg. Practice shimming with layers of paper gave me a needed length addition of 1/32-inch for the right-hand front leg. I suspect that with a wider table I probably would not have seen that ‘wobble.' I added a 1/32-inch thick cherry piece with epoxy.
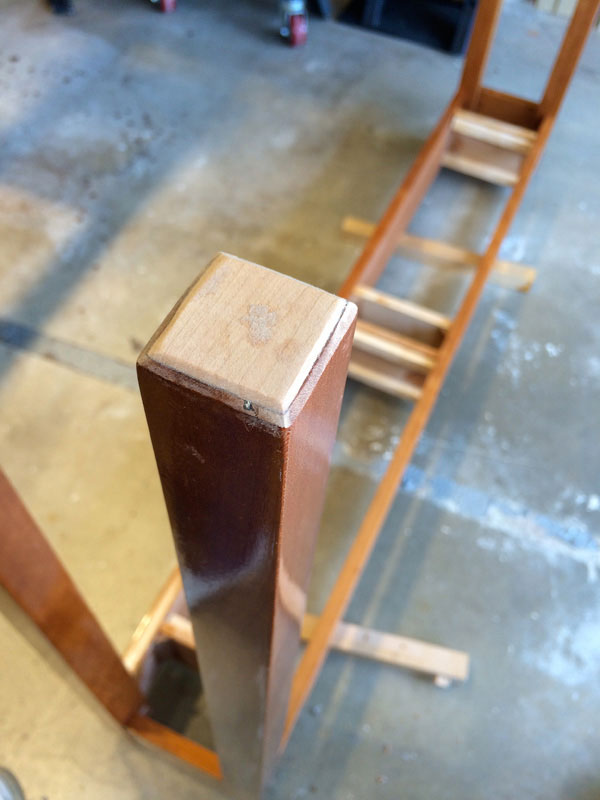
The same assembly error caused an unsightly gap at the top of the right rear leg and the right apron. An attempt to fill it resulted in a more unsightly joint!
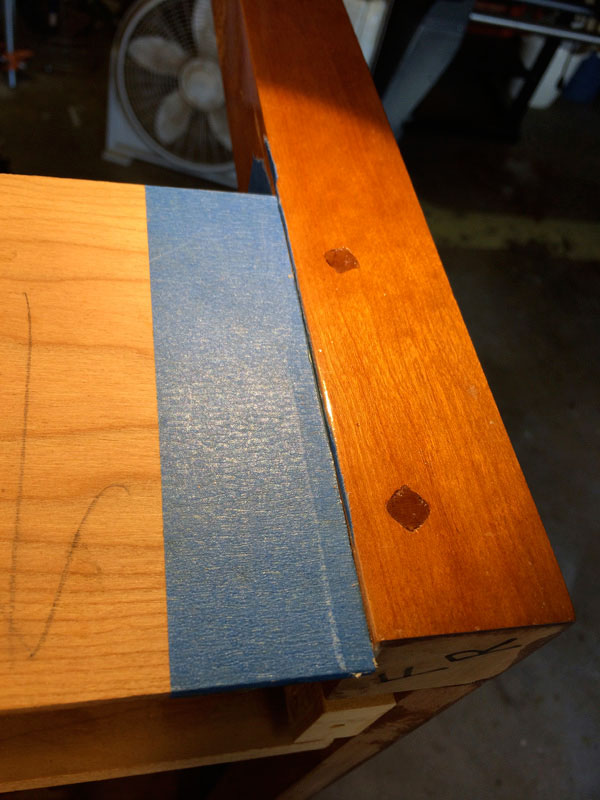
Then I got lucky and found a piece of 1/8-inch by 5-1/16-inch cherry shim at my local hardware store.
I made a template to allow me to re-surface the apron so I could use the shim to completely cover the unsightly joint.
I used a pattern bit bottomed on the apron and set the cutting depth using a strip of the shim.
That resulted in a nice glue surface. The trimming was deliberately just shy of the legs so that was removed with a chisel.
Before gluing in the sized piece of shim, I taped all edges to minimize glue squeeze-out.
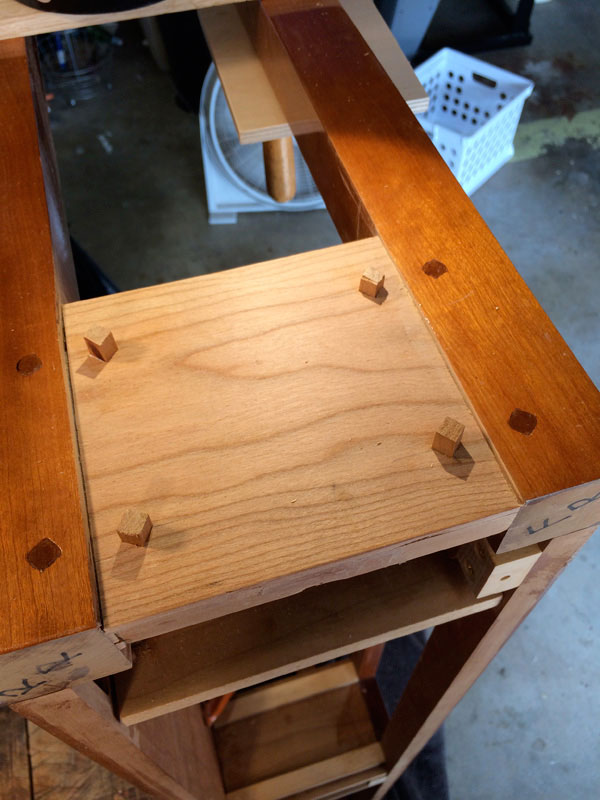
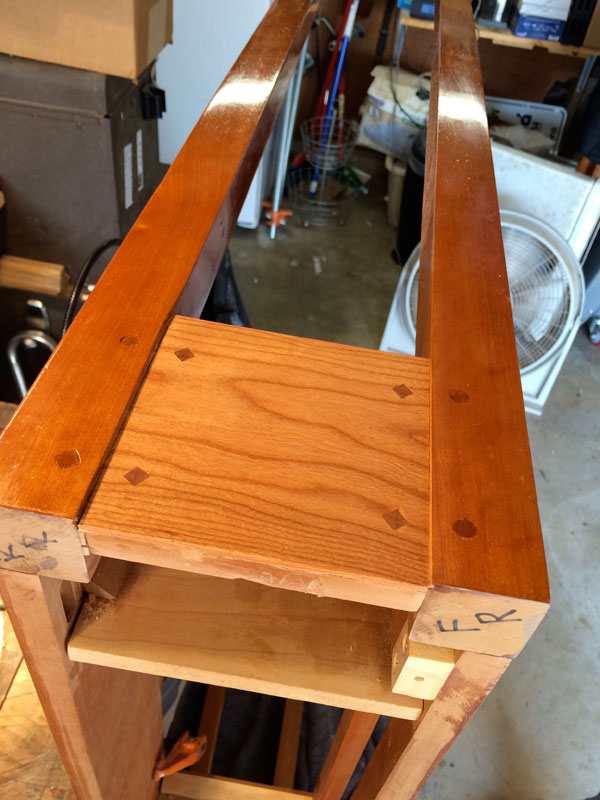
Once the shim had dried and the tape was removed, I needed to provide faux dowels to match the real dowels on the legs. The original through-drawbore dowels were left in place.
Trimming the faux dowels and sanding resulted in a right side apron ready for finish.
As with the drawer fronts, steel wool and wax were used to rubout the top and base. Since the Briwax contained toluene, no additional liquid lubricant was needed but a well-ventilated work area was required.
By now my friend had purchased a house with furniture and, of course, it definitely did not go with the hall table. I was more than willing to keep it – I really liked it – but she had the idea to use it in, of all places, her master bathroom!
Since I made it for her it was hers to locate wherever she chose. I was doubly glad that I used true quarter-sawn hard maple for the drawers. Once the table is in place, I will sporadically check them for fit. I also added screw-on rubber feet to elevate the wood legs from possible water on the floor.
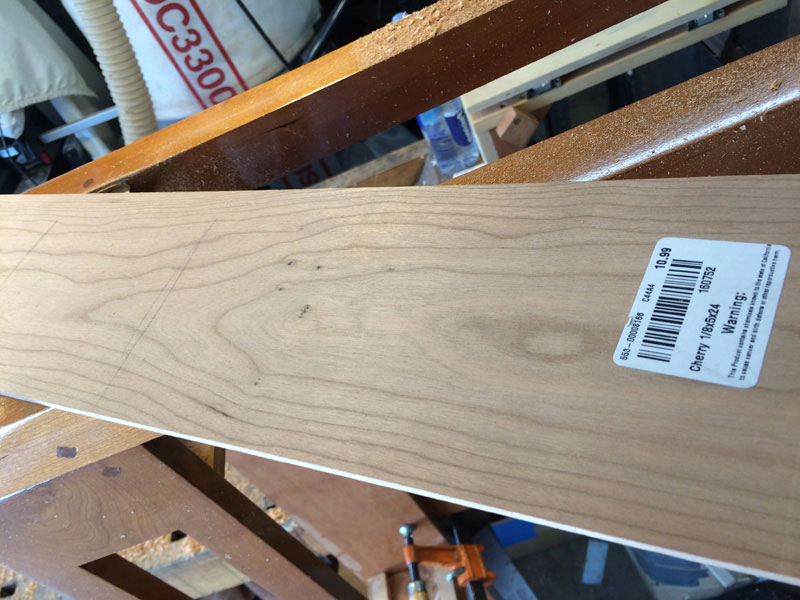
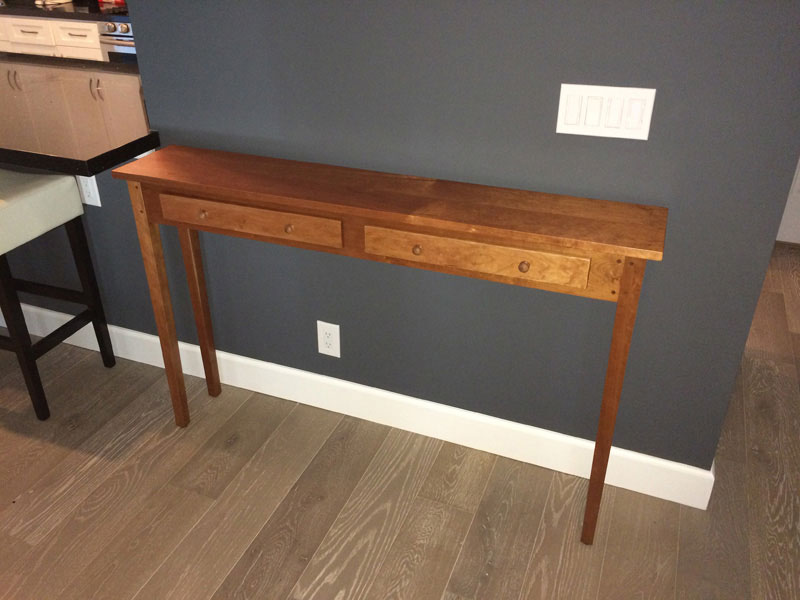
Change Order No. 2 was a request to remove the zebrawood drawer fronts and replace with cherry. I was very glad that my drawer skill level and lack of wood had dictated overlay instead of inset drawers!
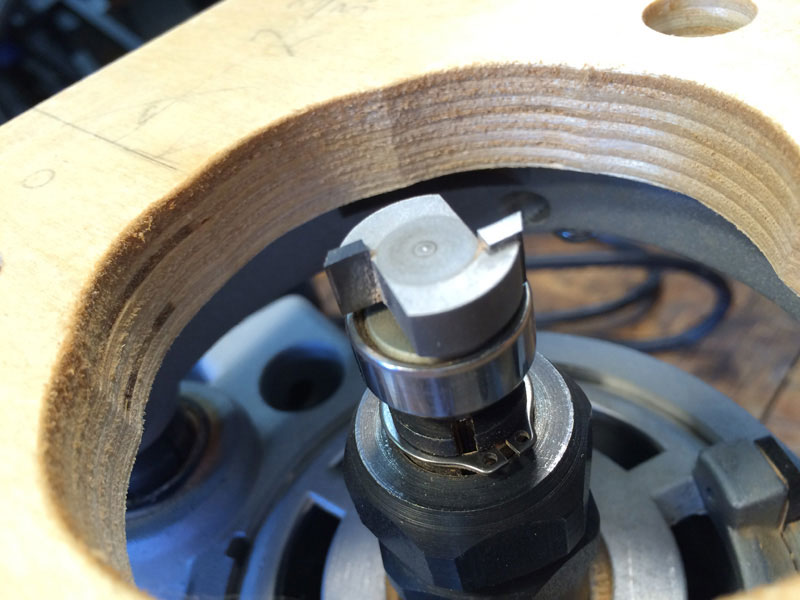
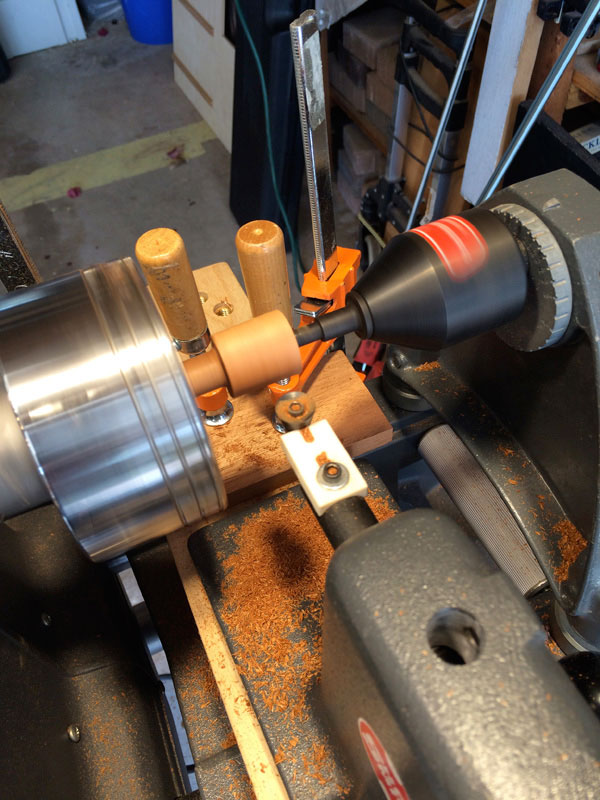
New pulls were required since the pulls in the zebrawood were glued and wedged and were not coming out. I had acquired a
Nova Chuck
for my Shopsmith and a Lathe Duplicator so I used them to round the mahogany pulls before shaping as before with files and sandpaper. These, too, will be wedged and glued.
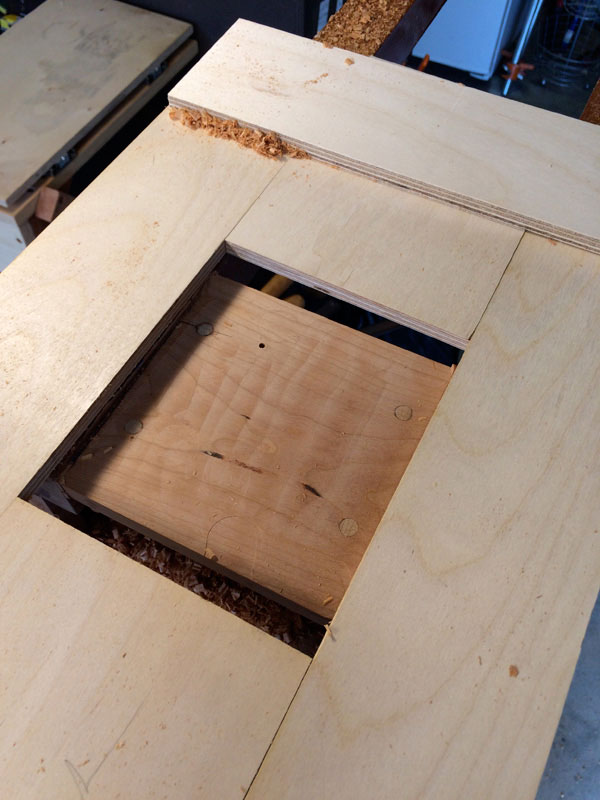
The new cherry drawer fronts were sized and finished. The temporary plugs preserve the hole glue surface from the finish.
Since the drawer's sizes are not exactly equal, I applied their position on the back of the drawers.
With everything rubbed out it was time to install the top and the drawers. The temporary plugs neatly aligned all of the screw holes.
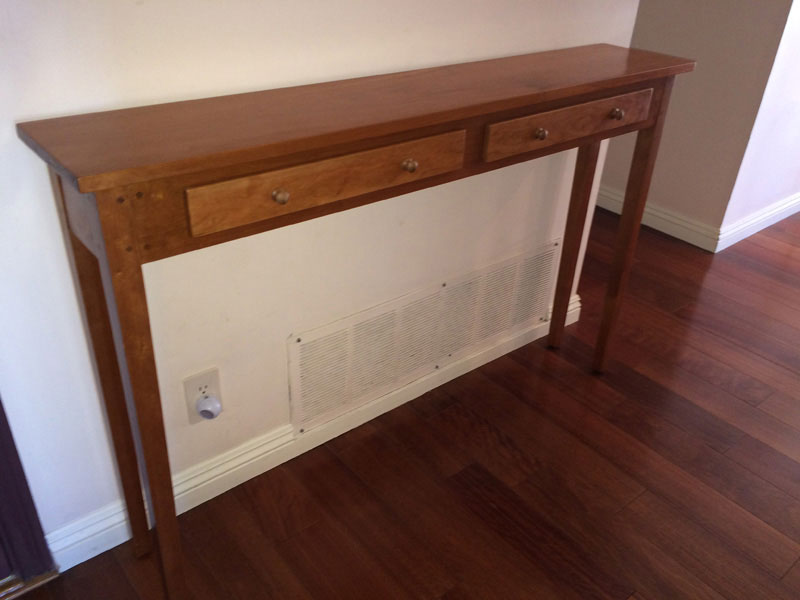
I think it turned out pretty nice for an amateur woodworker's first table with drawers.
It turned out to be a great housewarming gift for my friend.
You can email Forrest at
forrest.bonner@verizon.net
.
Return to
Wood News
front page
|